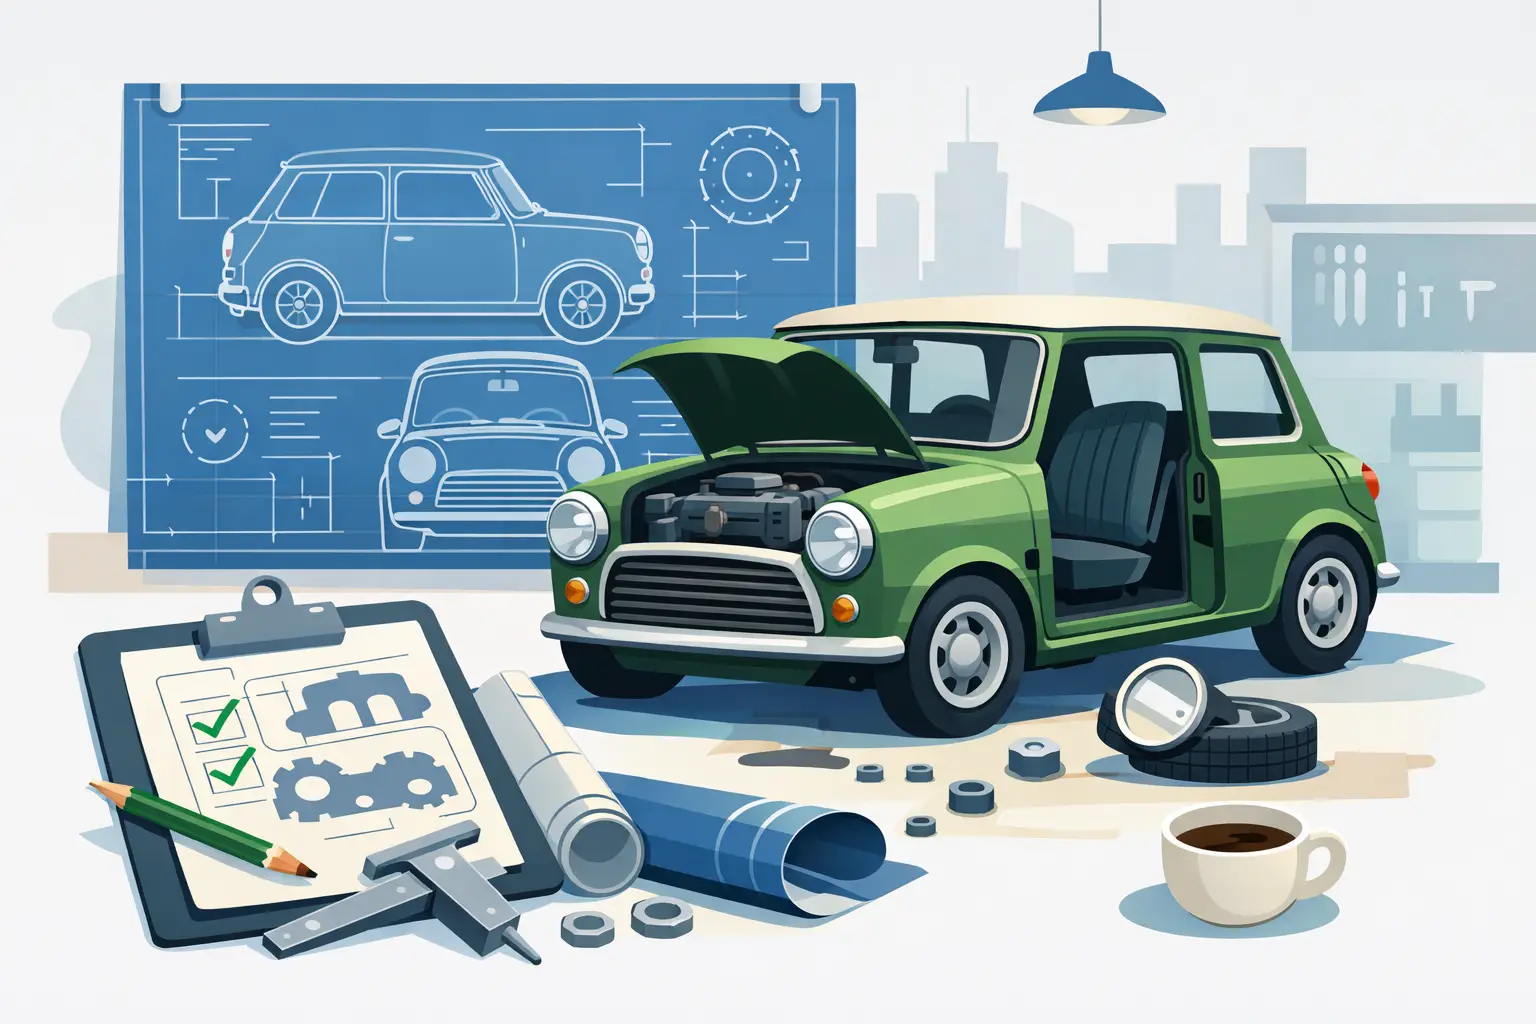
An Austin Mini can look complete from ten paces away and still need a serious amount of work underneath. That is part of the appeal, but it is also why buying parts at random is an expensive way to restore one. Whether you have brought home a project, are recommissioning a long-stored car or simply keeping a regular runner on the road, start with a clear inspection and a realistic order of work.
The Mini is a simple car in many respects, but it is not a forgiving one when corrosion, poor previous repairs or neglected maintenance are involved. A methodical approach helps you protect the character of the car while making it safer, more reliable and more enjoyable to drive.
Identify Your Austin Mini Before Ordering Parts
Austin Minis changed considerably across their production life. Early Mk I and Mk II cars have details that are visibly different from later versions, while cars from the 1970s onwards may carry Austin badging yet share components with Morris, Mini 1000, Clubman and other variants. Engines, braking systems, suspension fittings, trim, electrics and body panels can all vary.
Start with the car’s chassis number, engine number and registration documents. The chassis plate can provide useful clues, but do not rely on one item alone, particularly on a car that has been restored or modified over several decades. Compare the shell, subframes, doors, front end, interior, engine and running gear with the model you believe you have.
This matters when ordering even routine items. For example, brake and clutch components may differ by year and specification; wheel cylinders and master cylinders are not all interchangeable. Front suspension parts depend on whether the car uses the original cone setup and on the specification of the suspension arms. A replacement exhaust needs to suit the engine size, manifold arrangement and rear subframe configuration.
If the car has been upgraded, order to the fitted specification rather than the year on the registration document. A 998cc Austin Mini may now have front discs, a later gearbox, electronic ignition or a 1275cc engine. There is nothing wrong with sensible upgrades, but they need to be identified before parts go on the bench.
Start With Structure, Not Shiny Accessories
It is tempting to begin with seats, badges, wheels and a fresh coat of paint. Those jobs are satisfying, but the shell and subframes decide whether the project has a sound foundation. The Mini’s compact design means major structural areas sit close to common water traps, and corrosion can hide beneath underseal, filler and poorly fitted repair panels.
Check the sills, floor pans, heelboard, inner and outer wings, scuttle corners, A-panels, doorsteps, rear valance, boot floor, rear arches and companion boxes. Look carefully around the front and rear subframe mounts as well. Surface rust is one thing; perforation, swelling seams or patchwork welded over rotten metal are another.
The subframes deserve the same attention as the body. Front subframe corrosion can affect steering and suspension mounting points, while a tired rear subframe can cause poor rear-wheel alignment and make the car feel unsettled. Replacing a subframe is a substantial job, but it can transform a Mini that has become vague, noisy or difficult to set up correctly.
When bodywork is required, use panels that match the job. A cheap panel that needs extensive reshaping, has weak pressing lines or lacks proper mounting detail can cost more in labour than a quality part. British Motor Heritage panels are often the sensible choice where fit, material quality and originality are priorities. They are not always the lowest-cost route, but a sound repair completed once is usually better value than correcting a poor one later.
Make the Mechanical Work a Systematic Job
Once the structure is safe, work through the car as systems rather than chasing faults one at a time. An Austin Mini rewards basic maintenance, but only when the small details are not overlooked.
Begin with the engine and gearbox oil, cooling system, ignition components, fuel supply and charging circuit. The A-series engine is straightforward to service, yet oil leaks, overheating and uneven running can each have several causes. Do not assume a replacement carburettor or electronic ignition kit will cure an engine with low compression, blocked waterways or a worn distributor drive.
Cooling deserves particular care. A Mini has limited space around the engine bay and relies on its radiator, fan, hoses and water pump all doing their job. Check for silted radiators, cracked hoses, tired hose clips, coolant staining and play in the water pump. If the engine runs hot in traffic but not on the open road, investigate airflow, ignition timing and radiator condition before fitting parts blindly.
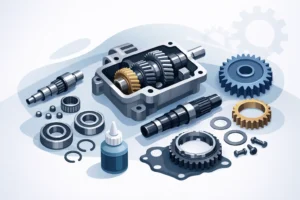
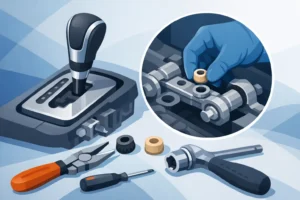
The gearbox shares oil with the engine on most classic Minis, so regular oil changes are more than a routine task. Clean oil supports both the engine and transmission. If gears are difficult to select, inspect the clutch hydraulics and linkage adjustment first, then consider clutch wear, remote mounting condition and internal gearbox issues. A clutch master cylinder or slave cylinder fault can feel far more dramatic than the component itself is expensive.
Brakes should be treated as a complete safety system. Check the master cylinder, flexi hoses, hard lines, wheel cylinders or calipers, discs or drums, pads or shoes, handbrake mechanism and fluid condition. If one component has failed through age or corrosion, examine the rest closely. A fresh set of front pads will not compensate for contaminated fluid, a seized rear cylinder or a deteriorated hose.
Austin Mini Suspension and Steering Checks
A well-sorted Mini should feel direct, light and eager, not nervous or harsh. The original rubber cone suspension is part of that character, but cones harden and sag with age. When they are past their best, the car can sit low, crash over bumps and lose the compliant handling that makes a Mini enjoyable.
Inspect the rubber cones, trumpets, knuckle joints, suspension arms, bushes, tie rods, ball joints and wheel bearings. Wear in several small components soon adds up to wandering steering and uneven tyre wear. If you are fitting adjustable suspension, use it to establish a sensible ride height and corner-to-corner balance, not simply to get the car as low as possible. Excessive lowering can reduce bump travel and create clearance problems.
At the front, inspect the steering rack gaiters, track rod ends, rack mounts and column joints. At the rear, check the radius arms for bearing wear and grease them where applicable. A Mini that pulls under braking, sits unevenly or wears one tyre edge rapidly needs diagnosis before alignment settings are altered.
Tyres and wheels also influence the way the car feels. Wider wheels may improve grip, but they can add steering weight, alter tramlining and cause rubbing if the offset or ride height is wrong. Standard-size wheels with quality tyres are often the best starting point for a road car. Choose the setup around how you use the car, whether that is weekend runs, shows, commuting or motorsport.
Preserve Originality or Build the Mini You Want?
There is no single right way to restore an Austin Mini. A low-mileage, well-preserved early car may justify a close-to-original rebuild with correct trim, finishes and factory-style components. A tired 1980s runner may be a better candidate for practical reliability upgrades, improved brakes, a better cooling arrangement and a modest engine refresh.
The trade-off is simple: originality can protect the car’s period appeal and potential value, while upgrades can make it easier and safer to use in modern traffic. The best decisions are usually reversible ones. Keep original parts where practical, avoid unnecessary shell modifications, and make sure any major changes are properly engineered rather than improvised.
For performance builds, match the components. A freer-flowing exhaust, revised carburettor needle and cylinder head work need suitable ignition timing and fuelling. More power also places greater demands on cooling, brakes, tyres and transmission. A fast Mini with weak brakes and worn suspension is not an upgrade.
Build a Parts List That Prevents Repeat Work
Before placing an order, write down what is worn, what is missing and what needs replacing while the area is dismantled. If the front subframe is out, it makes sense to inspect mounts, bushes, brake pipes, steering components and suspension parts at the same time. If the cylinder head is off, consider the condition of hoses, thermostat, heater valve, studs and gaskets rather than replacing only the obvious failed item.
Group your order by job: engine service, cooling refresh, front brakes, rear suspension or body repair. This keeps the project moving and reduces the frustration of stopping halfway through for a small seal, clip or fitting. It also gives you a chance to choose quality consumables, correct fasteners and compatible components from the outset.
Bull Motif Mini Spares is built around this practical way of working, with Classic Mini components organised by the systems owners actually repair and restore. When fitment is uncertain, checking the existing part and the car’s specification before ordering is time well spent.
A Mini restoration does not need to happen all at once. Deal with safety and structure first, then reliability, then the improvements that make the car yours. Each properly finished job brings the car closer to the reason it was bought in the first place: getting behind the wheel of a small British classic that still makes every ordinary road feel worth taking.