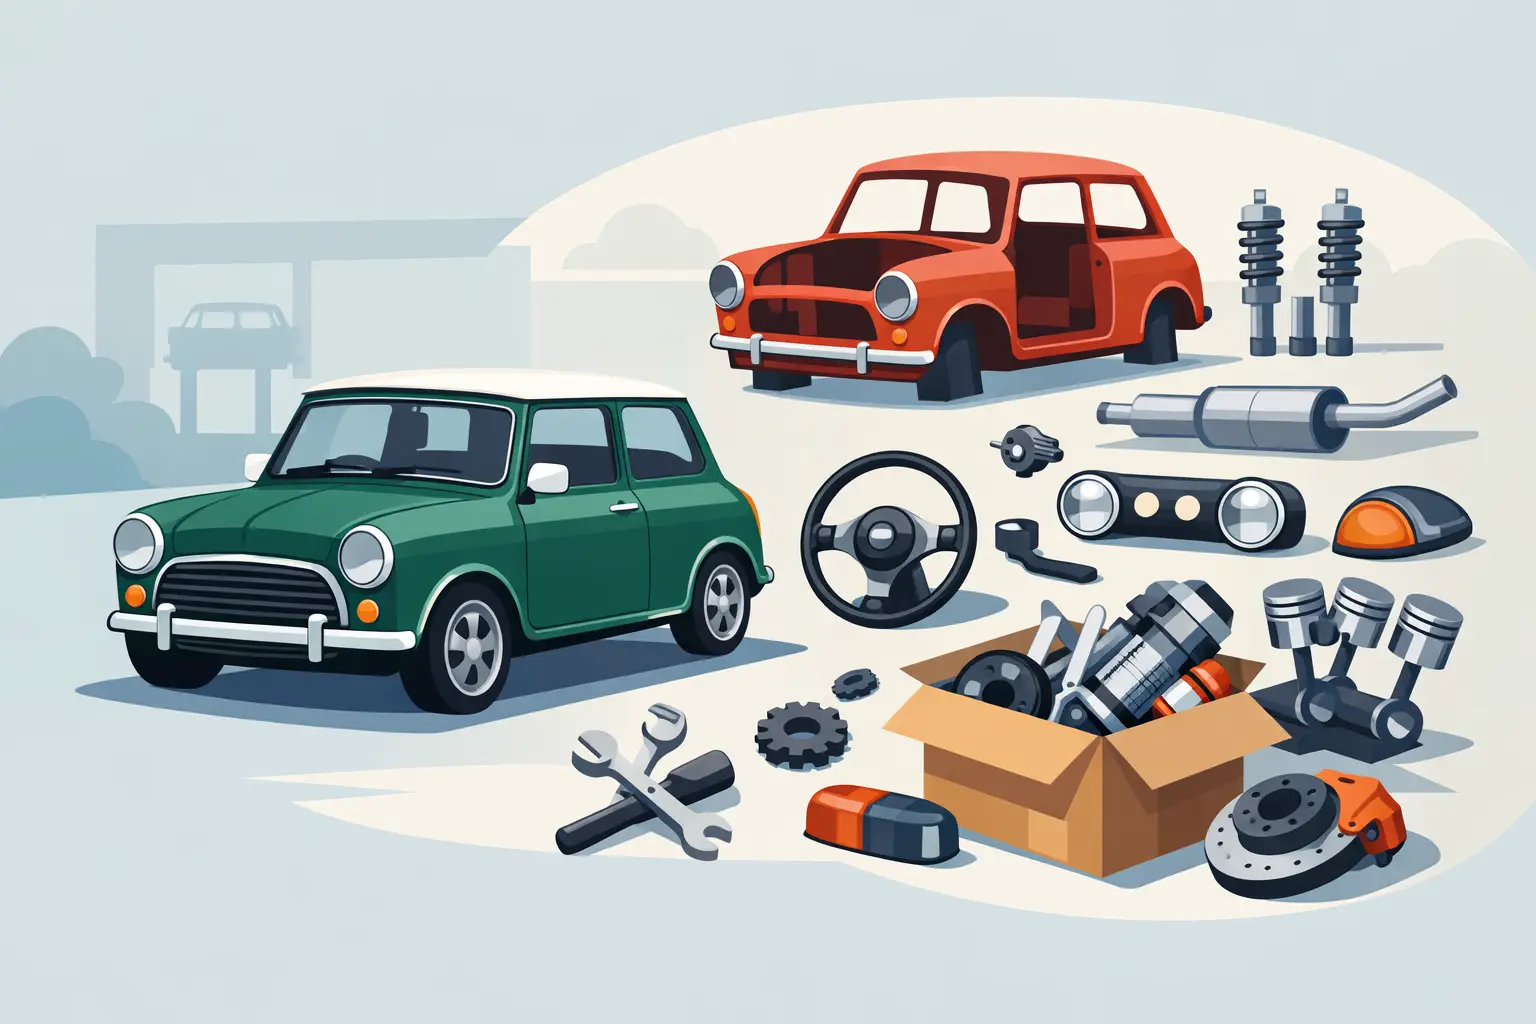
A Classic Mini rebuild usually stops being about enthusiasm and starts being about parts the moment the shell is stripped. What looked like a tidy weekend job suddenly needs panels, seals, clips, brake parts, bush kits, trim, fasteners and a dozen small items nobody noticed until they were missing. That is why buying classic mini restoration parts properly matters. Get it right and the car goes back together with fewer delays, fewer compromises and far less frustration.
The Mini is simple in many ways, but restoration is rarely simple. Years, model variations and previous repairs all affect what you need to order. A late Rover Mini is not the same proposition as an early Mk1 or Mk2 car, and even within the same era you will find running changes, non-standard modifications and patch repairs from decades ago. The quickest way to waste time and money is to assume all Mini parts are interchangeable just because the cars look similar.
What matters most when buying classic mini restoration parts
The first question is not price. It is fit. Poorly fitting parts cost more in labour, more in rework and more in lost momentum. That is especially true with body panels, trim and interior fittings, where a cheap part can turn a straightforward stage of the build into hours of fettling.
For structural repair sections and body panels, quality matters from the first test fit. A panel that arrives with the right shape, flange detail and pressing quality gives you a much better starting point for alignment and finishing. If you are doing a proper shell rebuild, this is one area where buying on headline price alone can be a false economy.
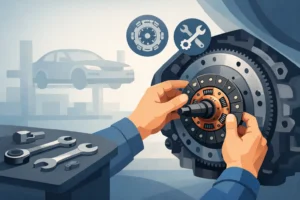
Mechanical parts are slightly different. Here, dependability and consistency matter more than appearance. Brake cylinders, suspension bushes, cooling components, ignition items and service parts all need to do the job properly, not just fill a gap on the bench. There is always a balance between budget-friendly replacement parts and premium options, but on safety-critical and reliability-critical systems it usually pays to be selective.
Start with the shell, not the shiny bits
Most restorations are won or lost in the metalwork stage. It is tempting to buy wheels, grilles and trim early because they make the project feel real, but a Mini shell will decide the whole direction of the build. Floors, sills, heelboard sections, front panels, scuttle areas, door skins, A-panels and valances need honest assessment before anything else.
If the shell needs major work, buy the metal first and build your parts plan around it. That helps you avoid ordering decorative items that may not suit the final specification or may be damaged during welding and paint preparation. It also lets you prioritise panel quality where it counts most.
British Motor Heritage panels are often the right call when fit and authenticity are high on the list. They are not always the cheapest option, but where correct shape and detail matter, they can save time during preparation and improve the end result. That tends to matter more on visible panels and full restoration work than on a quick repair to keep a car on the road.
Repair section or full panel?
This depends on the condition of the shell, your budget and who is doing the work. If you are dealing with localised corrosion and preserving original metal matters, repair sections may be the sensible option. If rust has spread across seams, edges and adjoining areas, a full panel can be cleaner, stronger and often quicker to fit.
There is no universal rule. A home restorer with time to spend may favour smaller sections to keep costs under control. A body shop charging by the hour may recommend replacing more in one go. Both approaches can be right if the metalwork is done properly.
The parts people forget until the rebuild stalls
Ask anyone halfway through a Mini restoration what is slowing them down and it often is not the major components. It is the small hardware and finishing parts that bring the job to a halt. Seals, grommets, clips, brackets, fixings, bush sets, hoses and mounting kits have a habit of being treated as afterthoughts. Then assembly day arrives and the car cannot move on because one small item is missing.
That is why it makes sense to think in systems rather than single parts. If you are rebuilding the front suspension, you probably need more than the obvious worn component. If you are replacing a radiator or heater part, you should check hoses, clips and mounting rubbers at the same time. If the interior is out, it is worth checking sound deadening, fasteners, seat diaphragm condition and the small trim items that are awkward to revisit later.
This is where a specialist supplier earns its keep. You are not just buying a part number. You are buying from a catalogue built around how Classic Minis are actually repaired and restored.
Choosing between originality and usability
Not every restoration has the same goal. Some owners want period-correct finishes, factory-style trim and original specification mechanical parts. Others want a car that looks right but drives better in modern traffic. Most projects sit somewhere in the middle.
That affects your choice of classic mini restoration parts from the start. Rubber suspension may suit one build, while adjustable or uprated components make more sense on another. A standard exhaust is right for a factory-style road car, while a freer-flowing system may be the better fit for a tuned engine. The same goes for ignition, cooling and braking. Original is not always best if the car will be used regularly, but upgraded is not always better if it creates fitment issues or loses the character you wanted to preserve.
A good rule is to be honest about the car’s future use. Show car, weekend road car, regular driver and fast-road build all justify different choices. The mistake is mixing specifications without a plan.
Interior and trim parts can make or break the finish
Once the shell is painted, expectations rise quickly. This is the stage where poor-quality trim stands out. Carpets that will not sit right, seals that fight every aperture and fittings that look slightly off can spoil the feel of an otherwise strong build.
Interior and exterior finishing parts deserve the same care as the major components. Door seals, window channels, lamp surrounds, grille fittings, arch trims and badges all contribute to how complete the car feels. Some owners focus heavily on mechanical specification and then try to save money on trim, but that last ten per cent is what people notice every time they open the door or walk round the car.
If you are budgeting tightly, it is often better to phase cosmetic finishing than to fit poor parts just to tick the box. A sound shell and reliable mechanical base can always be improved later with better trim.
Why stock depth matters on a Mini project
A Mini restoration rarely follows a neat shopping list from start to finish. Once you open up one area, you usually find two more jobs that need doing. Being able to source panel work, engine components, cooling parts, brakes, trim, wheels, tyres, oils and consumables from one specialist place saves time and keeps the build moving.
It also helps with consistency. Ordering related components together gives you a better chance of matching the right versions and avoiding the stop-start pattern that drags projects on for months. For trade customers and home restorers alike, that is more valuable than it sounds.
That is one reason many owners prefer a dedicated Mini specialist such as Bull Motif Mini Spares rather than piecing orders together through general motor factors. The product range reflects the way these cars are actually built, repaired and upgraded.
A practical way to order restoration parts
Before you buy, pin down the exact model year and any changes made over the car’s life. Note the engine size, brake set-up, wheel size and any known upgrades. If the car has been modified in the past, do not assume the parts on it match what left the factory.
Then break the project into stages. Shell and panel work first, then braking and suspension, then engine and cooling, then electrical, then interior and trim. You do not need every part on day one, but you do need a realistic view of the full job so that one missing category does not hold up the rest.
Photographs help, old parts help, and measuring helps. On a Mini, a quick check before ordering is usually time well spent. If you are unsure, asking before you buy is better than forcing the wrong part to fit later.
The cheapest route is rarely the least expensive
Everyone has a budget. That is normal. But there is a difference between buying sensibly and buying twice. Poor fit, weak finish, short service life and repeated labour all turn cheap parts into expensive ones.
That does not mean every item needs to be top shelf. Some consumables and non-critical parts can be chosen on value without causing trouble. The trick is knowing where quality really matters – body panels, safety parts, sealing items and the components buried deep enough that you do not want to revisit them after assembly.
A Classic Mini rewards careful choices. Buy the right parts for the job, think in systems, and keep the end use of the car in mind. Do that, and the rebuild feels less like chasing problems and more like putting a proper Mini back on the road where it belongs.