A slipping clutch on a Classic Mini rarely gives you much warning. One day the bite feels a bit off, the next you are chasing gears, hearing unwanted noise, or finding the pedal feel has changed altogether. If you are looking up how to fit mini clutch components properly, the main job is not just bolting new parts on – it is making sure every related part is checked so the repair lasts.
On a Mini, the clutch setup is compact, and access can be awkward compared with more conventional layouts. That means careful preparation matters as much as the fitting itself. Rush it, and you can end up pulling it apart again for the sake of a worn plunger, oil contamination, or a release component that should have been changed while you were there.
Before you fit a Mini clutch
Start by confirming what you are actually replacing. Some cars only need a friction plate and pressure plate, while others really need the full lot – cover assembly, driven plate, release bearing, clutch arm parts, and sometimes the primary gear oil seal if there are signs of contamination. If the old clutch has been slipping because of oil on the plate, fitting fresh clutch parts without curing the leak is just wasted effort.
It is also worth checking whether the car is broadly standard or running a tuned engine. A road-going 998 and a modified 1275 do not always want exactly the same clutch setup. Heavier-duty parts can be the right choice on a performance build, but they may give a firmer pedal and can feel less friendly in traffic. Like a lot of Mini jobs, the right answer depends on how the car is used.
Have the workshop manual to hand, along with a torque wrench, sockets, clutch alignment tool if required, fresh gaskets and any new lock washers or tab washers specified for your setup. Cleanliness matters here. Oil, old gasket material and clutch dust all cause trouble if they are left where they should not be.
How to fit Mini clutch without missing the usual problems
The basic process is straightforward enough, but the success of the job comes from what you inspect on the way through.
Depending on the engine and clutch type fitted to your Classic Mini, access generally means removing the clutch cover and working carefully around the assembly. Disconnect the battery first, drain fluids if needed for the work you are carrying out, and make sure the car is properly supported. It sounds obvious, but awkward jobs become expensive when they are rushed.
Once you have the clutch assembly exposed, remove the old components in order and keep note of how everything sits. If you are dealing with a pre-Verto or Verto setup, make sure you identify the parts correctly because there are detail differences in the assemblies and operating gear. Mixing incompatible bits is a reliable way to create poor clutch operation.
With the old clutch off, inspect the flywheel and surrounding area carefully. Look for heat spotting, cracking, scoring and any sign of oil leakage. If the flywheel face is badly marked, simply fitting a new driven plate may not solve judder or poor engagement. Likewise, if the release mechanism shows wear, stiffness or obvious damage, replace the worn parts now rather than gambling on them lasting.
Pay close attention to the release bearing or throw-out component, the clutch arm, clevis pins and relevant bushes. On many Minis, wear in these smaller linkage parts gives a poor pedal feel and inconsistent disengagement even when the main clutch parts are new. It is a classic case of the cheap bit causing the comeback.
Preparing the new clutch parts
Before fitting, compare the new parts against the old ones. That means diameter, spline count, overall profile and mounting detail. Even when the box says the right application, it is worth checking. Classic Mini ownership often involves cars that have had engine swaps, gearbox changes or mixed-year components fitted over the years.
Wipe the friction surfaces clean if needed, but keep grease and oil well away from the driven plate lining. If the first thing a new clutch sees is contamination from dirty hands or an over-lubricated input shaft, its life starts badly. Use only the lightest smear of correct lubricant where specified, and nowhere near the friction face.
If your setup uses locating marks or a particular orientation on the driven plate, follow that exactly. Many clutch plates can physically go on the wrong way round, which then causes clearance and disengagement problems. This is one of those small details that turns a straightforward repair into an irritating re-do.
Aligning the driven plate
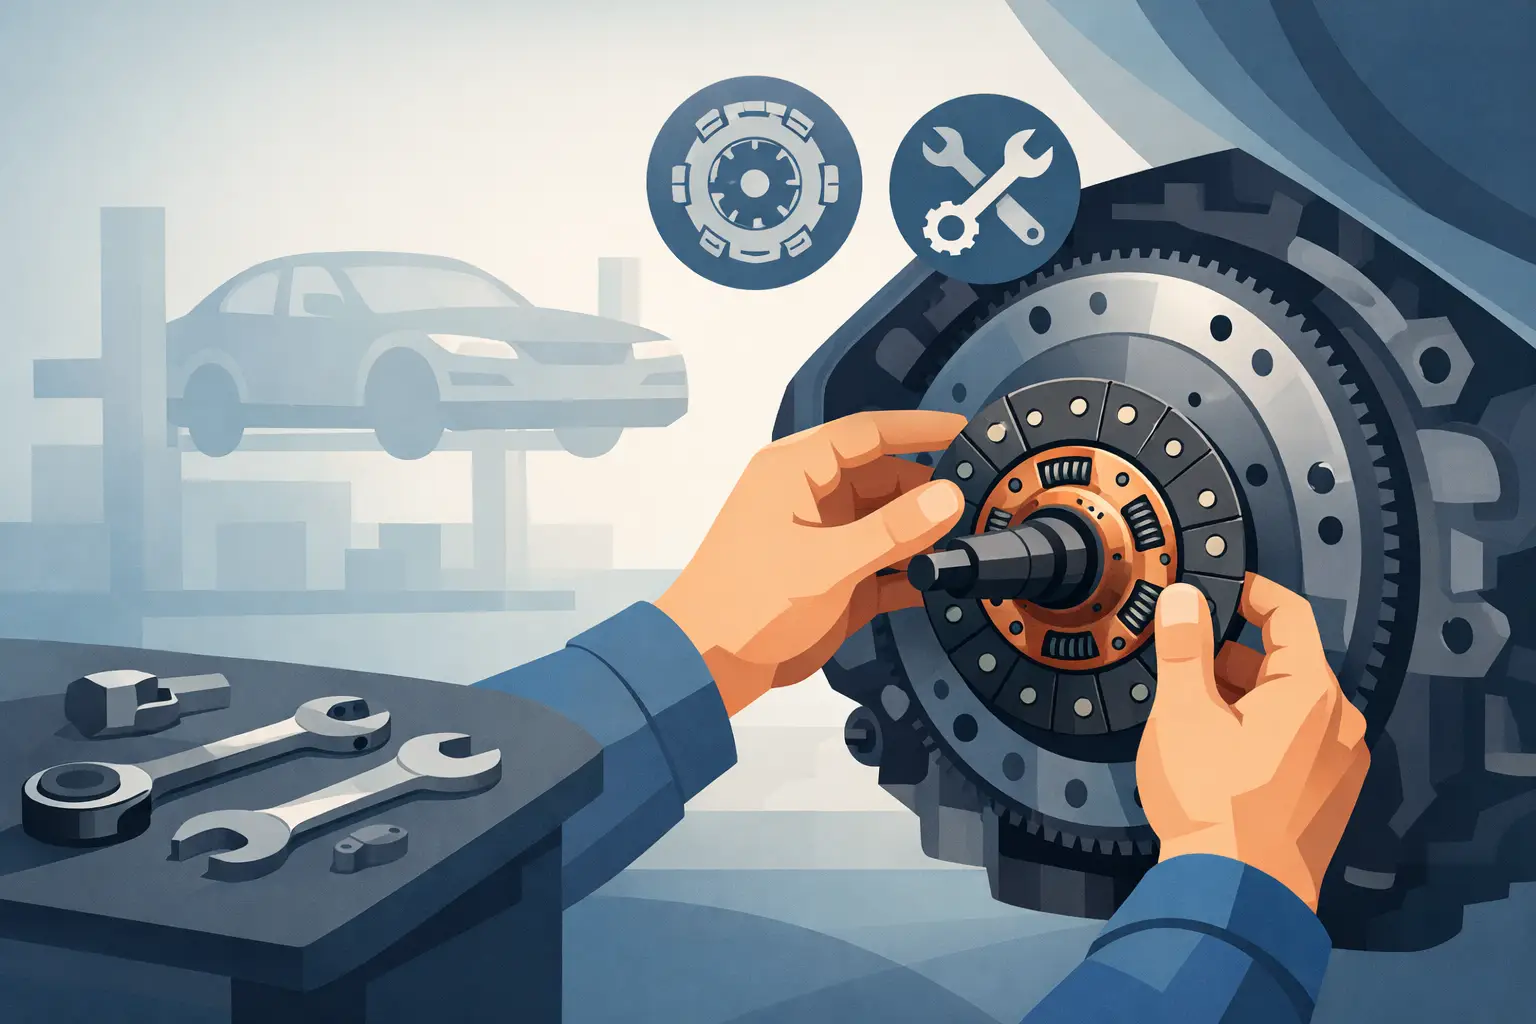
The driven plate must sit centrally before the cover is tightened. Use the correct alignment tool or a proper equivalent rather than trying to eye it in. On the bench it can look close enough, but once you are trying to refit surrounding parts, even slight misalignment can waste a lot of time.
Offer up the pressure plate or cover assembly evenly and start the fixings by hand. Tighten them gradually in sequence so the cover pulls down square. Do not fully tighten one side before the others. Uneven tightening can distort the cover or shift the plate out of line.
Torque settings matter
Once the assembly is seated correctly, tighten all fixings to the proper specification for your clutch type. Guesswork is no use here. Too loose and parts work free, too tight and threads or components suffer. This is particularly important on Mini driveline work because access is tight and repeat labour is not something anyone wants.
Checking the operating mechanism
Fitting the clutch assembly is only half the job. The operating mechanism needs to be in good order and correctly adjusted, otherwise the new parts cannot work as intended.
Inspect the slave cylinder, hose and hydraulic condition if your car is showing poor pedal feel. A weak or leaking hydraulic setup can mimic clutch faults, and it often shows up more clearly once fresh clutch parts are installed. If there is obvious fluid leakage or the system has been marginal for a while, sort it now.
Check the release arm geometry and make sure all pivot points move freely without excess play. Worn clevis pins are common and can take up more movement than people realise. Replacing them during a clutch job is usually money well spent.
How to fit mini clutch parts and set them up properly
After reassembly, adjust the clutch to the correct setting for the system fitted to the car. This is not a universal one-size-fits-all step, because adjustment differs between clutch types and model years. Follow the proper method for your setup rather than copying what worked on somebody else’s Mini.
Once adjusted, operate the pedal by hand and by foot to feel for smooth travel. You are looking for consistent resistance, clean movement and no graunching, binding or odd noises. If something feels wrong before the engine is started, do not hope it will settle down later.
First start and final checks
When everything is back together, refill any drained fluids, reconnect the battery and carry out a cautious first start. Let the engine idle and listen. A new clutch should not introduce rattles, scraping or release noise. Depress the pedal several times and confirm the engagement point is sensible and the gears select cleanly.
If the clutch drags when selecting reverse or first, recheck the adjustment and hydraulics before assuming the new parts are at fault. If it slips under load, stop and investigate. Common causes are contamination, incorrect parts, poor flywheel condition or an installation error.
Take the car for a short road test once you are satisfied everything is operating correctly. Keep the first drive sensible. You are checking take-up, pedal feel, gear engagement and whether the car pulls cleanly without flare in engine speed. A harsh launch is no test of a fresh installation.
When it is worth replacing more than the clutch
Many Mini owners start with the idea of changing only the obvious worn part, and sometimes that is fine. But if the engine is already apart and you have access, it often makes sense to replace the release components, seals and small wear items at the same time. The extra parts cost is usually modest compared with repeating the labour.
That is especially true on cars with unknown history, long storage periods or previous budget repairs. A dependable clutch job is about the full working system, not only the friction plate. At Bull Motif Mini Spares, that is often the difference between a quick fix and a repair that actually stays fixed.
A Classic Mini will usually tell you when something in the clutch setup is not quite right. Listen to it, check the details, and take your time with the fitting – because getting it right once is always easier than doing it twice.