A leaking side-mounted radiator on a Classic Mini rarely gives you much notice. One day the temperature is steady, the next you are topping up coolant, watching the gauge and wondering whether the fan is doing enough. If you are looking up how to replace mini radiator parts, the good news is that it is a very manageable job for a home mechanic, provided you take your time and fit the right components.
On a Mini, the radiator arrangement is a bit different from many other classics, so it pays to work methodically. Access is tighter, the fan and shroud can complicate removal, and a tired engine steady or collapsed mounts can make clearances worse than they should be. None of that makes the job difficult, but it does mean a rushed approach usually ends in scraped knuckles, bent fins or a coolant leak that sends you back in again.
Before you replace a Mini radiator
First, make sure the radiator is actually the problem. Coolant around the front of the engine bay can come from the top hose, bottom hose, heater hose connections, the tap or valve arrangement on some cars, or the water pump. A split seam on the radiator, corrosion in the core, or persistent blockage are the usual signs the radiator itself is finished. If the car has been overheating but the radiator is not leaking, it is still worth checking ignition timing, thermostat condition, fan fitment and whether the block or system is partially silted up.
If you are replacing the radiator, this is also the right time to inspect related parts. Old hoses, weak clips, a perished cowl, worn fan blades or a suspect thermostat can all undermine a new cooling setup. On a Classic Mini, one worn part tends to expose the next weak point soon enough.
Tools and parts you will usually need
A straightforward radiator change does not need specialist workshop gear. A decent socket set, screwdrivers, pliers, a drain tray and fresh coolant will cover most of it. It also helps to have rags, penetrating oil and a torch to hand. Cars that have not been apart in years often put up more of a fight at the fixings than in the actual removal.
For parts, most owners will want more than just the radiator itself. New hoses and clips are sensible if the old ones are hard, swollen or cracked. If the fan switch, sender, mounting rubbers or shroud fixings look tired, change them while access is good. This is one of those jobs where fitting quality parts saves doing it twice.
How to replace mini radiator step by step
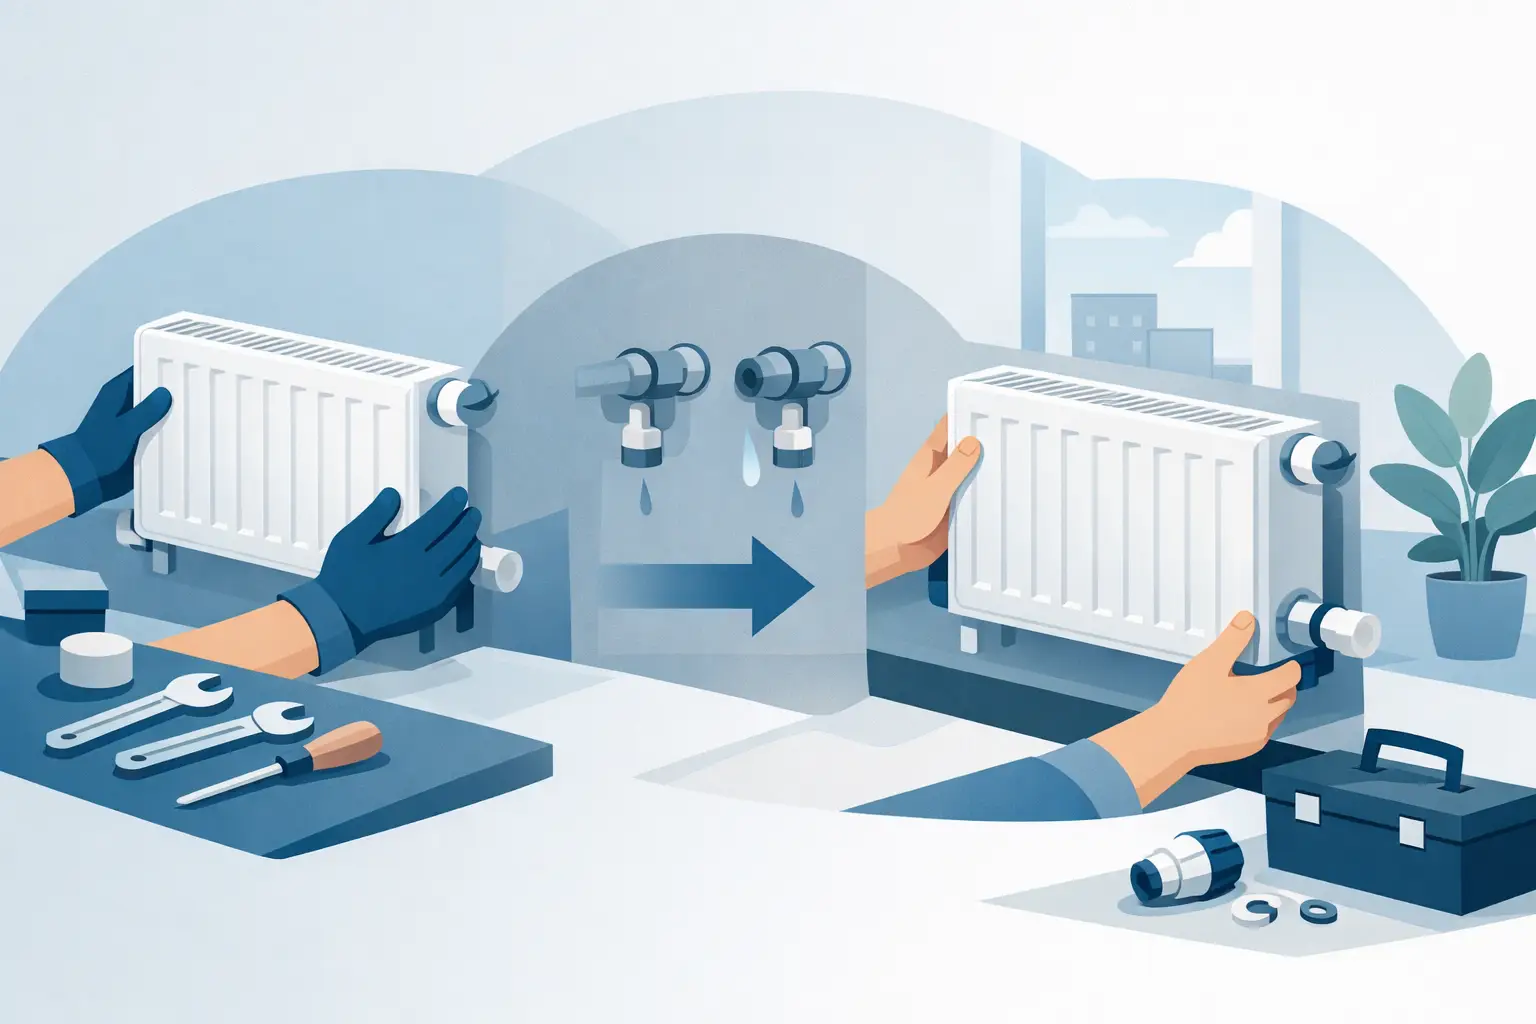
Start with the engine completely cold. Remove the radiator cap slowly, then position a drain tray underneath and drain the cooling system. Depending on the setup and condition of the car, that may mean removing the bottom hose rather than relying on a drain point. Coolant goes everywhere if you are not ready for it, so give yourself space and keep it off belts and painted surfaces where possible.
Once drained, remove the hoses from the radiator. If they are stuck, do not attack the necks with brute force. Gently twist the hose to break the seal first. On older radiators, the metal can already be weakened by corrosion, and it does not take much to distort a neck.
Next, deal with the fan shroud and fan clearance as required by your particular setup. On some Minis, especially where tolerances are tight or non-standard parts are fitted, you may need to remove the fan or loosen surrounding components to get the radiator out cleanly. This is where patience matters. Forcing the radiator past the fan usually damages the fins and can crack an older unit.
Undo the radiator mounting bolts and brackets, keeping note of any spacers, rubbers or packing pieces. Minis have often been repaired, modified or rebuilt over the years, so do not assume everything is exactly as the factory intended. A quick photo before removal can save head-scratching when it is time to refit.
With the fixings free, lift or manoeuvre the old radiator out carefully. If it catches, stop and check what is still holding it. The usual culprits are the fan, shroud, hose remnants or a bracket that is still partly engaged. Once the radiator is out, inspect the mounting area properly. Clean away old debris, check the condition of the cowl and look for signs of rubbing or previous poor alignment.
Fitting the new radiator
Before installation, compare the new radiator with the old one. Check overall size, mounting points, hose neck positions and any fittings for sensors or taps. It sounds obvious, but catching a mismatch now is far better than discovering it halfway through assembly.
Transfer any reusable fittings only if they are genuinely in good order. If a switch, plug or rubber mounting has seen better days, replace it. The extra cost is minor compared with draining the system again next week.
Offer the new radiator into place carefully and loosely fit the mountings first. Do not tighten one side fully while the rest is still floating. Let the radiator settle into its natural position, then tighten evenly. This helps prevent stress on the frame and keeps hose alignment sensible.
Reconnect the hoses using fresh clips where needed. The clips should be snug, not crushed to within an inch of their life. Over-tightening can damage hose ends and distort softer fittings. If you are fitting new hoses, make sure they sit naturally without kinking. A hose under tension is a future leak waiting to happen.
If the fan or shroud was removed, refit those parts and rotate the fan by hand to make sure there is proper clearance. This is especially important on cars with aftermarket engine mounts, different fans or slightly shifted powertrains. A fan clipping the shroud or radiator is a quick way to ruin your day.
Refilling and bleeding the cooling system
Once everything is secure, refill with the correct coolant mix for the car. Pour slowly to reduce trapped air and keep an eye on hose joints as the level rises. Some owners rush straight to the brim, fit the cap and hope for the best. Better to fill steadily, let the system settle and top up as needed.
Start the engine and allow it to warm through with the heater circuit considered if fitted to your setup. Watch for leaks immediately around the hose joints, radiator seams and any transferred fittings. As the engine reaches temperature, check that coolant begins to circulate properly and that the temperature stays under control.
After the thermostat opens and the engine has had a proper warm-up, switch off, let it cool fully and recheck the level. It is common for the system to need a small top-up after the first heat cycle. Also check clip tightness once the hoses have warmed and settled, but again, do not overtighten.
Common problems after replacing a Mini radiator
If the car still runs hot after the new radiator is fitted, the fault may be elsewhere. A blocked engine, weak water pump, incorrect timing, lean running or poor airflow can all mimic radiator trouble. On tuned or hard-driven Minis, cooling demands are higher, so a marginal system gets found out quickly.
If there is a leak after refitting, look first at hose seating and clip position. Many leaks come from a hose not sitting squarely on the neck, or from an old hose that looked acceptable until it was disturbed. A tiny seep now will become a proper drip once the system is fully hot and pressurised.
Rattles or contact marks near the fan and shroud usually point to alignment. Engine steadies and mounts are worth checking if the engine sits differently under load. A brand-new radiator will not stay new for long if the fan is kissing it every time you blip the throttle.
When it makes sense to replace more than the radiator
A Mini cooling refresh often works best as a package rather than a single-part fix. If the radiator has failed because of age, the hoses, thermostat and cap are often on similar time. For cars used in traffic, summer events or spirited road driving, reliability matters more than squeezing one more season out of old rubber.
That is also why many owners source cooling parts from a Mini specialist rather than a general factor. Fitment accuracy, the right variations for the car, and decent quality control make a real difference on a job like this. Bull Motif Mini Spares works with owners who want parts that match the reality of maintaining a Classic Mini, not just something that looks close enough in a catalogue photo.
Final checks after a road test
Once the car has idled cleanly and shown no leaks, take it for a short run and keep an eye on the temperature gauge. Do not head straight into heavy traffic or a long motorway pull. Give the system a chance to prove itself under normal conditions first.
Back in the garage, inspect everything again with the engine cooled. Look for any fresh staining, a drop in coolant level or signs of fan contact. If all is dry and stable, you can be fairly confident the job is done properly. A well-fitted radiator should quietly do its work in the background, which is exactly what you want from any Classic Mini cooling part.