A Mini door that drops as soon as you open it is usually telling you the same thing – the hinges are worn, the screws have had enough, or the door has shifted after years of use. If you’re looking up how to replace mini door hinges, chances are you’re already fed up with a door that catches, rattles or needs lifting to shut properly. The good news is that it is a very manageable job on a Classic Mini, provided you take your time and pay attention to alignment.
This is not just a case of swapping one part for another and nipping the screws up. On a Mini, door fit affects shut lines, latch operation and how the car feels every time you use it. Get it right and the door closes cleanly without dropping. Get it wrong and you’ll be back at it again, usually with chipped paint and bad language.
When a Classic Mini needs new door hinges
Hinges do wear gradually, so the problem often creeps in. You may notice the rear edge of the door sitting low, the latch needing a slam to catch, or the leading edge of the door rubbing near the wing or A-panel. Sometimes the hinge itself is visibly loose. In other cases, the wear is in the hinge pins, the mounting holes, or the fixings.
Before you order parts, it is worth checking that the fault really is in the hinges. A badly adjusted striker plate, rotten door frame, previous accident repair or worn check strap can mimic hinge trouble. Lift the open door gently from the outer edge. If there is obvious movement at the hinge area, that usually points to wear. If the door shell feels solid but the alignment is poor, you may also be dealing with past repairs or body movement.
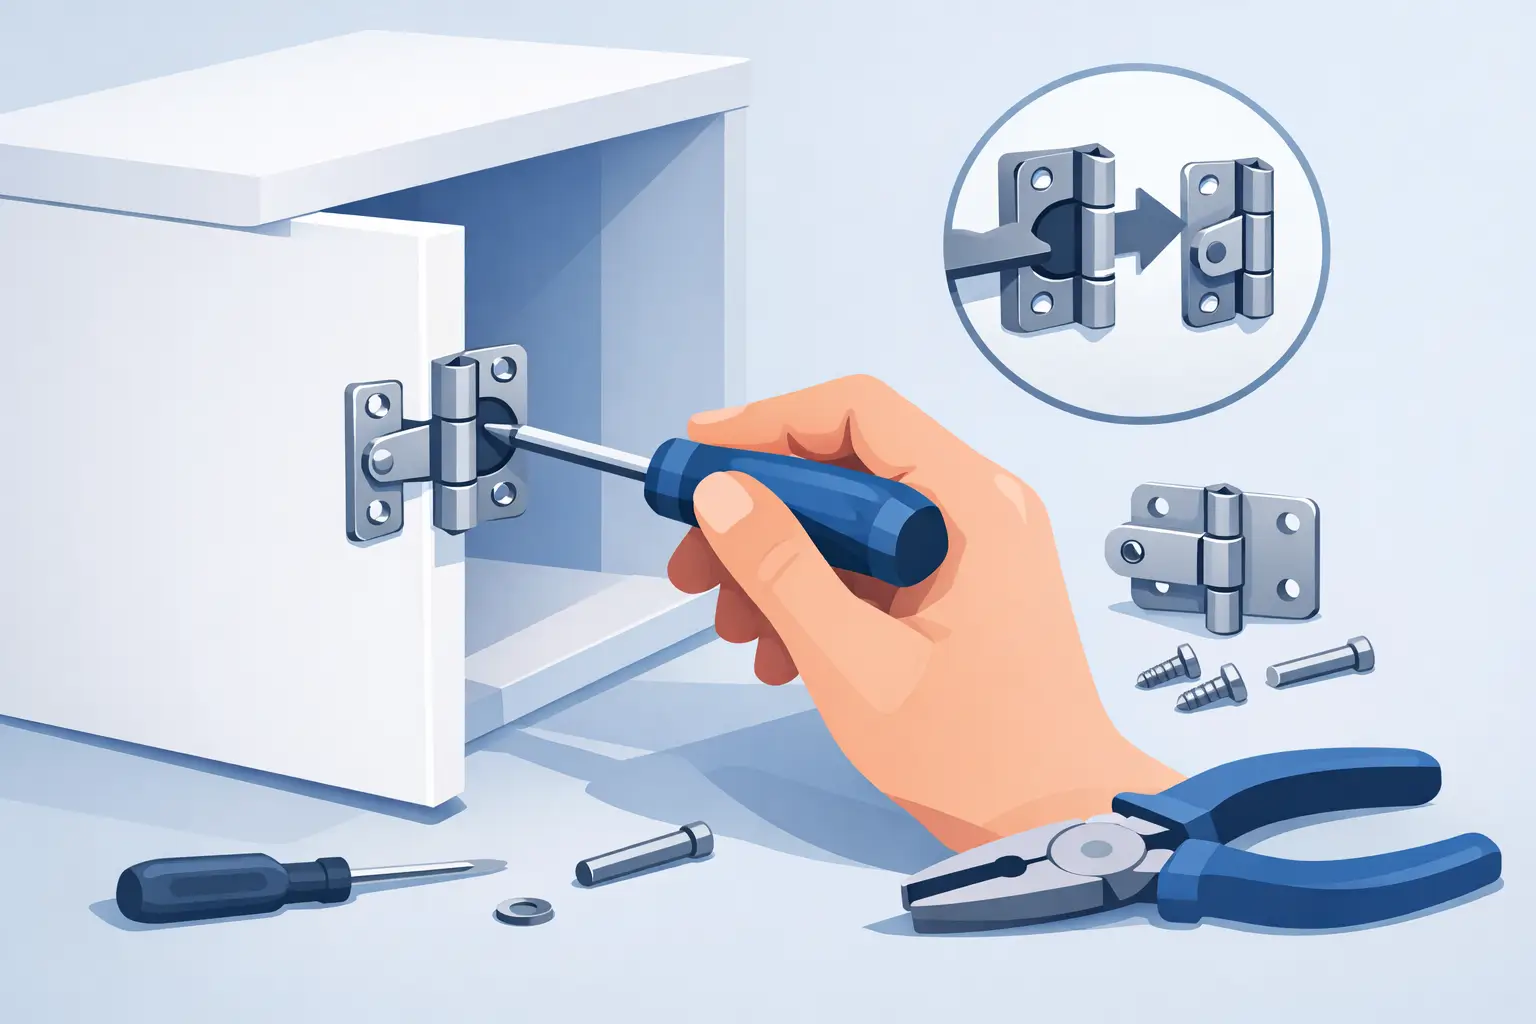
Tools and parts to have ready
For most hinge replacement jobs, you’ll want a decent screwdriver or bit driver, the correct spanners or sockets, masking tape, a marker, a jack or support stand, and a folded towel or pad to protect the paint. A second pair of hands helps far more than people like to admit. Mini doors are not massively heavy, but they are awkward enough to shift while you are trying to protect paint and line up screws.
As for parts, buy good-quality hinges and inspect the fixings before reusing anything. Old screws with chewed heads are false economy. If the captive threads or mounting points are damaged, deal with that at the same time rather than hoping the new hinge will somehow tighten everything up.
How to replace mini door hinges without losing alignment
The cleanest way to approach the job is to disturb as little as possible. If your existing door fit is not far off, mark everything before undoing anything. A strip of masking tape around the hinge positions on the door and body gives you a clear reference. A fine marker line can save a lot of trial and error later.
Start by winding the window up fully and supporting the bottom of the door. A jack with a block of wood can work, but a padded stand is often easier to control. The idea is to hold the door in its natural position, not force it upwards. If you lift it too much, you can end up removing one problem and creating another.
If you are replacing one hinge at a time, begin with the better-looking side of the job and see how much adjustment room you have. On many Minis, changing one hinge at a time helps preserve the original fit. If both hinges are badly worn, though, the door may shift as soon as you undo the first one, so be ready for a bit more alignment work.
Undo the fixings carefully. If the screws are tight, resist the urge to attack them at an angle. That is how heads get rounded and paint gets damaged. A properly fitting driver and steady pressure is the safer route. Once the old hinge is off, compare it to the new part before fitting. It sounds obvious, but checking handedness, hole spacing and profile now is quicker than finding out after everything is half assembled.
Fit the new hinge loosely at first. Do not fully tighten anything until all the fixings are started and the door can still move slightly for adjustment. Repeat the process for the second hinge if required, always keeping the door supported.
Setting the door up properly
This is the part that makes the difference between a passable repair and a proper one. With both hinges in place but still slightly loose, close the door gently and look at the shut lines. On a Classic Mini, you are aiming for an even gap that allows the door to close without the latch dragging or the skin fouling surrounding panels.
If the rear edge of the door is low, raise the support slightly and retighten in small steps. If the front edge is too close to the wing or A-panel, adjust the hinge position accordingly. Minor changes at the hinge can make a noticeable difference at the back of the door, so avoid overcorrecting.
You also need to pay attention to how far in or out the door sits relative to the body. A door can have acceptable gaps and still sit proud, which will affect weather sealing and the feel of the latch. Sometimes this takes a few attempts. That is normal. Classic Minis were not built to modern tolerances, and many have had decades of repairs, replacement panels and repainting.
Once you are happy with the fit, tighten the hinge fixings evenly and recheck the alignment before moving on to the striker. Tightening can shift things slightly, especially if the screws pull the hinge into worn mounting faces.
Adjusting the striker after hinge replacement
If you’ve fitted new hinges, the striker plate may no longer be in the ideal position even if the old one was fine before. This catches plenty of people out. They replace the hinges, shut the door, and assume the latch is still the problem.
Close the door gently and watch how the latch meets the striker. It should engage cleanly without the door needing to lift or drop as it shuts. If it does, loosen the striker just enough to move it in small increments. Again, mark the starting position first. A tiny adjustment often transforms how the door closes.
Do not use the striker to compensate for badly aligned hinges. It should fine-tune the latch engagement, not drag the whole door into place. If the door has to be slammed, revisit the hinge position before blaming the lock.
Common problems when replacing Mini door hinges
The biggest one is seized or damaged fixings. On older cars, especially restored or repainted ones, screws may have been overtightened, painted over or fitted with the wrong hardware. If a fixing fights you, take the time to free it properly rather than tearing the mounting area up.
Another common issue is worn mounting holes or weak metal around the hinge area. New hinges will not cure that on their own. If the metalwork is tired, you may need repair work before the door will hold adjustment properly.
There is also the question of door shell condition. A Mini with corrosion in the frame, tired seams or previous poor repairs can show hinge symptoms even when the hinges are new. If the door twists or the gaps change as you open and close it, inspect the structure before chasing alignment forever.
Quality of parts matters too. Cheap hinges that are poorly machined or badly finished can introduce play straight out of the box. For a car like a Classic Mini, fit and consistency count. One properly made hinge is worth more than two bargain parts that leave you doing the same job twice.
Is it a DIY job or one for a bodyshop?
For most home mechanics, replacing Mini door hinges is a sensible driveway or garage job. If the car is solid, the screws come out cleanly and the door only needs minor adjustment, it is straightforward enough with patience. It suits owners who are already comfortable with trim, fixings and panel alignment.
Where it becomes more of a bodyshop job is when the hinge area is damaged, the shut lines are already poor, or the car has had previous structural work. Fresh paint also changes the risk. If you are working on a newly finished shell, one slip with a hinge or screwdriver can be expensive. In that case, caution is money well spent.
Getting a better result first time
If you want the job to go smoothly, treat it like a fitting job rather than a simple removal and refit. Clean the mounting faces, compare old and new parts carefully, and check each stage before tightening everything home. It is slower at the start, but usually quicker overall.
This is also one of those jobs where buying the correct parts from a proper Mini specialist pays off. The Classic Mini has enough quirks without adding guesswork over fitment. A supplier that understands the difference between models, years and body fittings can save you a lot of frustration before the spanners even come out.
A well-fitted Mini door should not need lifting, slamming or persuading. When the hinges are right, the whole car feels tighter and better cared for – and that is exactly the sort of detail that makes an old Mini nicer to use every single day.