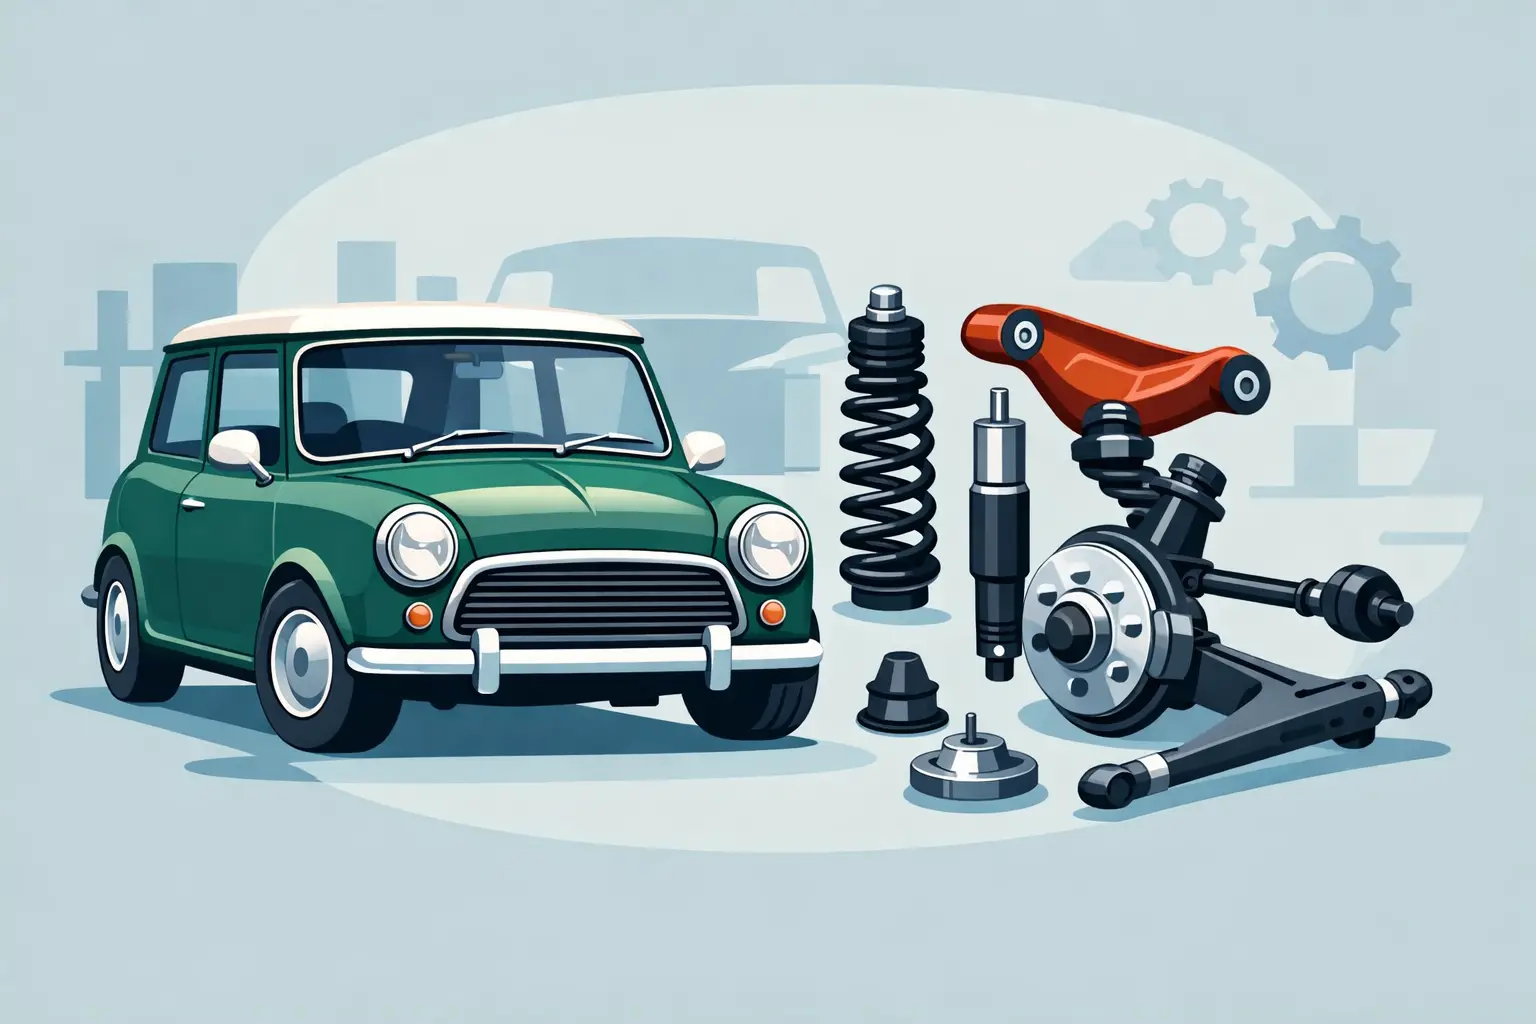
A Classic Mini can feel remarkably sharp on a good front end. It can also tramline, knock over potholes, wander under braking and chew through tyres when the front suspension has been neglected. This Mini front suspension guide explains what is underneath the car, how the parts work together and what to inspect before ordering replacements.
The key point is that a Mini’s front suspension is a system. Replacing one visibly worn joint may quieten a noise, but tired rubber cones, incorrect ride height or loose subframe mountings can still leave the car feeling vague. Start with a proper inspection and build the job around the condition of the whole assembly.
How Classic Mini front suspension works
Most Classic Minis use the familiar rubber cone suspension system. At the front, the rubber cone sits in the subframe and transfers load through an alloy trumpet and knuckle joint to the lower arm. As the wheel rises, the rubber cone compresses and provides the springing.
This compact arrangement is one reason the Mini has so much interior space for its size. It also means the ride and handling are closely affected by the condition of parts that are often hidden in the subframe. A Mini with original, collapsed rubber cones may sit low and feel harsh, while one fitted with poor-quality joints or bushes can lose the precise steering response that makes these cars enjoyable.
Earlier Hydrolastic Minis are different. Their front and rear suspension units are linked by fluid-filled pipes, so they need model-specific parts and servicing knowledge. Do not assume rubber-cone components will suit a Hydrolastic car simply because both are Classic Minis.
At the front of a rubber-cone Mini, the main working components are the upper arms and their pivot shafts, lower arms, tie rods, ball joints, knuckle joints, trumpets, rubber cones and dampers. The front subframe, mounting bushes and wheel bearings matter just as much because they locate the entire assembly.
Mini front suspension guide: diagnose before buying
A road test can point you in the right direction, but inspection is where you find the cause. Park on level ground, check tyre pressures first, then look at the vehicle’s stance. A Mini leaning to one side, sitting very low at the front or showing a clear height difference from left to right deserves further investigation.
Knocking over rough surfaces commonly comes from worn ball joints, loose upper arm pivots, tired tie-rod bushes, worn lower arm bushes or loose dampers. A dull knock can also be caused by a failed knuckle joint, where the nylon cup has worn or the joint has run dry. These parts work under significant load, so any free play is worth taking seriously.
Steering that pulls, wanders or follows cambers may be caused by worn bushes or joints, but alignment must not be overlooked. Bent tie rods, incorrect caster settings, uneven ride heights and worn tyres can all produce similar symptoms. A fresh pair of ball joints will not correct poor geometry.
Uneven tyre wear is especially useful evidence. Wear on one shoulder can suggest incorrect tracking or camber, while feathering often points towards tracking issues. If the tyre has worn unevenly after a recent suspension rebuild, re-check the installation and have the geometry set professionally.
With the front of the car safely supported, grasp each wheel at the 12 and 6 o’clock positions and check for movement. Play may come from a ball joint or wheel bearing. Movement at 3 and 9 o’clock can indicate steering wear, though the full front end should be examined rather than diagnosed from one test alone. Never work beneath a Mini supported only by a jack.
The parts most often renewed together
When a front corner is stripped for restoration or major servicing, it usually makes sense to renew associated wear items rather than reusing old components simply because they are still fitted. Labour and alignment are often the bigger cost, particularly if a garage is doing the work.
Rubber cones, trumpets and knuckle joints
Rubber cones harden and settle with age. The result is reduced ride height and a firmer, less controlled ride. Replacement cones can transform a tired car, but fitting them requires the correct compression tool. Trying to force a cone into place with improvised methods risks damage to the part, the subframe and, more importantly, the person doing the job.
Fixed trumpets are correct for many standard applications. Adjustable trumpets give more control over ride height and can be useful where the car has been modified, but they are not a substitute for sound cones or correct assembly. Set the car up evenly, allow new cones to settle, then check the final height and geometry.
The knuckle joint is small but essential. It forms the loaded connection between the trumpet and lower arm. If the nylon cup is worn, split or dry, renew it. Use the correct grease where specified and make sure the gaiter is properly seated to keep dirt and water out.
Ball joints, arms and bushes
The upper and lower ball joints locate the hub and allow it to move through suspension and steering travel. Excessive play affects handling, tyre wear and braking stability. Quality ball joints are worth fitting, and they must be adjusted and secured according to the workshop procedure. A ball joint that is too tight can bind; one that is too loose will quickly develop play.
Upper arms pivot on shafts within the front subframe. Worn shafts, bushes or needle rollers can create movement that is not always obvious until the arm is removed. Check the arm itself for wear around the pivot area and inspect the grease nipples where fitted. Regular greasing is basic Mini maintenance, not an optional extra.
Lower arms and tie rods use bushes that control fore-and-aft movement. Standard rubber bushes generally suit a road car and preserve a more compliant feel. Polyurethane bushes can offer firmer location and longer service life in some positions, especially on a fast-road or competition build, but the trade-off can be more vibration and less give over poor roads. Mixing bush types without a plan can leave the car feeling inconsistent.
Dampers, wheel bearings and subframe mounts
Dampers do not carry the car’s weight, but they control how quickly the suspension moves. Weak dampers allow excess bounce and reduce tyre contact on uneven roads. Replace them as a pair across the axle, and choose a specification that matches how the Mini is used. A standard road car rarely benefits from the harshest setting available.
Wheel bearings should turn smoothly with no roughness or play. While the hubs are apart, inspect the drive flanges, CV joints and seals as well. Oil or grease contamination around the brakes needs attention before the car goes back on the road.
Finally, inspect the front subframe mountings and the subframe itself. Corrosion around mounting points, cracked metalwork or perished mounting bushes can make even new suspension parts feel loose. On a restoration, this is the time to deal with access and condition properly rather than fitting new components to a compromised subframe.
Geometry matters after any rebuild
A Mini’s front geometry is not something to judge by eye. Tracking, camber and caster influence straight-line stability, steering weight, turn-in and tyre life. Ride height has a direct effect too, so setting alignment before new cones have settled or before adjustable trumpets are set can waste time and money.
For a standard road Mini, aim for a sensible, even setup rather than chasing an aggressively low stance. Lowering can improve the look and, with the right supporting changes, sharpen response. It can also reduce suspension travel, increase bump steer and make the car unpleasant on typical British roads. The best specification depends on whether the car is a weekend show vehicle, a daily driver, a quick road Mini or a track-focused build.
If you are changing tie rods, arms, cones and bushes, plan for a full alignment once the car is assembled, settled and at its intended ride height. Tell the alignment specialist what components have been fitted and how the Mini will be used.
A sensible rebuild order
For a complete front-end refresh, inspect the subframe and mountings first, then strip and assess the arms, pivots and hubs. Renew the rubber cones, trumpets and knuckle joints while access is open. Fit sound ball joints, bushes and dampers, then rebuild with correct torque settings, lubrication and new locking hardware where required.
Do not rush the final stages. Check that brake hoses are not stretched or rubbing through steering lock and suspension travel. Confirm that gaiters are seated, grease points are accessible and every fastener has been tightened correctly. Only then should the car go for alignment and a careful bedding-in drive.
Bull Motif Mini Spares can help owners source the model-specific suspension parts needed for a straightforward service or a fuller restoration. Start with the faults you can prove, replace related wear items where access makes sense, and give the finished car the geometry check it deserves. A properly sorted Mini front end does more than stop the knocks – it gives the car back the direct, eager feel it was built for.