A Classic Mini that has just had coolant work can look fine on the drive, then send the temperature needle climbing as soon as it is worked properly. Knowing how to bleed a Mini cooling system is what prevents an air pocket from turning a straightforward hose, radiator or water pump job into an overheating problem.
Most classic Minis do not have a dedicated bleed screw. The radiator filler neck is normally the highest practical fill point, so bleeding is mainly a matter of filling slowly, getting the thermostat to open, circulating the coolant and rechecking the level once the engine is completely cold. It is simple work, but rushing it is where trouble starts.
Before you bleed the Mini cooling system
Never remove the radiator cap on a hot engine. A pressurised cooling system can release boiling coolant without warning. Leave the Mini until the radiator, top hose and cap are cool enough to touch comfortably before starting.
You will need the correct coolant mixture, a clean funnel, a container for any old coolant and a few rags. Keep pets away from drained coolant: antifreeze is highly toxic, even in small amounts. If the system has been emptied, check that the bottom hose, bypass hose, heater hoses, drain point and radiator connections are all secure before filling it.
Use the coolant type and concentration suited to your Mini and its components. A typical 50/50 mix of quality antifreeze and deionised water provides corrosion protection as well as frost protection, but always consider the specification of the coolant being used and any requirements of an aluminium radiator or upgraded engine. Plain water may get you home in an emergency, but it is not a long-term answer for a road car.
Set the heater control to hot before you begin. This opens the heater valve on Minis fitted with one and gives coolant the best chance of filling the heater circuit. A stiff cable, seized valve or blocked heater matrix can create its own circulation problems, so do not assume moving the dashboard control guarantees the valve has opened.
How to bleed a Mini cooling system step by step
1. Fill the radiator slowly
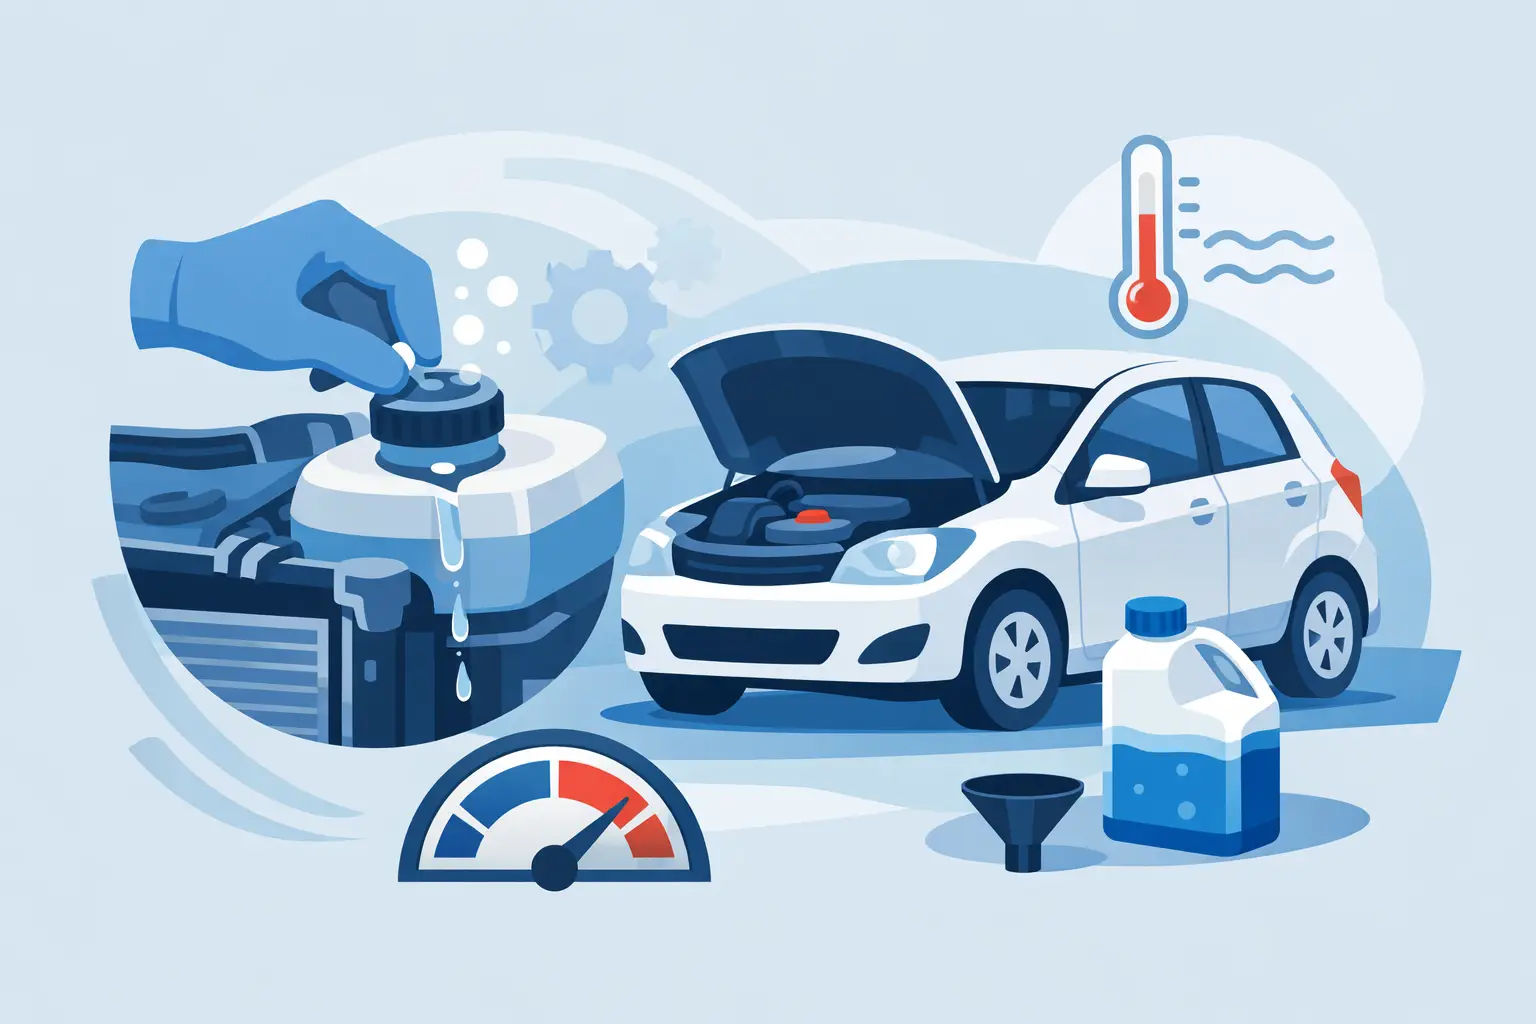
With the engine cold and the radiator cap removed, pour coolant into the radiator slowly. Filling too quickly can leave air sitting in the cylinder head, heater hoses or thermostat housing. Pause every so often and gently squeeze the top and bottom hoses to encourage trapped air towards the filler neck.
Bring the level close to the base of the filler neck. Do not overfill it to the very top and immediately fit the cap. The system needs time to settle, particularly after a full drain or a new radiator installation.
Look beneath the car while filling. A drip at a hose clip, radiator core, heater valve or water pump is easier to deal with now than after the engine reaches temperature. Also check the small bypass hose between the cylinder head and water pump on engines that use one. These short hoses work hard, are often overlooked and can be awkward to replace once split.
2. Run the engine with the cap off
Start the engine and let it idle with the cap still off. Keep hands, clothing and tools clear of the fan and fan belt. As the coolant begins to circulate, the level may drop and small bubbles may rise into the filler neck. Top it up gradually as required.
Do not expect the thermostat to open immediately. Until it does, the top hose may remain relatively cool and there may be little movement in the radiator. Let the engine warm steadily rather than revving it hard on the drive. Excessive revs can splash coolant out of the open neck and do not make the bleeding process better.
Keep an eye on the temperature gauge. If it rises sharply before the top hose warms, switch the engine off and allow it to cool. This can indicate a substantial airlock, a stuck thermostat, poor water pump circulation or another fault that needs investigating before continuing.
3. Confirm thermostat opening and heater warmth
Once the thermostat opens, the top hose should become hot and coolant movement at the filler neck may become more noticeable. The heater should also begin to blow properly warm air when the interior fan is on. A cold heater while the engine is warming can point to air in the heater circuit, a closed or blocked heater valve, or a restricted matrix.
At this point, gently squeeze the top hose and the heater hoses using a rag if they are hot. Do not grip soft, perished hoses aggressively. You are only encouraging remaining air to travel back to the radiator, not testing how much force an old hose can take.
Allow the engine to run long enough for the level to stabilise. Add coolant only as necessary. Constant heavy bubbling is not normal once the initial air has cleared. It can be caused by combustion gases entering the cooling system, especially if the engine has also been losing coolant, pressurising quickly from cold or producing persistent white exhaust smoke.
4. Fit the cap and complete a heat cycle
When the coolant level has settled, fit the correct radiator cap securely. The cap is part of the cooling system, not just a cover. Its pressure rating affects the coolant boiling point and how the system operates, so use the specification appropriate for your radiator and engine setup.
Let the engine reach normal running temperature, watching the gauge for any unusual rise. Check that the electric fan cuts in if your Mini has an electric fan conversion. On an original mechanical-fan setup, inspect from a safe distance and make sure there is no coolant being thrown from a leak around the radiator or hoses.
Switch off, let the Mini cool completely, then remove the cap and check the level again. This cold check is the part many people miss. As the engine cools, remaining small air pockets can contract and draw coolant into the system. Top up to the correct level if needed, refit the cap and inspect for leaks one final time.
A short road test tells you more than idling
Take the Mini for a gentle drive once it is fully reassembled. Keep an eye on the temperature gauge, particularly during the first few miles and when the engine is under load. After the drive, allow it to cool fully and recheck the radiator level again the following day.
An apparently bled system that needs repeated topping up is telling you something. Check hose clips, the radiator seams and core, the heater valve, water pump, thermostat housing and cylinder head gasket area. Coolant staining around a connection is useful evidence, even where there is no obvious puddle.
Common reasons a Mini still overheats after bleeding
Air is a common cause, but it is not the only one. Classic Minis can suffer from restricted radiator cores, weak radiator caps, collapsed lower hoses, worn water pumps, incorrect ignition timing and lean carburettor settings. A standard side-mounted radiator also has less reserve than some modern layouts, so a partly blocked core or missing fan shroud can show up quickly in traffic.
If the temperature climbs mainly at low speed but improves on the open road, consider airflow first. Check the fan orientation, radiator condition and whether an electric fan is switching correctly. If it overheats more under sustained load, investigate coolant circulation, tune and head gasket condition as well as the radiator.
Do not remove the thermostat simply to mask an overheating fault. The thermostat helps the engine reach and hold an appropriate operating temperature. A correctly rated, working thermostat and a clean cooling system are more reliable than a permanent workaround.
When parts replacement makes sense
If you have drained the system because of a failed hose, it is worth inspecting related rubber parts while access is good. Old bypass hoses, cracked heater hoses and tired clips can turn a small maintenance job into another coolant loss a month later. Likewise, a radiator that is heavily corroded, blocked or weeping is unlikely to improve with repeated flushing.
For restorations and regular-use Minis alike, fitting parts that suit the exact engine and radiator arrangement matters. Bull Motif Mini Spares stocks model-specific cooling components to help keep the job straightforward, whether you are replacing a hose, cap, thermostat, water pump or radiator.
A properly bled Mini cooling system should settle down without drama: a stable gauge, a warm heater, no coolant smell and no unexplained level drop. Give it the extra cold checks after the first run, and you will catch most problems before they become a roadside recovery.