A grumbling front corner, vague steering, or movement when you rock the wheel at 12 and 6 o’clock usually means the job has found you. If you’re wondering how to change mini wheel bearing parts on a Classic Mini, the main thing is to work methodically. It is not a difficult repair for a capable home mechanic, but it does need the right tools, careful pressing, and a close eye on related parts while you are in there.
When a Mini wheel bearing needs changing
Classic Minis do not hide wheel bearing wear for long. You will often hear a rumbling or droning noise that changes with road speed, and sometimes gets worse when cornering. In other cases, the first clue is play in the hub, uneven braking feel, or grease finding its way where it should not be.
It is worth checking that the noise really is the bearing before stripping the car. Tyre noise, worn CV joints on later cars, and even brake issues can send you in the wrong direction. Raise the car safely, support it properly, and check for roughness as the wheel turns by hand. If there is obvious movement or grinding, the bearing is usually the culprit.
Before you start the job
The exact method depends slightly on whether you are dealing with a front or rear hub, but the front is the more involved job on most Classic Minis. Either way, get the correct bearing kit for the application rather than trying to reuse old seals or make do with mixed parts. A proper kit normally saves time and avoids fitting a fresh bearing with tired hardware around it.
You will usually need a solid jack, axle stands, a large hub nut socket, spanners and sockets, a breaker bar, pliers, punches, a hammer, and ideally a press or suitable bearing fitting tools. Some owners manage with drifts and patience, but pressing bearings in squarely is always the better route. If you damage the new bearing during fitting, you are back where you started.
Have fresh split pins, grease where required, and replacement seals ready before the car is apart. This is also one of those jobs where a workshop manual earns its keep, especially for torque settings and the order of components.
How to change Mini wheel bearing at the front
Start by loosening the wheel nuts, then raise the front of the car and support it securely on axle stands. Remove the wheel and take off the brake caliper. Do not let the caliper hang by the hose – tie it up out of the way. Remove the brake disc and drive flange arrangement as required for your setup.
Next comes the hub nut. These can be very tight, and on an older Mini they may also be very keen to stay put. Remove the split pin or locking arrangement first, then crack the hub nut loose with the correct socket and a decent breaker bar. Once that is off, the hub assembly can be worked free from the driveshaft.
At this point, inspect everything you can see. If the CV joint splines are worn, the flange is damaged, or the swivel pin and ball joints have seen better days, it makes sense to deal with them now. Stripping the same corner twice is never a good bargain.
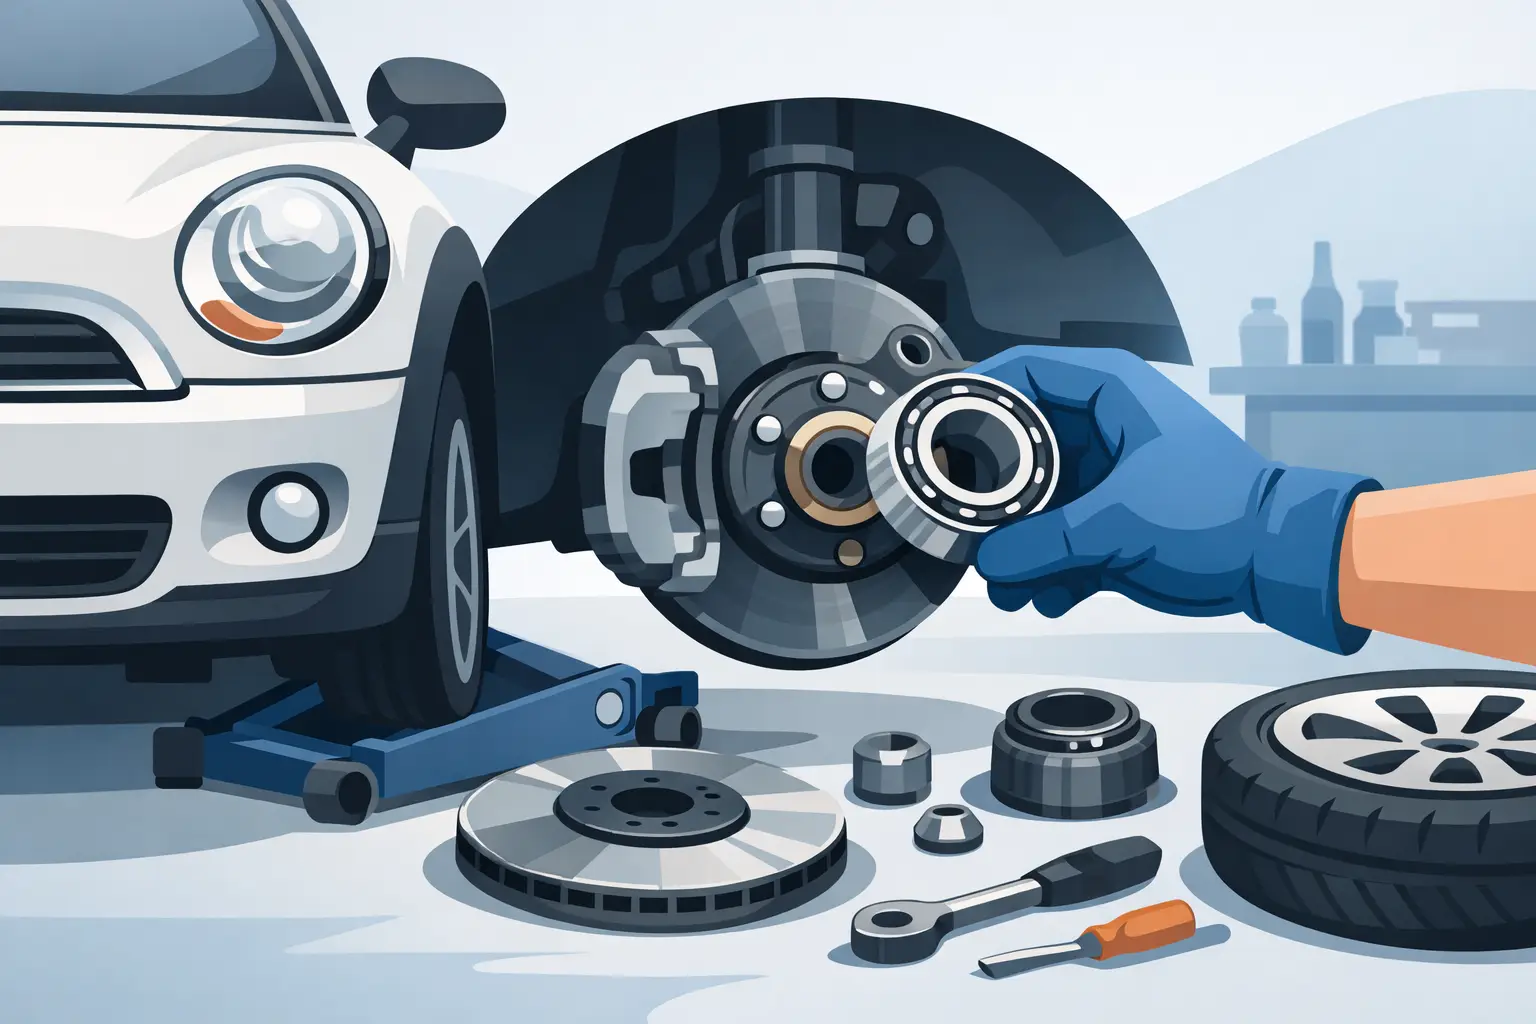
With the hub off the car, remove the old seals and circlips if fitted. The old bearing can then be pressed or driven out. This is where care matters. If the bearing has failed badly, the inner or outer race can separate and leave part of itself behind in the hub. Do not rush it. Clean the housing thoroughly once the old parts are out, and check for scoring, cracking, or oval wear. A new bearing in a damaged hub will not last.
Press the new bearing in squarely, supporting the hub correctly and only applying force to the outer race when installing into the hub. That point matters. Pressing through the wrong part of the bearing can damage it before the car even moves. Fit new circlips and seals in the correct order.
When refitting the hub to the car, make sure the driveshaft splines are clean and undamaged. Reassemble the components in the proper sequence, torque the hub nut to the correct figure, and fit a new split pin or locking retainer. Refit the brakes, then spin the hub by hand before the wheel goes back on. It should feel smooth, with no rough spots or excessive drag beyond normal brake contact.
Rear bearing changes are simpler, but still worth doing properly
If you need to know how to change mini wheel bearing parts at the rear, the job is generally more straightforward. Remove the wheel and brake drum, then take off the hub retaining nut and withdraw the hub. Depending on condition, it may slide off easily or need persuasion.
The rear bearing and seal can then be removed from the hub. Clean everything carefully and inspect the stub axle for wear or scoring. This is the bit that sometimes gets overlooked. If the stub axle is damaged, fitting a new bearing alone is only half a repair.
Install the new bearing and seal, grease where the manual specifies, then refit the hub and tighten the retaining nut to the proper torque. As with the front, smooth rotation and correct end float matter more than simply getting it back together quickly.
Common mistakes that shorten bearing life
Most wheel bearing failures after replacement are not down to a poor-quality part alone. More often, the problem is fitting damage, contamination, or another worn component left in place.
Driving a bearing in with uneven blows can bruise the races. Reusing old seals can let dirt and water in. Over-tightening or under-tightening the hub nut can upset preload or allow movement. Even a dirty housing can stop the bearing sitting properly.
It also depends on how the Mini is used. A fast road or competition car that sees hard cornering, wide wheels, and rough surfaces will naturally work bearings harder than a lightly used standard road car. In those cases, checking the whole hub assembly becomes even more important.
Parts worth checking while you are there
A wheel bearing job often reveals wear in nearby parts. On the front end, look closely at the drive flange, CV joint, hub nut, washers, seals, and brake components. If the disc is off, check pad wear and hose condition. If the hub is stripped, inspect the swivel pin setup and ball joints for play.
At the rear, pay attention to the stub axle, hub condition, brake shoes, wheel cylinders, and drum wear. If there is any sign of grease contamination inside the drum, clean it thoroughly and find the cause before reassembly.
This is where buying from a Mini specialist helps. Getting the right bearing kit, seals, and associated hardware in one go saves the usual stop-start repair where the car is stuck on stands waiting for one small but essential part.
Should you do it yourself or send it to a workshop?
That depends on your tools and how confident you are with hub work. If you have a press, a manual, and a decent understanding of how the assembly goes together, it is a very sensible home job. If you are relying on guesswork, poor tools, or a lot of force, it can quickly turn into a false economy.
There is no shame in removing the hub yourself and having the bearing pressed in by a machine shop if that gets the job done properly. Plenty of experienced Mini owners do exactly that. The key is not where the work happens, but whether the bearing goes in square, clean, and correctly assembled.
Final checks before the road test
Once everything is back together, pump the brake pedal before moving the car if the front brakes have been disturbed. Check all fasteners, confirm the split pins are fitted, and make sure the wheel turns freely with no obvious play.
On the road test, listen for noise, feel for vibration, and recheck the hub area afterwards. If anything feels hot, loose, or rough, stop and inspect it. A properly fitted bearing should run quietly and give the Mini a more settled, precise feel through the steering.
If you are tackling the job for the first time, take your time and do not cut corners on parts. A Classic Mini is light, simple, and rewarding to work on, but hub repairs still need care. Get the bearing, seals, and related fittings right, and you will only need to do the job once – which is exactly how most Mini owners like it.