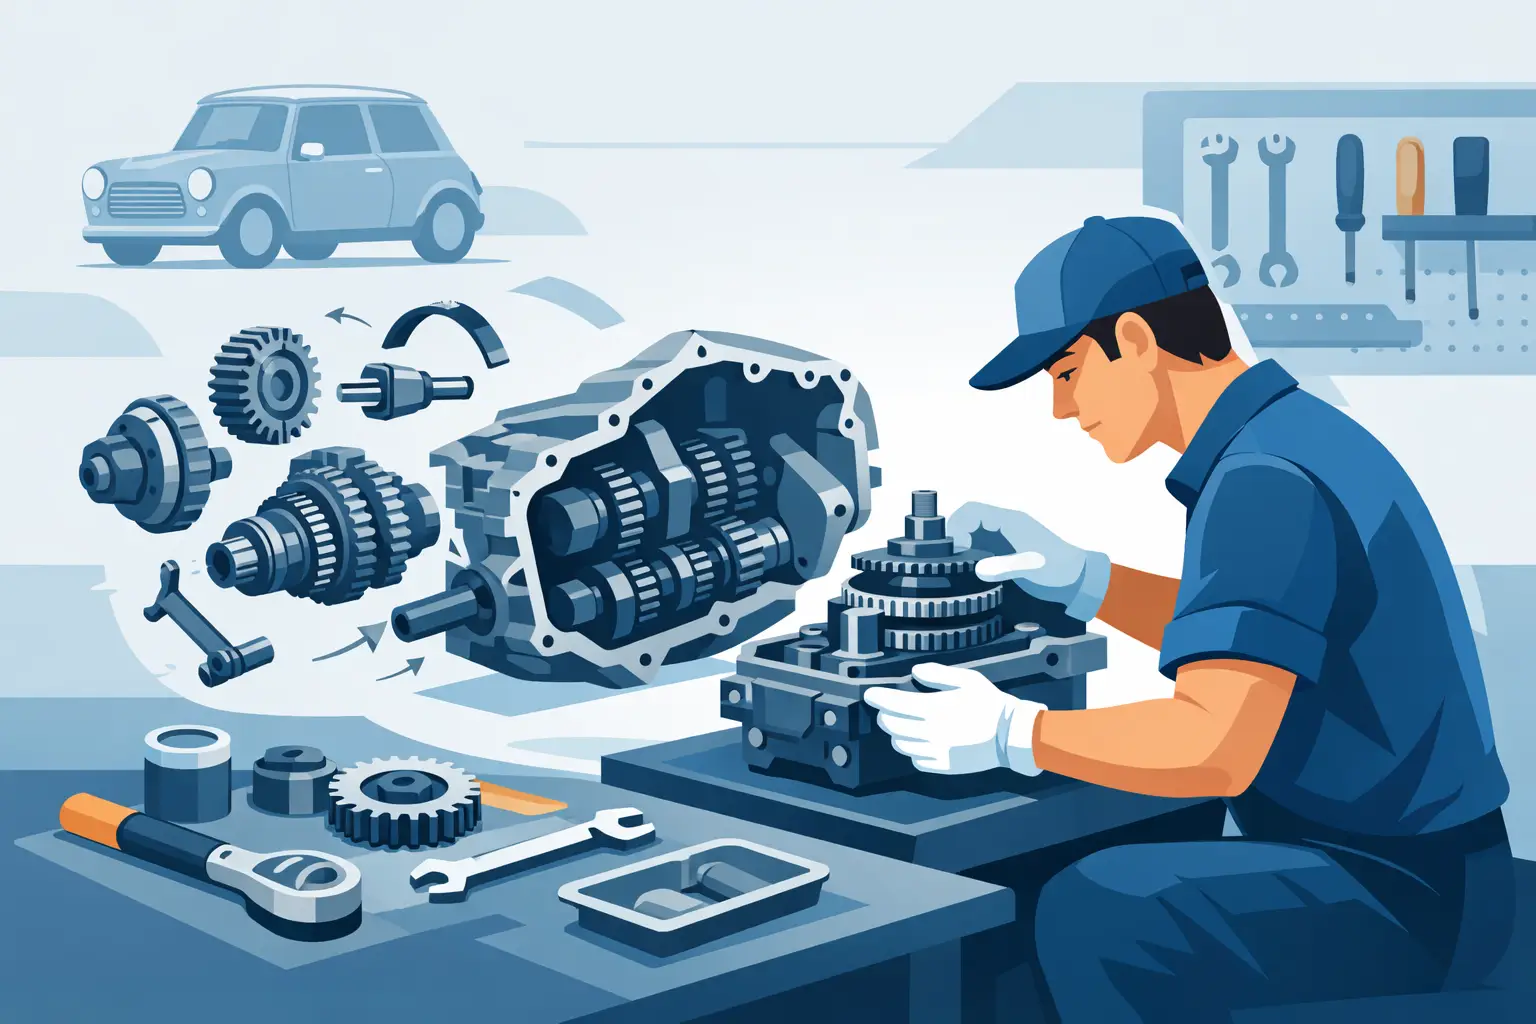
A Classic Mini gearbox rarely fails without giving fair warning. A whine that rises with road speed, a reluctant second gear, a jump out of gear on the overrun or glittering debris on the drain plug all point to wear that will not improve with more miles. This Classic Mini gearbox rebuild guide explains what is involved before you commit the engine and gearbox to the bench.
The Mini transmission sits beneath the engine and shares its oil. That compact design is clever, but it means gearbox wear, engine debris and unsuitable oil can all affect the same unit. A proper rebuild is therefore not just a matter of fitting a bearing kit. It is a careful inspection job, followed by accurate assembly with the correct clearances, settings and parts for your particular gearbox.
Start with the fault, not the parts list
Before removal, identify what the car is actually doing. A gearbox that whines in every gear but becomes quieter when the clutch is depressed may have worn mainshaft or layshaft bearings. A crunch only when selecting a particular gear is more likely to be a worn baulk ring, damaged engagement teeth or a selector issue. If reverse is difficult but the forward gears are clean, check clutch drag and clutch hydraulics before blaming the gearbox.
Drain the oil into a clean tray and inspect it properly. Fine metallic paste on the magnetic drain plug is normal to a degree. Chunks, needle rollers, bronze-coloured material or a heavy silver sheen are not. Keep any debris you find. It can reveal whether the trouble is from a bearing, a baulk ring or damaged gear teeth.
Also consider the car’s history. A 998 road car, a late 1275 with a rod-change transmission and an earlier remote-change unit share much of the same principle, but their casings, change mechanisms and internal details can differ. Do not order a rebuild kit simply on engine size or registration year. Identify the gearbox type and inspect the parts already fitted.
What a Classic Mini gearbox rebuild involves
A full rebuild normally means engine-out work. While experienced specialists can deal with certain faults more selectively, access to the transmission is limited when the power unit is in the car. Removing the engine and gearbox together gives the clean working space needed to assess the clutch, flywheel housing, differential and primary gear at the same time.
You will need a clean bench, a factory workshop manual or reliable model-specific data, measuring equipment and a way to keep components in order. A press is useful for bearings and gears, while pullers, circlip pliers, a torque wrench and a dial gauge are not optional luxuries if you are setting a transmission up correctly.
Cleanliness matters as much as the tools. Wash the exterior before opening the casing, then keep the internals away from grinding dust and old sealant. Lay parts out in removal order and label synchro hubs, selector forks and thrust washers. Many gearbox faults after a rebuild come from a reversed component, a missing shim or a part mixed up with one from another unit.
Strip it methodically
With the power unit out, remove the clutch assembly, flywheel housing, transfer case and differential as required for your gearbox. The primary gear deserves attention here. Its bearing surfaces, bush and needle roller arrangement must be examined closely, as wear can cause oil loss and clutch contamination as well as noise.
When splitting the gearbox casing, do not prise carelessly at the mating faces. Note the location of dowels, oil feed drillings, selectors and interlock parts. Take clear photographs as you go, particularly if this is your first Mini gearbox. Photographs are useful reference, but they do not replace the correct manual and specifications.
The gear clusters should be dismantled only once you have checked their general condition. Look for chipped teeth, blueing from heat, pitting on bearing tracks and damaged dog teeth where the gear engages with its synchro hub. A gear can look acceptable at a glance yet have engagement teeth rounded enough to cause it to jump out under load.
Inspect the parts that decide whether it lasts
Bearings are often the obvious replacement items, but they are not the whole job. Check the layshaft and its needle rollers with particular care. A worn layshaft can damage the casing itself, turning a straightforward rebuild into a search for a serviceable gearbox case. Any scoring, looseness or visible wear calls for replacement rather than wishful thinking.
Examine every baulk ring against its matching gear cone. It should sit proud and grip the cone rather than dropping down with little resistance. If the ring is worn, glazed or cracked, replace it. Fitting new baulk rings to badly worn gear cones is a compromise that may leave you with poor changes despite the time spent rebuilding.
Selector forks need checking for wear at their pads and for straightness. Their retaining screws must be secure, and the selector shafts should move freely without excessive play. Look over the detent springs and balls as well. They are small components, but poor detent action can make a gearbox feel vague or allow selection problems that are easily mistaken for internal gear wear.
The differential should not be ignored because the gearbox is open. Inspect the planet gears, cross pin, thrust washers and output shaft bearing surfaces. Check the final-drive teeth for damage and assess the condition of the pot joints and output seals. Replacing accessible seals now is cheaper than removing the power unit later to cure a leak.
Choose parts to match the build
A standard road Mini needs dependable original-specification parts and accurate assembly, not necessarily competition components. If the car has a tuned engine, regular track use or hard launches, it may justify uprated bearings, a stronger cross pin or a different final-drive ratio. Those choices bring trade-offs. A shorter final drive improves acceleration but raises cruising revs, while some performance gear sets can add noise or require other matched components.
Buy quality parts from a Mini specialist and compare them with the items removed before fitting. There have been several production changes across the Classic Mini range, and a part that is broadly described as suitable may not be correct for your exact transmission. Bull Motif Mini Spares can help owners source the transmission, clutch and sealing items needed around a well-planned rebuild.
Reassembly is a measurement job
Rebuild the shafts and gear trains in the correct sequence, using fresh circlips, tab washers and specified fasteners where required. Do not reuse a distorted lock tab or assume a new part is automatically ready to install. Check each gear, hub and baulk ring for free, correct movement as the assembly progresses.
Critical settings vary by gearbox design, but layshaft end float, differential bearing pre-load or clearance, primary gear clearance and selector alignment all deserve proper measurement. This is where the workshop manual figures matter. Guessing from feel can produce a gearbox that is tight when hot, noisy from excessive clearance or difficult to select once installed.
Use only the sealant specified for the mating surfaces and apply it sparingly. Excess sealant can squeeze inside the casing and block an oilway. Renew gaskets, oil seals and O-rings while access is easy, taking care not to damage seal lips during installation. Lubricate bearings and moving parts with suitable clean oil during assembly, rather than assembling the unit dry.
Before the casing is finally closed, operate the selector mechanism through every gear and confirm that the shafts turn as expected. Once assembled, turn the input and output components by hand, then recheck selector operation before the engine goes back in. It is far easier to correct a missed interlock piece or incorrectly positioned fork on the bench.
Refit, fill and run in carefully
When refitting the power unit, inspect the engine mounts, clutch release components, driveshaft gaiters and cooling hoses. These are all awkward jobs once the engine bay is full again. Set up the clutch correctly, refill with the oil specified for your engine and gearbox combination, and check for leaks before the first road test.
For the first few journeys, use the gears positively but do not subject the car to full-throttle starts or sustained high-speed running. Listen for new noises and check the oil level and drain plug after a short bedding-in period. A freshly rebuilt Classic Mini gearbox should feel precise, but it may need a little use before every new baulk ring and bearing settles in.
If you lack the measuring tools, data or confidence to set internal clearances, stripping the unit for inspection and handing the build to a Mini transmission specialist is a sensible route. The best rebuild is not the one completed quickest on the bench. It is the one that gives your Mini quiet, clean shifts and dependable miles when it is back where it belongs, on the road.