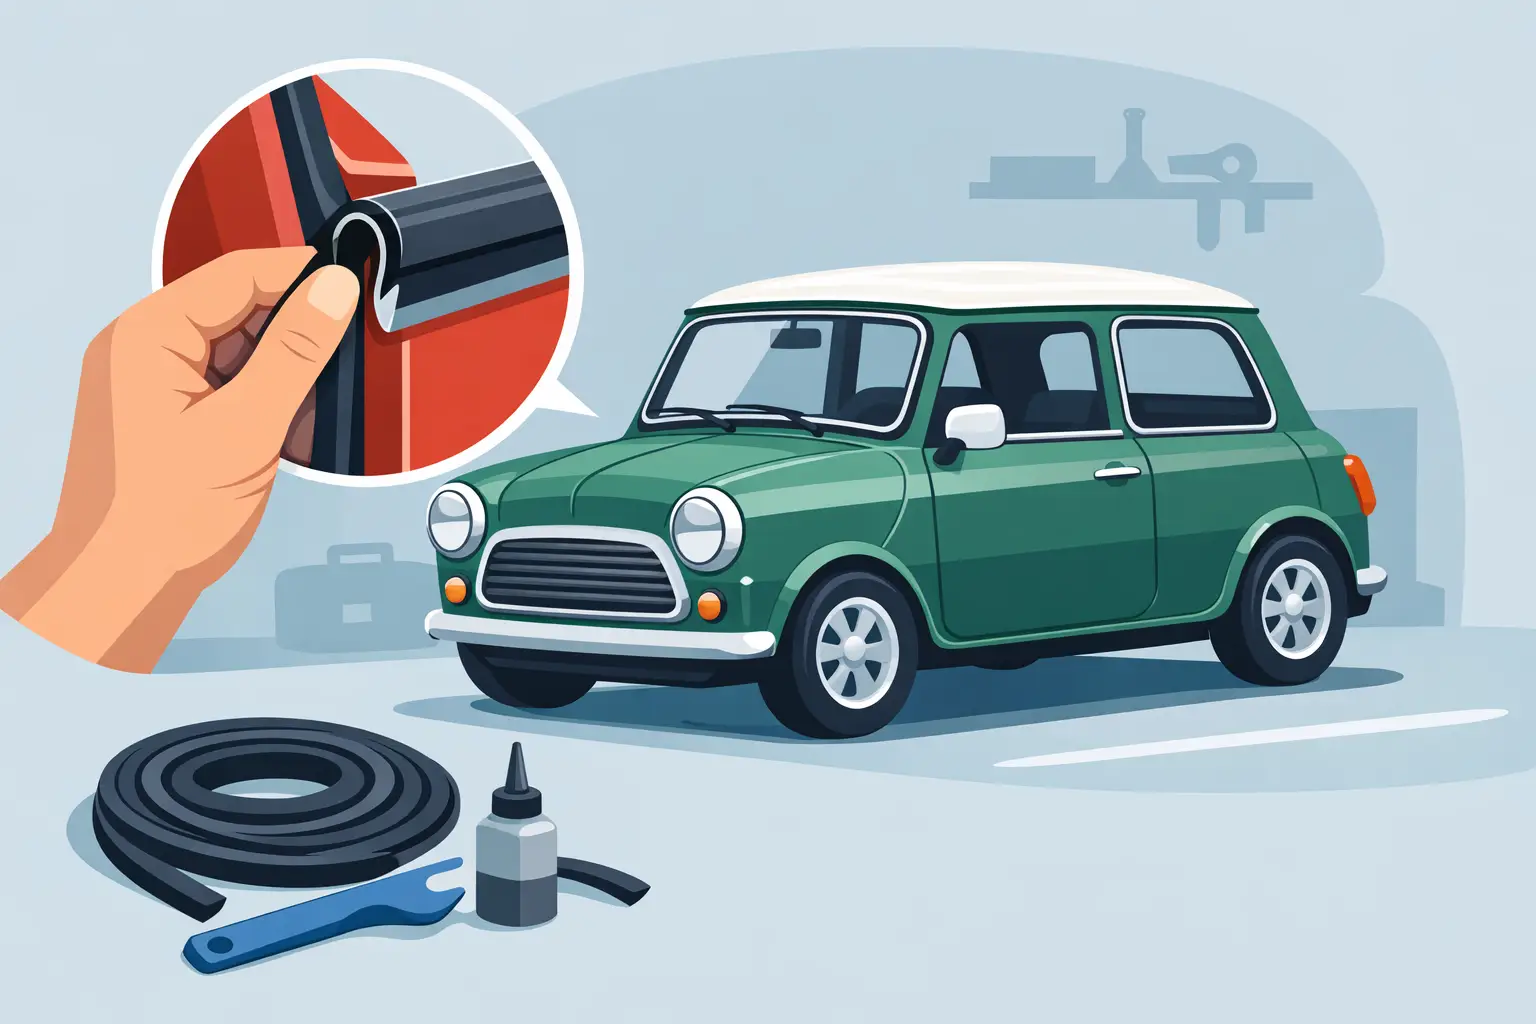
A tired door seal does more than let in a bit of road noise. On a Classic Mini, it can leave wet carpets, a persistent draught around the door frame and an annoying rattle that makes an otherwise well-sorted car feel unfinished. Knowing how to install mini door seals correctly means starting with the right profile, fitting it to a clean aperture and giving the doors time to settle afterwards.
This is a straightforward home job, but it is one where rushing creates problems. A seal fitted under tension can shrink back from the corners. One fitted over old adhesive or rust will not sit squarely. And a thick or incorrect seal can make a door appear badly adjusted when the real issue is the rubber.
Before You Install Mini Door Seals, Check the Door Fit
Do not use new seals to mask a poorly aligned door. Before removing anything, check the existing door gaps along the A-panel, rear quarter panel and sill. The gaps do not need to be concours-perfect on every Mini, but the door should sit evenly in the aperture, latch cleanly and not drop when opened.
Lift the rear edge of the open door gently. Excess movement suggests wear in the hinges or hinge pins. Also check the striker adjustment. If the latch is only just catching, a fresh seal will make the door difficult to shut and may encourage you to slam it harder than necessary.
A sound door alignment should be dealt with first. New seals add compression, particularly during their first few weeks, so it is normal for the doors to need a firmer push initially. It is not normal for them to need a full-blooded slam or for the latch to sit on the edge of the striker.
Make sure you have the correct seal type
Classic Mini door aperture seals are commonly fitted as a push-on, edge-trim type with an internal gripping channel. Depending on the year, body configuration and the kit supplied, profiles can vary. Compare the new seal with the old one before cutting or fitting it. Look at the width of the channel, the direction of the hollow bulb and the finish of the outer face.
If your car has had replacement panels, previous restoration work or non-standard trims fitted, do not assume the old seal was correct. Check that the new seal grips the body flange firmly without being forced. A seal that is too loose will creep and pull away; one that is too tight can distort the channel or damage paint at the edge.
Tools and Preparation for Fitting Door Seals
Most installations need only basic workshop items: a trim removal tool or blunt flat screwdriver, clean rags, panel wipe or suitable cleaner, masking tape, sharp side cutters or shears, and a small rubber mallet if needed. Keep a cloth around any tool used near painted edges.
Remove the old seal carefully. Start at the join and pull it away from the flange in short sections. If it has been glued in place, avoid attacking it with a screwdriver. Soften old adhesive with an appropriate remover and work patiently, especially around corners where paint can be lifted.
Once the seal is off, inspect the whole aperture flange. This is a useful opportunity to find small corrosion spots hiding beneath the rubber. Treat any rust properly before fitting the new seal. A door seal traps moisture when the car is used in the rain, so covering an untreated rusty edge simply delays a more involved repair.
Clean away dirt, old glue and loose paint, then dry the flange fully. The seal should normally grip the clean metal edge on its own. Do not apply adhesive unless the seal design or manufacturer instructions call for it. Adding glue everywhere makes future removal difficult and can leave a mess against fresh paint.
How to Install Mini Door Seals Step by Step
Start at the lower section of the door aperture, where the factory-style join is least noticeable and least exposed to direct rain. Avoid beginning at the top corners. Those areas need the seal to lie naturally, and a join there is more likely to open up over time.
Offer up the seal before pressing it on. Check which way the bulb faces and make sure the gripping channel is centred over the body flange. On most push-on seals, the hollow section needs to sit in the correct position to meet the door when closed. Fitting it backwards may still look acceptable at first glance, but it will not seal or compress as intended.
Press the seal onto the flange a few centimetres at a time. Use your thumbs and work steadily around the aperture. Do not stretch the rubber as you go. Instead, let it sit in its relaxed length, pushing it fully home as you progress. If a section is resisting, stop and check that the channel has not caught on a weld, thick paint edge or old adhesive residue.
At each corner, work the seal around with gentle pressure and allow the profile to follow the curve. The goal is a smooth radius with no kinks, twists or flattened bulb section. A rubber mallet can help seat a stubborn channel, but use very light taps through a cloth. Heavy blows can deform the internal clips in the seal or chip paint around the aperture.
When you reach the starting point, leave a little extra length before cutting. Close the door gently to check that the seal is sitting evenly, then reopen it and make the final cut square. A short gap at the join is an easy route for water and wind noise. A slightly long seal is no better, as it will bunch up and create a raised section.
Butt the two ends together neatly. Do not overlap them. If the supplied seal has a designed joining section or requires adhesive at the ends, follow that arrangement. Otherwise, a clean, close butt joint at the bottom of the aperture is usually the tidiest approach.
Do not stretch the seal to make it reach
This is the most common fitting mistake. Rubber under tension will slowly pull back, often leaving a gap at a corner or at the join after a few weeks. If you find yourself short of material, remove the last section or two and relax the seal back along the flange before reassessing it.
The same applies if the seal seems excessively long. Do not simply cut several centimetres off early in the fitting process. First make sure it is fully seated around every curve. A partially seated channel can make a seal appear longer than it really is.
Closing the Door and Settling the New Rubber
Once both seals are fitted, close each door gently and inspect the contact line. The door should latch without striking the seal out of position. Look around the aperture for any area where the rubber has folded over, pulled away from the flange or become trapped between the door and body.
Expect the doors to be firmer to close at first, especially with high-quality new rubber. Leave the car with the doors shut when practical so the seals can take their initial set. Over the next few journeys, check the latch action and the position of the joins. If the doors are still difficult to close after the seal has settled, assess the striker adjustment in small increments rather than forcing the door.
A useful water check can be done with a hose on a gentle flow. Work around the roof gutter, windscreen pillars and door openings, then inspect the inside trim and carpets. Do not use a pressure washer directly at the seals, as that can force water past even a correctly fitted arrangement and tells you little about normal driving conditions.
When a New Door Seal Will Not Cure a Leak
Door seals are only one part of keeping a Classic Mini dry. Water entering near the front of the cabin may be coming from a windscreen seal, scuttle vent area, door glass weatherstrip or poor drainage inside the door. Water found at the rear can also travel from quarterlight seals, rear side window rubbers or body seams before appearing at floor level.
If the carpet is wet, dry the interior thoroughly before judging the repair. Old underlay can hold a surprising amount of moisture and make a successful seal replacement look ineffective. Check the door drain holes are clear too. The door is designed to let water escape from its lower edge, not hold it against the frame.
A properly fitted door seal will not turn a Classic Mini into a modern insulated car, nor should it. It should, however, give an even closure, reduce unwanted wind noise and keep ordinary British weather where it belongs. Take your time over preparation and fitment, and the result will feel right every time you shut the door.