A Classic Mini works its engine hard, particularly in summer traffic, on long motorway runs or when it has been tuned beyond standard specification. To install a Classic Mini oil cooler properly, the job is not simply a case of bolting a radiator-shaped unit behind the grille. Correct hose routing, secure fittings and a sensible choice of cooler size all matter if you want lower oil temperatures without creating leaks, restricted flow or an engine that runs too cool.
For a standard Mini used gently on short local journeys, an oil cooler may not be necessary. For a fast-road, motorway or competition car, however, it can be a worthwhile reliability upgrade. The key is fitting a system that suits how the car is actually used.
Decide Whether Your Mini Needs an Oil Cooler
The engine oil in a Classic Mini does more than lubricate the engine. On A-series cars, it also serves the gearbox and final drive, so it has a demanding job. When oil gets excessively hot, it thins out and offers less protection to bearings, gears and other loaded components.
An oil cooler helps control sustained high temperatures, not a brief rise on the temperature gauge while sitting in traffic. If your Mini has a larger-capacity engine, a performance camshaft, spirited road use, regular motorway miles or track use, it is far more likely to benefit. It is also a sensible addition during an engine rebuild where reliability is the priority.
There is a trade-off. Oil that never reaches a proper operating temperature can retain moisture and contaminants, while also being thicker than ideal. A Mini used only for short trips in cold weather may benefit more from regular oil changes and a sound cooling system than from a large cooler. For year-round road cars, a thermostat-controlled oil cooler setup is often the best answer.
Choose the Right Oil Cooler Kit
Before ordering parts, check the layout already fitted to your engine. Classic Minis can use different oil filter heads, sandwich plates, remote filter arrangements and hose-end styles. Do not assume every kit uses the same thread, union or hose length.
A modest cooler is generally sufficient for a road car. Larger multi-row units are aimed at engines that see sustained hard use and need adequate airflow to work effectively. Oversizing can be counterproductive on a lightly used road Mini, especially without an oil thermostat.
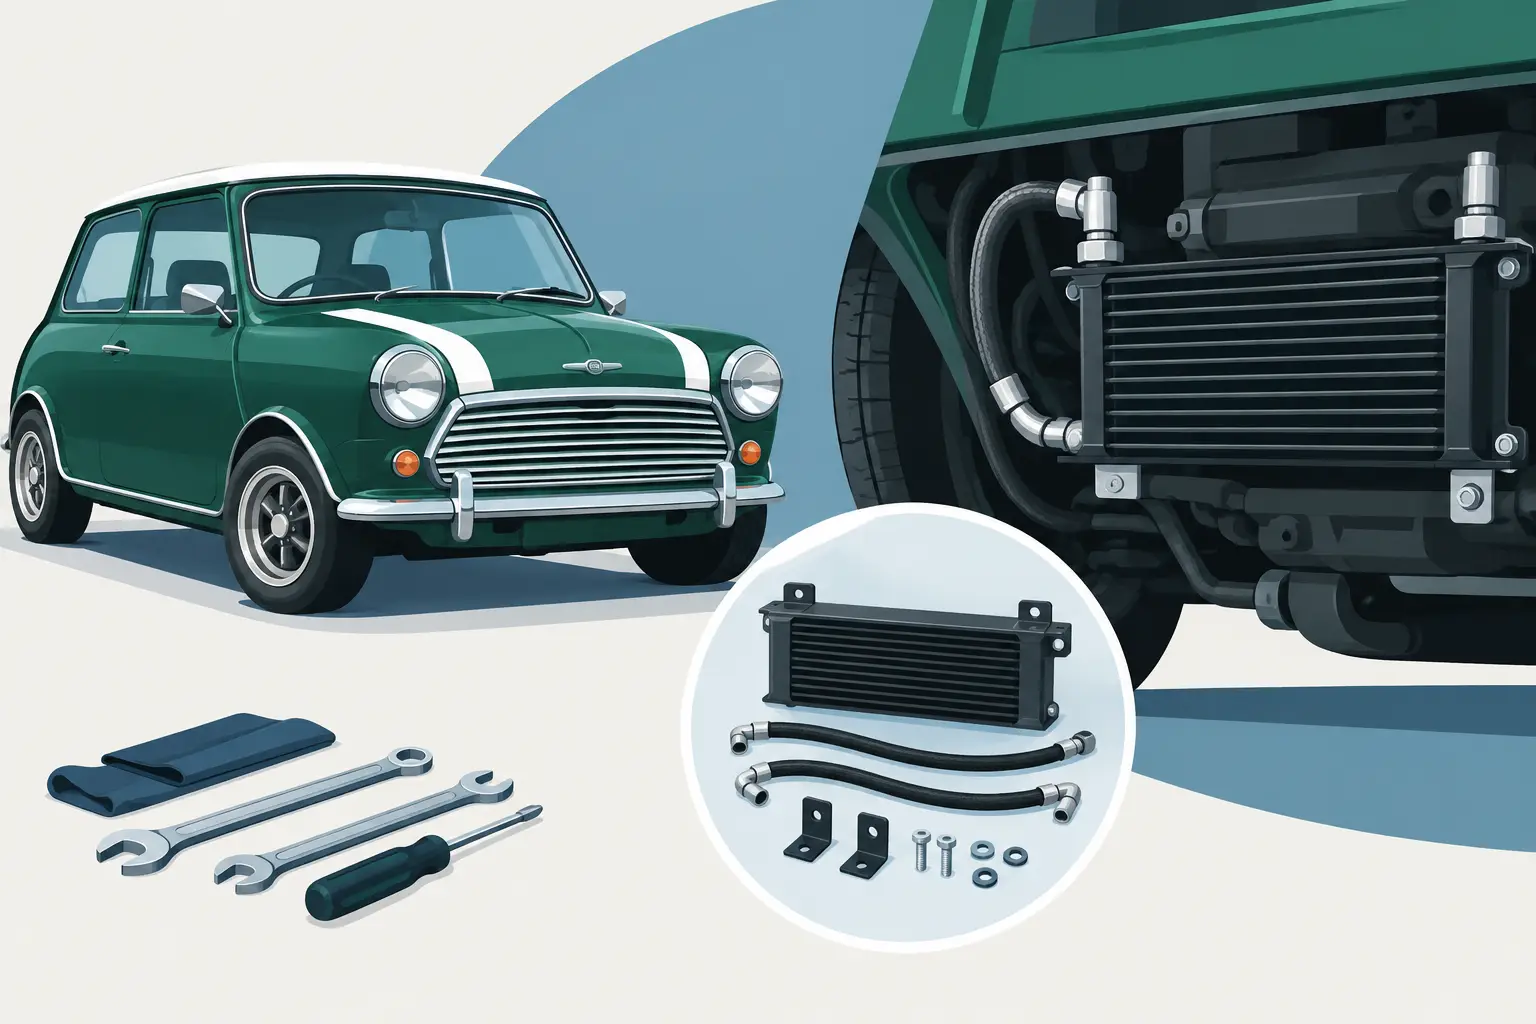
A complete installation normally requires the cooler core, mounting brackets, suitable flexible hoses, engine-side adaptor or take-off fittings, unions, clips and fixings. If the car is being rebuilt or the existing hoses are old, replace them rather than reusing hardened or chafed lines. High-quality hose and correctly matched fittings are not the place to economise: a pressurised oil leak can empty the sump very quickly.
It is worth laying every component out on the bench before starting. Check that the hose ends screw on cleanly by hand, that the brackets suit the chosen mounting position and that no thread has been damaged in transit. Keep the fittings clean throughout the job. A small amount of dirt introduced into the oil system is more serious than a scratched paint finish on a bracket.
Preparation Before You Install a Classic Mini Oil Cooler
Park the car on level ground, allow the engine to cool fully and support it safely if you need access from underneath. Disconnecting the battery is sensible when working around the front panel and wiring. Have drain trays, clean rags, fresh engine oil and the correct spanners ready before opening the oil system.
Most installations are easier with the grille removed, giving access to the front panel and the space behind it. On some cars, additional trim or the front bumper may need to come off for clear access. Take care around original grille mouldings, paintwork and aged fasteners.
Drain the engine oil if you are carrying out the fitting as part of a service. If the oil is nearly new, it can be drained into a clean container and reused, but only if it remains completely clean. In practice, fitting an oil cooler is an ideal time to renew the oil and filter.
Check the condition of the radiator, fan, thermostat and cooling hoses while you are there. An oil cooler supports the engine cooling system; it does not cure a blocked radiator, poor ignition timing or a mixture problem that is making the engine run hot.
Mount the Cooler Where It Gets Clean Air
The usual Classic Mini location is behind the front grille, mounted to the front panel with the correct brackets. This gives the cooler a direct supply of air while retaining the traditional appearance of the car. Position it securely and leave clearance around the core so air can pass through it.
Avoid mounting the cooler where it will foul the grille, bonnet catch, radiator shroud or moving parts. It should not sit hard against the front panel, as vibration can eventually damage the core or brackets. Rubber isolators may be supplied with some kits and are useful where specified.
Do not mount it low down where it is exposed to every stone, kerb and puddle if a higher, protected position is available. A cooler full of road debris cannot shed heat properly. Check that the fins are straight before fitting and protect the core from spanner slips while tightening the unions.
Fit the brackets loosely at first, centre the cooler behind the grille, then tighten the mounting hardware once you are happy with the alignment. The cooler needs to be secure, but do not overtighten fixings into thin front-panel metal.
Fit the Oil Take-Off and Hoses Carefully
The oil cooler circuit takes oil from the engine through the cooler and returns it to the engine. Depending on the kit, this may be achieved through an adaptor at the oil filter head or through a remote filter arrangement. Follow the instructions supplied with the specific parts, as the fitting order and sealing method can vary.
Remove the existing filter or relevant unions and clean the sealing faces thoroughly. Fit new seals, O-rings or washers where supplied. A light smear of clean engine oil on a rubber filter seal is normally appropriate, but do not use sealant unless the fitting instructions call for it. Excess sealant can break away and circulate in the oil system.
Connect the hoses without forcing them into position. They should follow broad, natural curves from the engine to the cooler. A tight bend can restrict oil flow, while a twisted hose places strain on the crimped ends and unions.
Route both lines well clear of the exhaust manifold, downpipe, driveshafts, steering rack, fan belt and sharp panel edges. Use proper P-clips or retaining clips at sensible intervals to prevent the hoses vibrating or rubbing through. If a hose must pass near a sharp edge, fit suitable protection rather than relying on tape.
There is usually no need to be concerned about which cooler port is used as the inlet on a conventional non-thermostatic unit, but the hose routing must still be correct at the engine adaptor. With a thermostat block, follow the manufacturer’s marked ports exactly. Never guess if the layout is unclear.
Tighten hose unions firmly with the correct spanner while supporting the opposing fitting where required. Do not grip or twist the cooler body to tighten a union. The aim is a secure, leak-free joint, not maximum force.
Refill, Prime and Check for Leaks
An oil cooler and its hoses add capacity to the system, so refill the engine with the correct grade of oil and expect the final level to need checking more than once. Fit a new filter if the old one was removed, then fill the engine to the upper mark on the dipstick as an initial guide.
Before starting, inspect every hose connection, the filter seal and the cooler unions. Where practical, crank the engine with the ignition disabled until oil pressure registers, then reconnect and start the engine. This helps fill the cooler circuit before the engine fires.
Let the engine idle while watching the oil-pressure warning light and checking all joints closely. Do not put your hands near the fan or belts. Stop the engine immediately if the warning light stays on, if oil appears from a connection or if a hose begins to swell, move or contact a hot component.
Once the engine has run and the oil has circulated, switch off, allow it to settle for a few minutes and recheck the dipstick. Top up as needed. Refit the grille and any removed trim only after you are satisfied there are no leaks.
Road-Test and Recheck the Installation
Take the Mini for a gentle initial run, then inspect it again on return. Look underneath the car, around the filter head and behind the grille. Check that the hoses have not moved towards the exhaust, fan or steering components as the engine rocks on its mounts.
After the first longer journey, check every fixing again. New hoses can settle slightly, and a connection that appears dry at idle may reveal a problem once the oil is fully hot and pressure has risen. Keep an eye on the oil level over the next few drives as the system finds its final level.
A correctly fitted oil cooler should disappear into the background: no drips on the drive, no hoses rubbing through and no concern when the Mini is worked hard. If you are refreshing the engine bay or planning a performance build, Bull Motif Mini Spares can help you match the cooler, hoses and fittings to the rest of the job rather than piecing together parts that were never designed to work together.