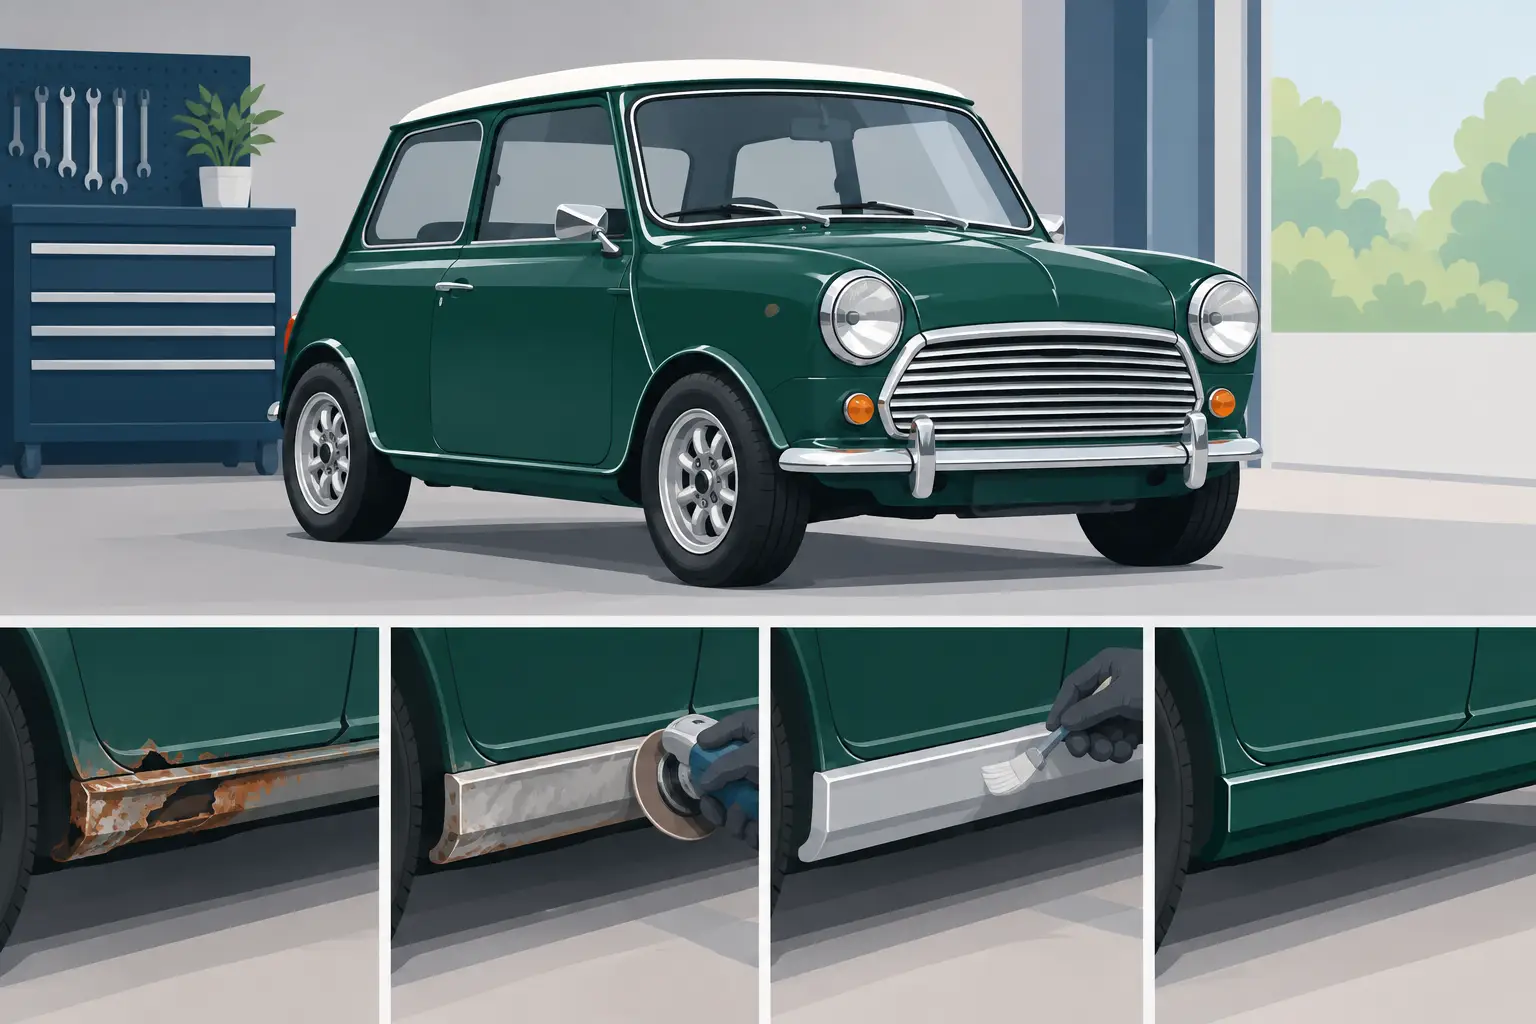
A Classic Mini sill repair example is rarely just a case of cutting out a rusty outer skin and welding in a new one. On these cars, the sill area is part of the structure, tied into the floor, heelboard, companion box, A-panel and rear quarter. What looks like a small bubble beneath the paint can easily reveal corrosion across several layers of steel.
That does not mean every rusty sill needs a major rebuild. It does mean the repair needs to start with an honest assessment. A tidy-looking outer sill welded over rotten inner sections may look presentable for a short while, but it is not the safe or lasting answer – and it can make the next repair more difficult.
Where sill corrosion starts on a Classic Mini
Classic Minis trap moisture in places that cannot easily dry. Road spray enters around wheelarches, seams collect dirt, and old seam sealer can split or lift. Once water gets behind it, corrosion works away unseen. Cars that have spent years outside, been used through winter, or received previous cosmetic repairs deserve particularly close inspection.
The visible outer sill is only one part of the assembly. Behind and above it are the inner sill and closing panels, while the floor pan meets the sill along its length. At the front, corrosion often spreads into the toe board, front floor edge and lower A-panel. At the rear, inspect the companion box, rear floor edge and quarter panel return. Jacking points and subframe mounting areas also need a careful look, as they are safety-critical areas and can be close to the same rot.
A screwdriver test alone is not enough. Remove loose underseal with care, inspect the seams from underneath and look inside the car after lifting the carpet and sound deadening. Brown staining, damp insulation, repaired floor patches and a soft edge to the floor are all useful clues. If possible, inspect the inside of the sill cavity too.
A Classic Mini sill repair example, step by step
Consider a Mini with bubbling along the lower outer sill, a failed MOT on corrosion near the jacking point, and an apparently solid floor inside the cabin. Once the paint, underseal and old repairs are stripped back, the outer sill is found to be thin along most of its length. The inner sill has perforated around the front jacking point, and the floor flange has thinned where it joins the sill. The A-panel lower edge is also no longer sound.
This is no longer an outer-sill-only job. The sensible repair is to replace the affected outer sill, repair or replace the inner sill section, renew the corroded floor edge, and fit a lower A-panel repair or complete A-panel according to the extent of damage. Retaining sound original metal is good practice, but only where it is genuinely sound and leaves a strong, clean joint.
1. Brace, measure and support the shell
Before any structural steel is removed, support the Mini on firm stands under suitable strong points, not beneath the rusted sill itself. Check door gaps and note the position of the door, wing and front panel. Taking measurements between known points before cutting gives the repairer a reference if anything moves.
On a badly weakened shell, temporary bracing across the door opening may be sensible. This is particularly relevant if floors, sills and A-panels are being replaced together. The Mini is a small monocoque shell, so panel replacement order matters. Cutting too much away at once can affect alignment.
2. Cut back to clean, sound metal
The rotten panel is cut away far enough to expose steel that is clean, solid and weldable. Do not stop at the first area that looks better. Thin steel around the edge of a patch is still thin steel, and welding it often results in blow-through, distortion and a weak repair.
Old filler and excessive seam sealer should be removed around the repair zone. This shows what is actually present and reduces the risk of contaminated welds. It also reveals whether an earlier repair has been lap-welded over corrosion, a common discovery on tired shells.
Where a section of floor is involved, keep the cut controlled and practical. A properly shaped repair section with a sound flange is better than a series of small patches chasing corrosion along the edge.
3. Trial-fit the panels before welding
Good-quality repair panels save time, but no replacement panel should be welded straight from the box without checking it against the car. Trial-fit the inner sill, floor repair, outer sill and A-panel in the order they will be assembled. Clamp them in place and repeatedly check the door gap, sill line and the relationship between the A-panel and wing.
This is where fitment accuracy matters. The outer sill should follow the body line cleanly and not sit proud at either end. The door should open and close without fouling. If the repair includes a jacking point, it must be positioned correctly and attached to sound structure, not simply welded to an outer skin.
There is a choice between smaller repair sections and full-length panels. A local repair can preserve more original steel and reduce disruption if rust is genuinely isolated. A full sill can be the better value where corrosion runs along the seam or multiple local patches would leave a poor result. The right answer depends on what remains after stripping back, not on what was originally expected to be a quick job.
4. Weld in the correct sequence
Fit the structural inner repairs first, then the floor edge where required, before closing the assembly with the outer sill. Factory-style spot welds can be replicated using plug welds through drilled holes where access allows. Butt-welding is often suitable for visible skin joins, provided the gap is controlled and heat is managed.
Avoid running long continuous welds along thin panels. Short, spaced welds, moving around the joint and allowing the metal to cool will help control distortion. Clean bare steel around every weld area is essential. If a repairer cannot access the reverse side of a joint after assembly, weld-through primer on the mating faces can offer useful protection, but it is not a substitute for cavity protection afterwards.
Grind welds only as far as necessary. A completely flattened weld may look neat, but grinding too aggressively can weaken the joint. The aim is a sound, tidy repair with full penetration, not a cosmetic finish hiding poor workmanship.
Finishing the repair so it lasts
A sill repair often fails early because the finishing stages are rushed. Once welding is complete, remove welding residue and treat any surrounding bare metal appropriately. Seal all exposed lap joints and seams with paintable seam sealer, taking care to reproduce the original water-shedding arrangement rather than creating pockets where moisture can sit.
Apply a suitable primer and durable topcoat to both visible and underside areas. Stone-chip protection can be useful on the lower body and wheelarch-facing surfaces, but it should never be used to conceal unfinished metalwork. Leave drain paths clear and avoid filling cavities with thick underseal.
The inside of the sill, closing panels and adjoining box sections need cavity wax after paint has cured. Use an extension lance where possible to reach the length of the sill and the returns at each end. This is one of the best investments in a restoration, especially on a Mini that will see wet roads rather than spend its life in a dry garage.
Checks before the car goes back on the road
Before refitting trims and carpets, inspect the repair from both sides. Check that there are no pinholes, missed seams or exposed metal. Refit the door and confirm the gaps remain even. If the work was near seat-belt anchorage points, subframe mounts, suspension pick-up points or jacking points, inspect these areas particularly carefully.
For MOT purposes, structure within prescribed areas around suspension, steering, braking and seat-belt mountings receives close attention. More importantly, those areas matter every time the car is driven. A proper sill repair should leave the Mini safe to lift, solid under load and protected against another cycle of hidden rot.
Choosing panels for a repair you will not regret
Panel quality and correct application make a difference. A well-formed sill or floor section reduces the amount of cutting, reshaping and filler needed, while properly matched repair pieces make it easier to retain original body lines. For a substantial rebuild, it is often worth gathering all related panels before the first cut: outer and inner sills, closing panels, A-panels, floor sections, jacking points and any affected wheelarch or quarter repairs.
Bull Motif Mini Spares supplies Classic Mini body repair panels and restoration essentials for jobs ranging from a local floor-edge repair to a full shell rebuild. Matching the parts list to what is actually uncovered prevents delays once the car is stripped down.
A sound sill repair is not defined by how little weld can be seen after paint. It is defined by clean metal, correct panel alignment, strong joints and protection inside every cavity. Take the time to inspect beyond the visible rust, and the finished Mini will be far more enjoyable to own, drive and maintain.