The scuttle on a Classic Mini can look respectable right up to the point the windscreen comes out. Then the familiar signs appear: bubbling around the lower screen edge, flaky seams at the corners, damp carpets, and corrosion spreading into the bulkhead or A-panels. A proper Mini scuttle repair is not just about making the visible panel look tidy. It is about finding where water has been sitting, removing all weak metal, and rebuilding the area without compromising the shell.
This is one of those jobs where preparation pays for itself. The scuttle ties together the windscreen aperture, front bulkhead and upper body structure, so a rushed patch can create fitting problems later with the screen, bonnet, doors and exterior trim.
Start a Mini scuttle repair with a proper inspection
The lower windscreen surround and scuttle area trap moisture for several reasons. Perished screen rubber, blocked drainage paths, old seam sealer and cracked paint can all let water get behind the outer skin. Once it is inside, it often travels further than the original rust bubble suggests.
Remove the windscreen before deciding how much metal needs replacing. Trying to repair the scuttle with the glass in place limits access, risks heat damage to the screen and rubber, and can leave corrosion hidden beneath the seal. It also prevents you from checking the lower corners of the windscreen aperture, which are common trouble spots.
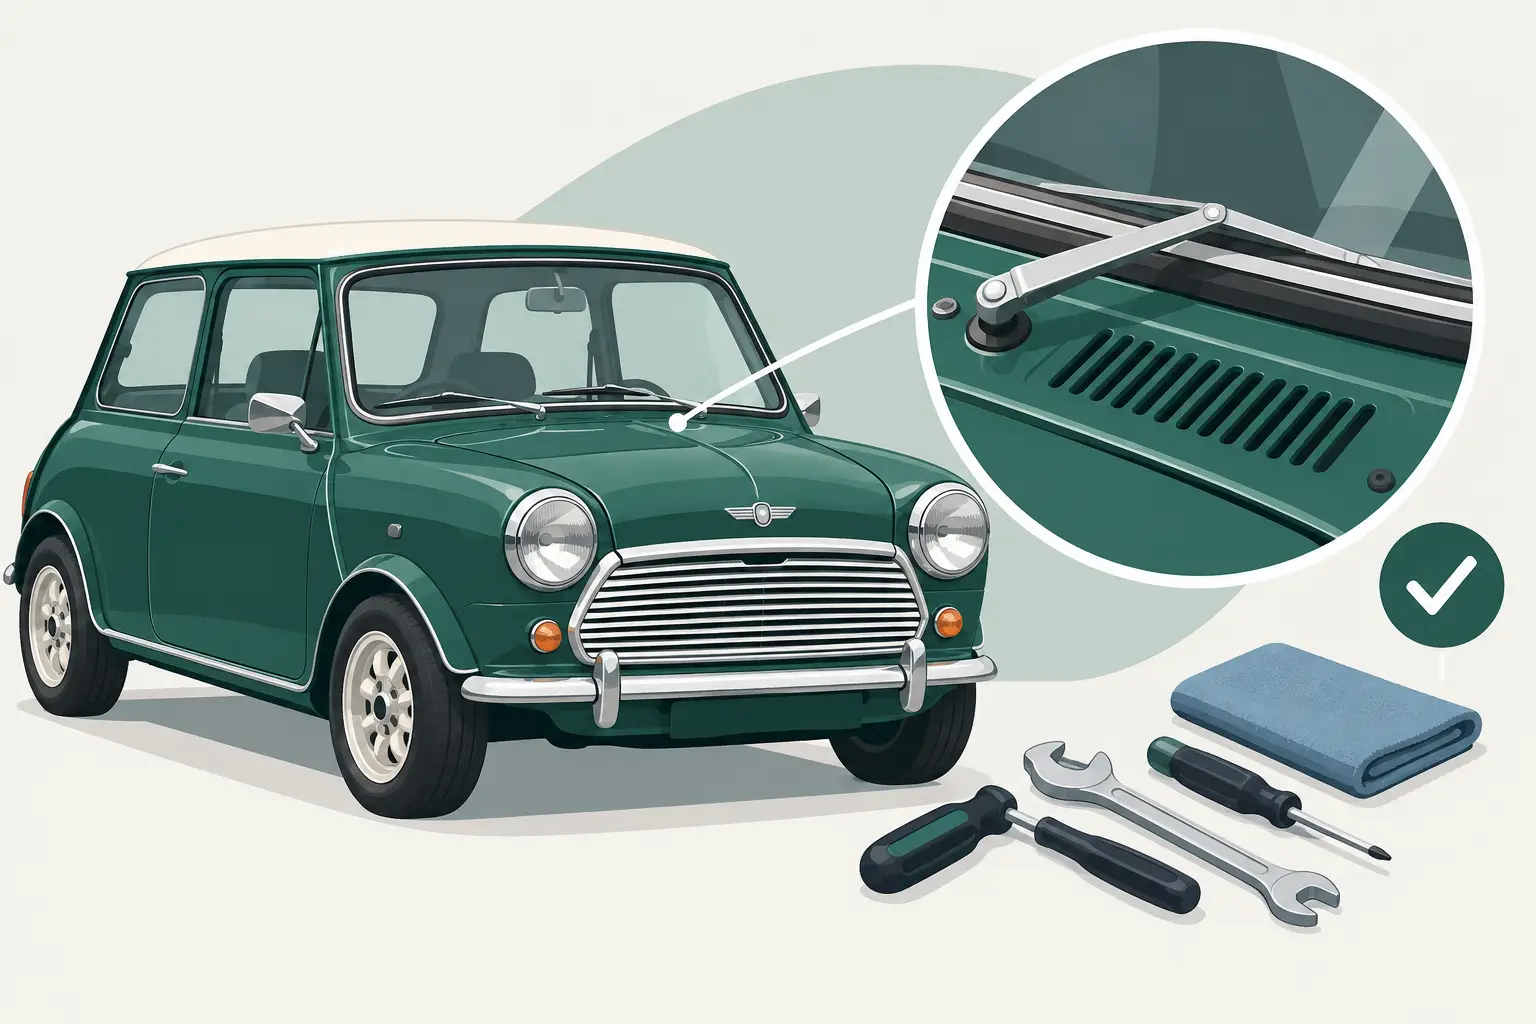
Inspect both sides of the panel. From outside, look along the scuttle top, the seam beneath the screen rubber, the corners by the A-panels and the areas around the wiper wheelboxes. From inside the car, remove any trim that obstructs the bulkhead and check for staining, loose seam sealer or pinholes. If the car has had previous repairs, do not assume they are sound simply because they are covered in underseal or fresh paint.
Pay particular attention to the join between the scuttle and the upper bulkhead. Rust in this area can be caused by water entering through the screen seal, but it can also come from the engine bay side where old seam sealer has failed. A screwdriver test has its place, but use it carefully. Once metal is thin enough to puncture easily, plan on cutting back well beyond that point.
Decide whether a local repair or panel section is right
The sensible repair depends on what remains after all corroded metal has been removed. A small, isolated hole in otherwise solid steel can be repaired with a carefully formed section. If corrosion runs along the lower screen channel, reaches both corners or has weakened the panel around the wiper holes, a larger scuttle repair panel will normally give a stronger and cleaner result.
A patch is not automatically a poor repair. On an original shell with sound surrounding steel, a properly shaped and fully welded local section can preserve more of the car. The trade-off is time. Creating the swage, screen channel profile and compound curves by hand takes skill, and a flat piece of steel welded over a rusted area will not last.
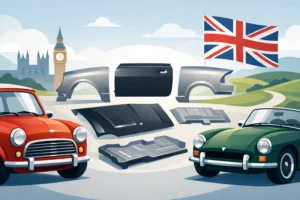
A replacement panel section can save fabrication time and restore the original shape, particularly around the windscreen aperture. However, panel fit should always be checked before cutting the old section away. Classic Mini shells have often had repairs, minor accident damage or years of movement, so no panel should be treated as a drop-in part without trial fitting.
For a restoration intended to last, use good-quality steel with an accurate pressing wherever the affected area is extensive. British Motor Heritage panels and well-made repair sections can make the difference between a straightforward fit and hours spent correcting poor lines.
Protect the shell before cutting
Before removing anything structural, make sure the shell is properly supported. Keep the car level on firm stands beneath suitable load-bearing points, not hanging from the suspension. If the floor, sills or A-panels are also under repair, consider the sequence carefully. Repairing several connected areas at once without support can allow the body to move.
Measure and record the important gaps before work begins. Check the bonnet-to-scuttle gap, bonnet alignment at the wings and door gaps near the A-panels. Taking photographs and a few simple measurements gives you something to work back to when the new metal is in place.
If corrosion extends into the A-panel returns or screen pillars, temporary bracing may be needed before larger sections are cut out. This is especially relevant on a stripped restoration shell. The goal is not to overcomplicate the work, but to avoid discovering that the windscreen aperture has changed shape when it is time to refit the glass.
Disconnect the battery and remove nearby wiring, sound-deadening material, trim and fuel lines as required. Welding sparks travel further than expected, while old insulation and seam sealer can smoulder long after the last weld. Keep a fire extinguisher close by and check the car again after finishing for the day.
Cutting out corrosion without creating more work
Mark the repair area only after cleaning back to bare metal. Wire brushing, stripping discs and careful use of a grinder will reveal the real extent of pitting and previous filler. Cut back to clean, substantial steel rather than following the outline of the visible rust.
Keep cuts simple and avoid placing a joint directly on a sharp body line where possible. A repair section is easier to fit and finish when its edges sit in accessible, sound metal. When replacing part of the lower screen aperture, retain original reference points until the new piece has been trial fitted.
Clean the back of every joint before welding. There is little value in producing a neat weld bead on the visible side if the reverse is rusty, contaminated or impossible to protect afterwards. Where two panels overlap as original, use weld-through primer on the mating faces, then reproduce plug welds where appropriate.
Do not be tempted to leave scaly metal because it sits behind a reinforcement or is awkward to reach. That hidden corrosion is usually what restarts the problem. If access is poor, remove enough material to clean, repair and coat the area properly.
Fitting and welding the replacement section
Trial fit the panel repeatedly. Clamp it in place, refit the bonnet if necessary, and check the windscreen aperture against the screen or an accurate template before committing to welds. The panel should sit naturally with even gaps rather than being pulled into position by clamps.
Use short, spaced tack welds first. Move around the repair and let the metal cool between runs to reduce distortion. Once the alignment is confirmed, continue with a series of short stitch welds, again working across the joint rather than concentrating heat in one area. A long continuous weld on thin Mini body steel is a reliable way to create a warped scuttle.
Grind welds only as far as needed to dress them. Removing too much material weakens the joint and can introduce pinholes. Check both sides with good lighting, then deal with any gaps before paint and sealer make them difficult to find.
If you are not confident welding around a windscreen aperture, this is a sensible point to involve a bodywork specialist. The cost of professional welding can be less than correcting distorted panel lines, poor screen fit or water leaks after paint.
Seal and protect the repair for the long term
Fresh steel will only stay sound if it is protected on every accessible face. Apply epoxy primer to bare metal, including the inside of the repair where possible. Seam seal the original-style joints after priming, making sure there are no breaks where water can creep underneath.
The engine bay side, bulkhead cavities and screen surround need cavity protection once paint has cured. Use a suitable cavity wax with an extension probe so it reaches behind seams and into the corners around the screen pillars. This is not glamorous work, but it is often what separates a lasting repair from one that bubbles again a few winters later.
Before fitting the windscreen, inspect the aperture flange for smoothness and make sure paint thickness has not built up unevenly around the seal area. Use a good-quality screen rubber and replace tired clips, finishing trims or seals at the same time. Reusing a hardened seal can undermine an otherwise excellent repair by allowing water straight back into the newly restored scuttle.
A clean, well-protected scuttle repair gives the front of a Classic Mini the solid feel it should have. Take the time to inspect beyond the first rust bubble, choose the repair section that suits the shell rather than the quickest option, and protect the hidden side as carefully as the painted one. That is how the job stays finished.