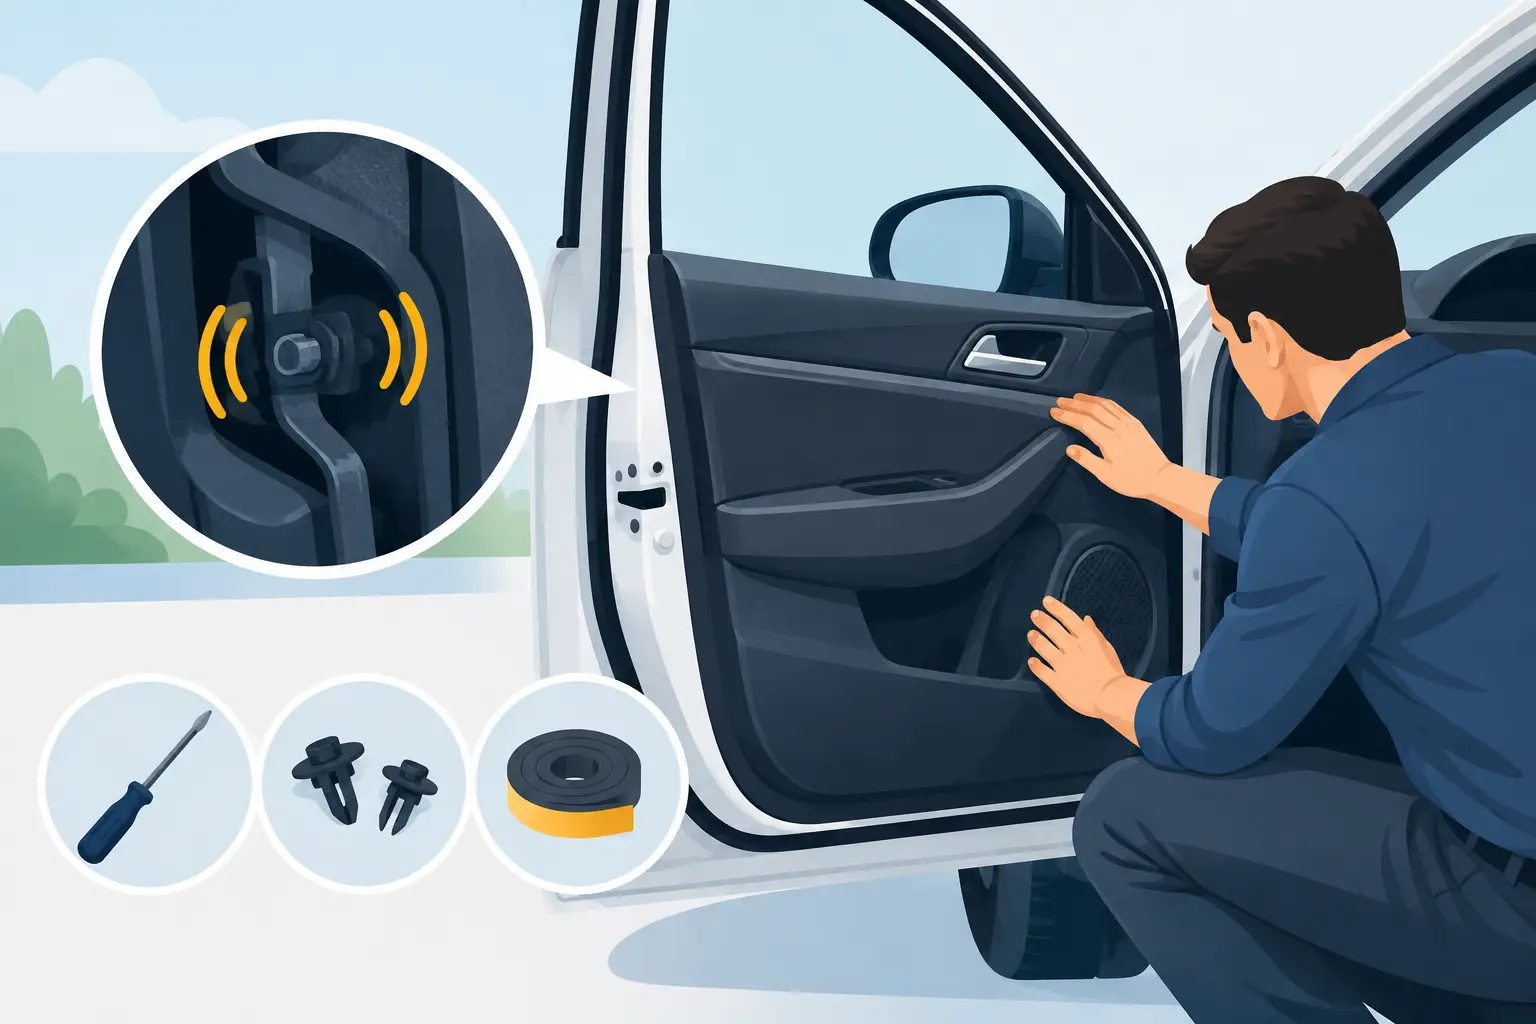
A Classic Mini door should shut with a positive click, sit neatly in the aperture and stay quiet over rough roads. When it does not, Mini door rattles soon become impossible to ignore. The noise may seem to come from the window, the lock or the trim, but it is often caused by movement between the door, hinges, striker and rubber seals. Finding the real source before ordering parts saves time and avoids replacing perfectly serviceable components.
Start by identifying when the rattle happens
The way the noise presents gives a useful clue. A light tapping over potholes with the windows down often points to loose glass, worn window channels or a tired quarter-light assembly. A sharper metallic knock when the body twists may indicate play at the striker, latch or hinges. If the door moves when you pull it while shut, investigate the catch and striker first.
Park on level ground and open the door fully. Lift gently at the outer rear edge rather than heaving on it. Any noticeable vertical movement can mean hinge-pin wear, worn hinge holes or loose hinge fixings. Next, close the door gently to the first latch position and check whether it is sitting proud of the body, too far inboard, or uneven at the top and bottom. Misalignment is not only a source of rattles – it can damage paint, wear seals and make water ingress more likely.
It is worth checking both sides of the car. One door may be quiet, giving you a useful comparison for shut lines, striker position and how firmly the latch holds.
Common causes of Mini door rattles
Worn hinges and dropped doors
Classic Mini hinges carry a lot of use over decades, and their condition has a direct effect on how the latch meets the striker. A sagging door can still close, particularly if the striker has been moved to compensate, but it may not be held tightly against the seals. That leaves enough clearance for a knock over uneven surfaces.
Look for worn hinge pins, ovalled hinge holes, loose screws and cracks around the mounting area. Tightening loose fixings may solve a minor issue, but do not simply force bolts tighter if the threads are damaged or the hinge is badly worn. Replacement hinges or pins are generally the proper answer when there is clear play.
Door alignment should be corrected at the hinges before the striker is adjusted. The striker is there to secure a correctly positioned door, not to disguise a door that has dropped. Support the door safely while working and make small adjustments. A few millimetres can make a major difference to the shut line.
Striker and latch adjustment
The latch should engage the striker cleanly without the need to slam the door. When the door is shut, it should not lift, drop or move in and out when pulled. If it does, the striker may be too far out, too far in, or positioned slightly high or low.
Before moving anything, mark the striker’s current outline with masking tape or a pencil. Loosen the fixings only enough to permit controlled adjustment, then move it in tiny increments. Test the door each time. The correct setting gives a firm, secure close without excessive force and leaves the outer skin sitting flush with the adjacent bodywork.
Check the latch itself as well. A dry, dirty or worn latch can fail to return fully around the striker. Clean away old hardened grease, inspect the mechanism for damage and apply a suitable light lubricant to moving parts. Avoid coating rubber seals in ordinary mineral grease, as it can cause deterioration over time.
Perished or missing door seals
Door seals do more than keep rain outside. They provide the compression that stops the door moving against the body. Flattened, split or hardened rubbers can leave a door apparently shut but insufficiently supported, especially around the upper frame and rear edge.
Inspect the full length of each seal for gaps, loose sections and areas that have lost their shape. If the rubber feels hard and shiny rather than flexible, replacement is usually more effective than trying to revive it. Make sure the seal profile is correct for the door and body arrangement on your Mini. Poorly fitting pattern rubbers can create their own problems by making the door difficult to close or pushing it out of line.
After fitting new seals, allow for a bedding-in period. The door may need a firmer close at first, but it should never need a full-bodied slam. Recheck striker adjustment only after the seals have settled.
Loose glass, channels and window mechanisms
If the rattle changes or disappears with the window partly raised, the fault is likely inside the door. Minis with sliding windows can develop play in the glass, felt channels, catches and quarter-light frames. Wind-up window doors add regulators, guide channels and mounting points that also deserve inspection.
With the trim panel removed, check that the glass sits correctly in its channels and does not rock excessively. Examine felt runners and guides for wear or detachment. Loose screws around the quarter-light frame, door pull mounts or window mechanism can transmit a surprising amount of noise through the door skin.
Do not pack the glass tightly with random foam or tape. It may quieten the noise briefly, but can make the window stiff, trap moisture and hide the underlying fault. Correct channels, runners, clips and fixings are a better long-term repair.
Trim panel, furniture and loose fittings
A loose interior door card can sound like a failing latch, particularly on a car with a loud exhaust or firm suspension. Check the retaining clips, panel board, pull handle, winding handle, escutcheons and lock furniture. Missing clips and enlarged holes in tired door cards allow the panel to vibrate against the door frame.
Listen for the rattle with the car stationary. Tap the panel in several places, operate the handle and window mechanism, and hold the pull handle while another person gently shuts the door. A noise that disappears when a component is held is a strong sign that you have found the area to repair.
Also check inside the door for loose rods, clips or previous repair debris. A stray screw, broken clip or old piece of metal left in the bottom of the door will make itself known on the first bumpy lane.
A sensible order for repairs
The most efficient approach is to deal with structural movement first, then sealing, then trim and glass. Start by confirming the hinges are sound and the door is correctly aligned. Set the striker so the latch holds the door firmly. Inspect or replace tired seals, then move on to window components and interior trim.
This order matters because fitting new seals or quietening a door card will not compensate for a door that is sagging on worn hinges. Equally, repeatedly adjusting the striker to cure a glass rattle can leave you with a badly fitting door and no improvement in the original noise.
Where several components are tired, it can be sensible to refresh them together. For a restoration or a door that has been apart for bodywork, replacing worn hinge hardware, seals, clips and damaged window channels at the same time gives a more reliable result than chasing one small noise after another.
Check the repair on the road
Once the door shuts correctly, test it over the type of road that produced the rattle. Drive with the windows up and down, as the change in noise can reveal whether the glass is still involved. Listen on rough surfaces, during gentle cornering and when braking, but do not try to diagnose a rattle while distracted behind the wheel. A passenger can often pinpoint the area more accurately.
Recheck the striker and hinge fixings after a few journeys, particularly where new seals or hinges have been fitted. Fresh rubber compresses and newly assembled parts settle. A final small adjustment may be all that is needed to make the door feel properly sorted.
A quiet door is not just a comfort upgrade. It protects shut lines, reduces wear on latches and seals, and gives a Classic Mini that solid, well-maintained feel every owner wants. If you are refreshing a door in stages, start with accurate fitment and quality replacement parts – the smaller details are what stop the rattles coming back.