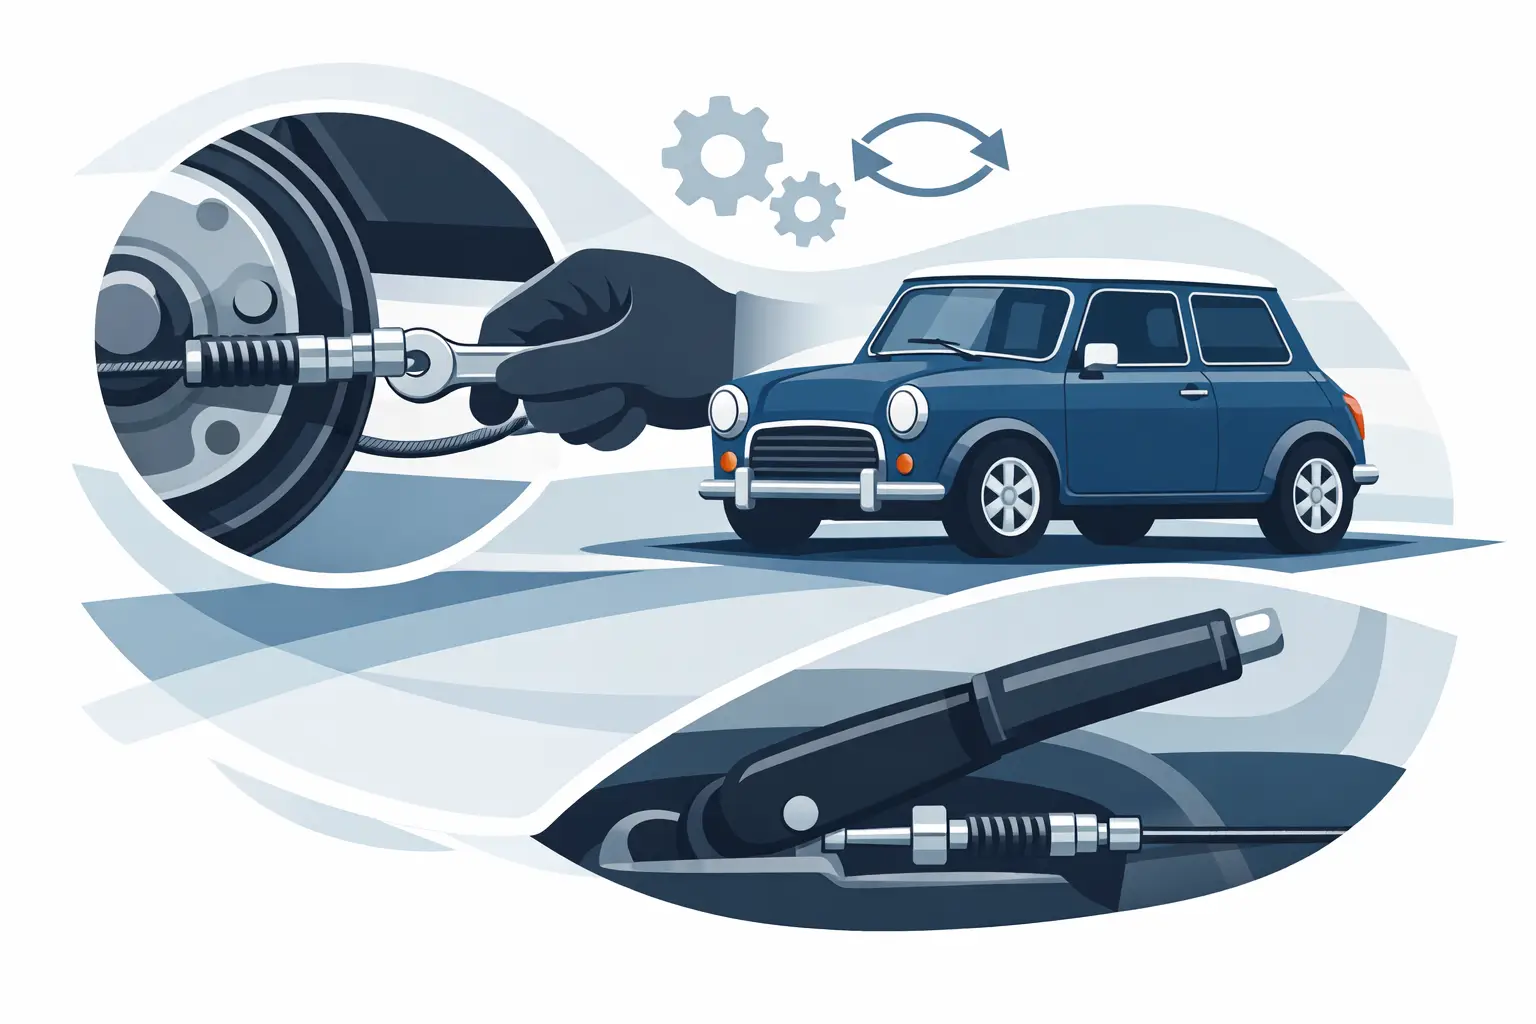
A Classic Mini handbrake that comes up to the roof, only holds on a gentle slope, or leaves one rear wheel dragging needs more than a quick tweak of a nut. Proper mini handbrake cable adjustment starts at the rear brakes themselves. Get the shoes, drums and cable condition right first, then set the cable so the lever holds firmly without keeping the brakes applied.
That order matters. Tightening an already stretched cable can disguise worn shoes, seized wheel cylinders or poorly adjusted drum brakes for a while. It can also leave the rear brakes binding, which means hot drums, poor fuel economy and premature wear. A Mini’s handbrake is simple, but it only works as well as the components at both rear wheels.
Before You Adjust the Handbrake Cable
Park on level ground, select first gear or reverse, chock the front wheels and release the handbrake fully. Raise the rear of the car safely and support it on axle stands under suitable structural points. Never work underneath a Mini supported only by a jack.
You will normally need basic spanners, a brake adjustment spanner or suitable tool for the drum adjusters, a torch and, depending on the car’s history, penetrating fluid. It is also worth having a wire brush to hand. Road dirt, underseal and corrosion around the cable linkage can make a straightforward job look more complicated than it is.
Before touching the cable adjustment, pull the handbrake lever through its travel. A little resistance is expected, but a gritty feel, a stiff release button or a lever that does not return fully points to a problem at the lever pivot or cable. Check beneath the car too. The outer cable should be securely located in its mounts, while the inner cable should move freely without frayed strands, sharp kinks or damaged outer casing.
A frayed handbrake cable is not something to adjust and monitor. Replace it. Once strands begin to break, the cable can fail without much warning, and it may also stick inside the outer sleeve. On a restoration or long-term rebuild, fitting fresh cables, clips and any tired linkage hardware is often better value than trying to revive heavily corroded originals.
Check the Rear Brakes First
Classic Minis use rear drum brakes on the vast majority of road cars, and the shoe adjustment is the foundation of a good handbrake. With the handbrake off, turn each rear wheel by hand. If it is already tight, do not tighten the cable. Find out why the brake is dragging first.
Adjust each rear drum at its own adjuster. Turn the adjuster until the shoes contact the drum and the wheel locks or becomes firmly tight, then back it off only enough for the wheel to rotate freely with a light, even brush from the shoes. The exact feel varies with drum condition and shoe material, but the aim is free rotation without excessive clearance.
Do both sides. A handbrake cannot compensate for one rear brake being badly out of adjustment. If one wheel adjusts normally and the other will not, remove the drum and inspect the brake assembly. Common causes include worn or contaminated linings, a seized wheel cylinder, weak or incorrectly fitted return springs, a grooved drum, or an adjuster that is seized or has reached the end of its useful travel.
This is also the point to look for brake fluid. Any dampness around a wheel cylinder, shoe or inside the drum needs attention before the car returns to the road. Handbrake adjustment will not cure a hydraulic leak, and brake fluid on friction material usually means replacing the affected shoes.
Mini Handbrake Cable Adjustment: The Correct Method
Once both rear brakes are correctly adjusted and the handbrake is fully released, move to the cable adjuster and equaliser arrangement beneath the car. The precise layout can differ between model years, replacement cable types and modified cars, so inspect what is fitted rather than forcing a setting based on another Mini.
The principle is always the same: remove excess slack from the cable without applying either rear brake when the lever is down. Turn the adjustment gradually, then return to the driver’s seat and test the lever. It should begin to apply the brakes within a sensible number of clicks and hold the car securely before it reaches the end of its travel.
As a practical guide, many Minis feel right when the handbrake holds firmly at around three to five clicks. Treat that as a guide rather than a target. A lever that works in four clicks but leaves a wheel dragging is too tight. A lever that needs six clicks yet holds both wheels securely, releases cleanly and has correctly adjusted shoes may be acceptable, depending on the mechanism and cable fitted.
After each small adjustment, release the lever completely and spin both rear wheels. They should rotate freely and evenly. Then apply the handbrake and check that both wheels lock. If one wheel still turns while the other locks solid, do not simply tighten the cable further. Recheck the drum adjustment and inspect the cable equaliser, linkage and brake components on the weaker side.
The cable needs to pull both brake mechanisms evenly. Corrosion in the equaliser or a cable that is sticking in its outer can cause an uneven pull, even where the threaded adjustment looks correct. This is one reason a handbrake may appear fine on axle stands but perform poorly on a slope.
Common Problems That Adjustment Will Not Fix
A cable adjustment is only a final setting. It will not repair worn brake parts or free a seized mechanism. If the adjustment has little effect, look for the cause rather than winding the nut in until there are no threads left.
A handbrake lever with excessive travel often means rear shoes are worn or the drum adjusters have not been set correctly. If the lever feels unusually heavy, releases reluctantly or one wheel remains partially applied, suspect a seized cable, corroded linkage, binding shoe pivot or sticking wheel cylinder. If the brakes work when cold but bind after a drive, inspect for hydraulic faults and over-tight adjustment.
Drums and shoes also matter. A heavily worn drum has a larger internal diameter, meaning the shoes must travel farther before making contact. New shoes fitted to an old, deeply scored drum can produce disappointing results until the underlying wear is addressed. Measure and inspect parts against the relevant workshop specifications rather than assuming a new cable is the answer.
Modified Minis need the same sensible approach. Wider wheels, altered ride height and custom exhaust routing can affect cable clearance and movement. Make sure the cable cannot rub on a tyre, suspension component or hot exhaust section through the full range of rear suspension travel. A cable that looks clear with the car in the air may foul once it is back on its wheels.
Final Checks Before the Road Test
With the rear wheels refitted and wheel nuts tightened correctly, lower the car and test the handbrake on level ground first. Apply it firmly, select neutral and confirm the car does not move when gently pushed. Then carry out a cautious test on a safe incline. The lever should hold the car securely and release cleanly without a pull to one side or a smell of hot brakes afterwards.
After a short drive using the foot brake normally, stop and carefully check for excessive heat around either rear drum without touching hot metal directly. One drum noticeably hotter than the other can indicate binding or unequal braking. If there is any doubt, put the car back on stands and investigate before relying on it for parking or an MOT test.
For dependable results, think of the handbrake as the last part of the rear brake service, not a separate job. Fresh, correctly fitted parts and careful adjustment save repeated fiddling at the lever – and give your Classic Mini the secure, positive handbrake it deserves on every hill.