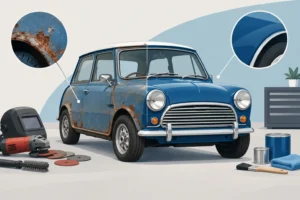
A bubble at the edge of a Classic Mini wing is rarely just a cosmetic nuisance. Mini wheel arch corrosion often begins where road dirt, salt and damp sit out of sight, then works its way through seams and into the panels behind. Catching it early can mean a straightforward repair. Leaving it until the outer skin has opened up can turn one rusty edge into a much larger bodywork job.
The good news is that Minis are well supported with repair sections, replacement panels and the consumables needed to protect the work properly. The key is diagnosing the full extent of the rust before ordering parts or reaching for filler.
Why Mini wheel arch corrosion is so common
Classic Minis live close to the road. Their small wheels throw water, grit and salt directly into the arches, while the body shell contains folded seams, spot-welded flanges and boxed areas that can hold moisture for years. Even a Mini that looks smart from a few paces away may have corrosion developing behind fresh paint.
At the front, the outer wing, inner wing, front panel returns, A-panel area and the seams around the headlamp can all be involved. Mud collects behind the wheel and at the bottom of the wing, particularly if old underseal has cracked or lifted. Once water gets behind that coating, it can remain trapped against bare steel.
At the rear, the issue may start at the wheel arch lip but extend into the rear quarter, inner wheel tub, heelboard area or the panel seams around the boot floor. Cars fitted with wider wheels and arches can be especially difficult to assess, as trims and extensions may hide the very edge that needs inspecting.
A Mini used all year round faces the hardest life, but stored cars are not automatically safe. Condensation in a garage, wet carpets, blocked drain paths and poor old repairs can all feed corrosion. Age, rather than mileage, is often the bigger factor.
Where to inspect before you buy repair panels
Start by washing the arches thoroughly. A pressure washer is useful, but keep the lance away from delicate seams, loose underseal and exposed wiring. Once the dirt is gone, inspect in good light with the wheel removed where possible. It is far easier to see the arch lip, suspension mounting areas and lower edges of the panels properly.
Look closely at paint blisters, staining around seams, cracks in underseal and previous repairs. Light surface rust on an exposed edge may be recoverable. A soft area, swelling seam, split paint line or brown staining coming from behind a panel usually points to deeper corrosion.
Do not rely on a quick poke from the outside. Check both sides of the panel. A wing can look solid above the paint line yet be thin from the rear, and thick underseal can hide a poor patch or perforation. Gentle pressure with a blunt tool will reveal suspect areas without creating unnecessary damage. If you are unsure, a bodyshop or experienced Mini specialist can assess it before you commit to parts.
Front arch checks
On front arches, inspect the full lip from the bumper end to the rear edge of the wing. Pay particular attention to the bottom rear of the wing near the A-panel, the lower front corner behind the bumper and the inner wing seams. Check that the wing mounting edges have not corroded away behind bolts and fixings.
It is also worth looking for water paths. A rusting front arch is sometimes the visible result of debris sitting behind the wing or water entering elsewhere and running into a seam. Replacing only the corroded section without addressing the cause is how the same problem returns.
Rear arch checks
Rear arches deserve a slower inspection because they are part of the shell rather than a simple bolt-on wing. Look inside the arch, around the outer lip, behind any arch extension and at the lower rear quarter. From inside the car, inspect the companion bin area, rear seat base, boot corners and seams where accessible.
If the rust is close to suspension mounting points or structural sections, treat it as more than a cosmetic repair. The MOT tester will be concerned with corrosion near prescribed areas, but the sensible standard for a restoration is higher than simply getting through a test. The shell needs to be sound for safe road use and long-term value.
Repair section, complete panel or local fabrication?
The right repair depends on how far the corrosion has spread and how original you want the car to remain. There is no prize for retaining rusty metal, but there is also no need to replace a complete section when a correctly fitted repair panel will do the job.
A small, isolated hole in an otherwise sound arch can often be repaired with a shaped steel section. The damaged metal must be cut back to clean, solid steel first. Welding over rust, bridging a weak edge or loading the area with filler only hides the problem temporarily.
Where the arch lip and surrounding panel have thinned, a dedicated wheel arch repair section is normally the cleaner option. It restores the correct curve and gives the repair a proper return rather than a flat patch that is difficult to finish and protect. The repair should extend beyond the visible damage, because the brown edge is seldom the true boundary of the corrosion.
A full front wing is often the most economical answer when rust affects multiple areas, such as the arch, headlamp surround, lower edge and rear mounting flange. Front wings are removable, so fitting a good-quality replacement can save considerable labour compared with piecing together several repairs. Alignment matters: trial-fit the wing, bonnet, front panel and door gaps before final painting.
At the rear, a larger repair may require an outer rear quarter section, wheel arch panel or fabrication to suit a previous modification. This is where quality fitment and careful measuring matter most. A cheap panel that requires extensive reshaping can cost more in labour than a better pressing that follows the original contours.
What a proper corrosion repair should include
The visible weld is only one part of the job. A lasting repair starts with removing all weakened steel, cleaning the surrounding metal and test-fitting the new section. The panel should be welded in manageable stages to control heat and avoid distortion, particularly on the curved outer skin.
After welding, both sides of the repair need protection. The outside should be prepared, primed, sealed at the joins and finished with suitable paint and stone-chip protection where required. The rear of the panel is just as important. Treat the bare steel, reseal overlaps and apply cavity wax into any enclosed section once the paintwork has cured.
Avoid sealing in dampness. Underbody coatings are useful only when applied to clean, dry, properly treated metal. Thick black coating over flaky rust may look tidy for a season, but it gives corrosion somewhere dark and damp to continue working.
Preventing the next wheel arch problem
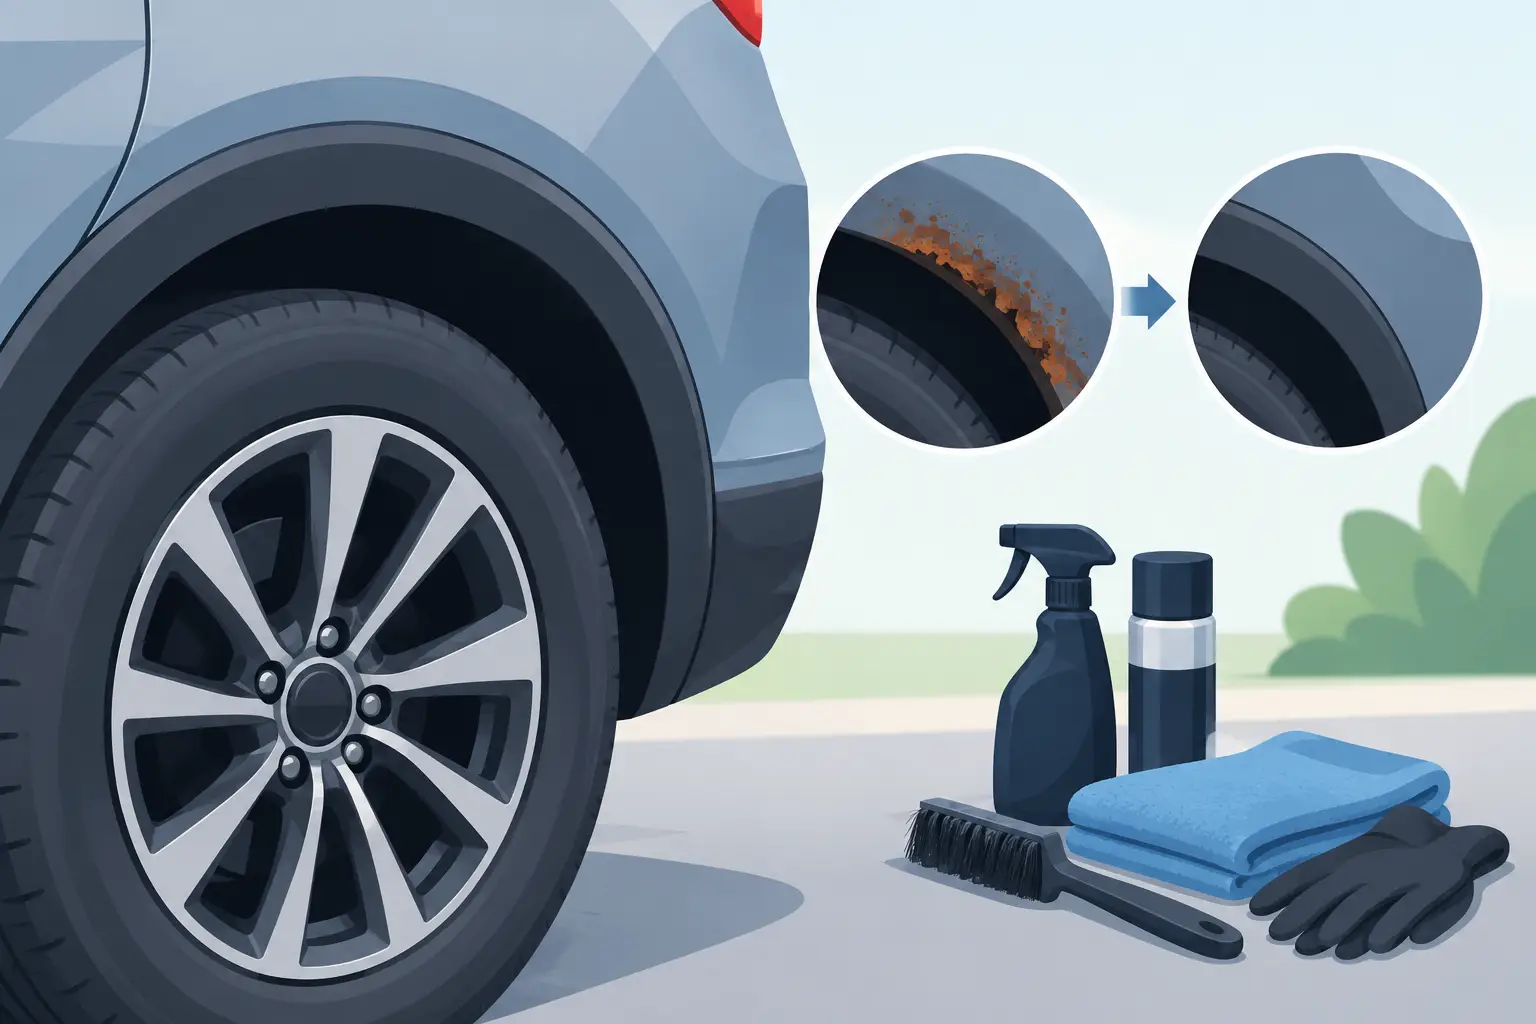
No protection lasts forever on a car that sees British roads, especially through winter. Make wheel arch cleaning part of routine maintenance rather than a once-a-year job. After wet or salted roads, rinse the arches and let the car dry. Check that mud has not packed into seams, behind arch extensions or around the lower edges of the wings.
Inspect the underside whenever the car is on stands for servicing. Look for fresh chips in paint or stone-chip coating, cracked seam sealer and areas where underseal has lifted. Touching up small damage early is far easier than dealing with perforation later.
Cavity wax is particularly worthwhile for inner wings, rear quarter cavities and seams that cannot be painted from both sides. It should be applied carefully, using the correct access points where possible, rather than drilling holes at random. Reapplication is sensible over time, especially after major bodywork or if the Mini is regularly driven in poor weather.
If you are rebuilding an arch, it is worth replacing tired fixings and damaged trims at the same time. Loose fittings can rub through paint, while missing seals and cracked extensions allow dirt to settle where it should not. Bull Motif Mini Spares can help you match repair panels, arch components and the finishing materials needed to complete the job properly.
A sound wheel arch is not just about a better finish for shows or photographs. It protects the structure around it, keeps water out of places it should never reach and lets you enjoy driving the Mini without wondering what is growing behind the paint.