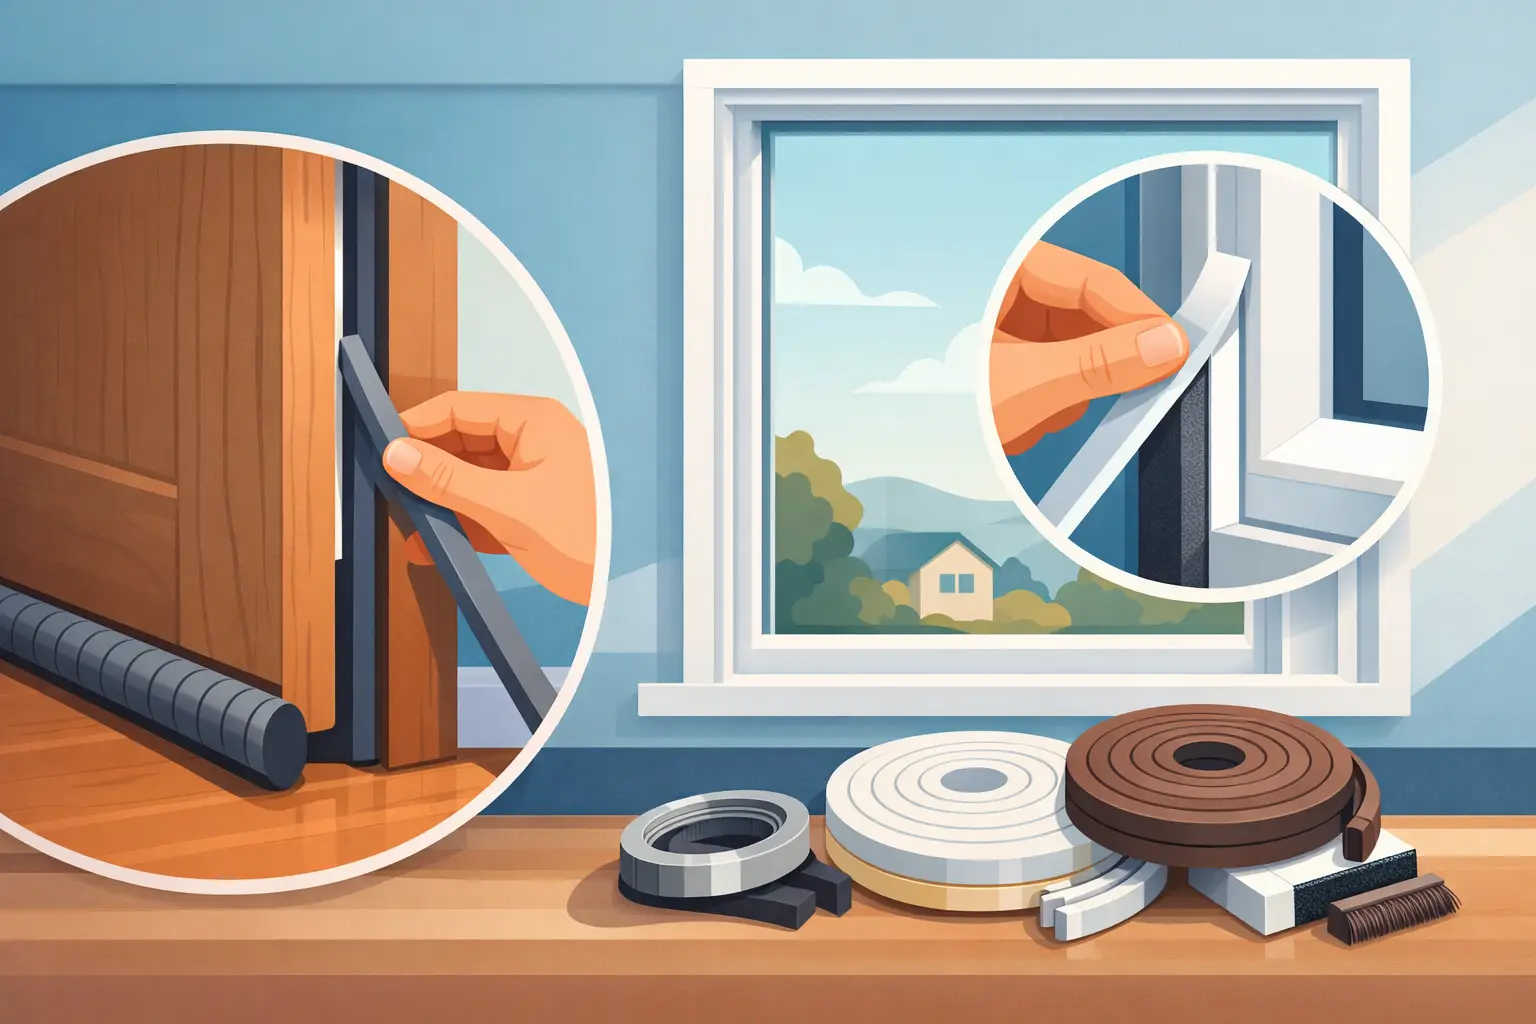
A Classic Mini can be mechanically sound, freshly painted and still feel unfinished if the doors whistle at speed or water finds its way onto the carpets. This mini door and window seals guide covers the rubber and felt parts that keep the weather outside, help the glass operate correctly and give a restored Mini the proper finished fit.
Seals are often treated as a final trim job, but they affect far more than appearance. A compressed door aperture seal can leave a visible gap, make the door rattle and allow draughts into the cabin. Worn window channels can scratch glass, make it difficult to slide or wind, and create a direct route for rainwater into the door.
Start by identifying the Mini and its door arrangement
There is no single seal kit that is correct for every Classic Mini. The body shell age, door type and window arrangement all matter. Early cars with external hinges and sliding windows use different parts from later cars with wind-up windows, quarterlights and internal door hinges. A modified car may also have replacement doors, later glass or non-standard trim, so it is worth checking what is actually fitted rather than ordering solely by registration year.
Look closely at the door before stripping anything down. Establish whether the glass slides in horizontal tracks or winds up through felt-lined channels. Check whether a quarterlight is present, whether the door has external or concealed hinges, and whether the existing aperture seal is fitted to the body shell or door. Take clear photographs of each corner, join and fixing arrangement. They are useful when comparing profiles and invaluable when reassembling the door several weeks later.
On a full restoration, buy the parts for one complete system where possible. Mixing a new door seal with tired glass channels and distorted waist weatherstrips can leave you chasing the same leak from three directions.
What the main Mini door and window seals do
The door aperture seal runs around the body opening and compresses against the closed door. It is the principal barrier against wind, road spray and water entering around the door edge. If it has gone flat, hard or split at the corners, replacement is usually more effective than trying to revive it with dressing products.
Window channels, commonly lined with felt, guide the glass within the door frame. On sliding-window cars, the channels support the glass and allow it to move without excessive play. On wind-up door cars, the glass run channels perform the same essential job around the window frame. They need to be the correct width and profile: too tight and the glass drags; too loose and it rattles or sits at the wrong angle.
Waist seals and weatherstrips sit at the base of the opening, where the glass meets the top of the door. The outer strip keeps water from pouring into the door and finishes the exterior line. The inner strip helps stabilise the glass and protects the trim panel. Some water will still enter a Mini door by design, which is why clear drain holes at the bottom of the door are as important as a good outer weatherstrip.
Quarterlight seals, where fitted, seal the fixed or opening quarterlight frame to the door and glass. A hardened quarterlight seal is a common source of wind noise at the front upper corner of later doors. It can also make the frame difficult to position accurately when refitting.
Signs that replacement is due
A visual inspection reveals plenty, but the best test is how the Mini behaves after rain and on the road. Damp front carpets, a wet door card, streaks below the waist rail or water sitting inside the door are all warning signs. So is a sharp whistle above town speeds, especially around the top front corner of the door.
Check for rubber that is cracked, sticky, flattened or pulling away from its channel. Inspect felt channels for bald patches, loose metal backing and embedded grit. If the glass has scratches running in the same direction as its travel, do not fit a new pane until the channel has been cleaned or replaced.
Door closing effort is another useful clue. A new aperture seal is naturally firmer than an old flattened one, but a door that must be slammed may be poorly aligned, using the wrong profile or meeting a badly adjusted striker. Do not cut a new seal down just to make the door shut. First check the hinge condition, door alignment and striker position.
Choosing seals that fit properly
For a Mini that is being restored to standard specification, model-specific seals are the sensible choice. The profile, corner shape and fixing method are designed around the original body and door arrangement. Generic rubber strip can seem tempting for a small repair, but it often has the wrong compression rate or bulb size. The result may look acceptable with the door open yet leak or hold the door proud when shut.
Quality matters with rubber parts. Cheap seals can be overly stiff, have inconsistent profiles or deteriorate quickly after exposure to sunlight and temperature changes. A well-made replacement costs more initially, but it is easier to fit, seals more evenly and is less likely to need doing again after one winter.
There are trade-offs on cars with pattern panels or previous repairs. Door apertures may not be perfectly square, and replacement doors can vary slightly around their frame. In that case, a correct seal is still the starting point, but careful alignment and patient adjustment become part of the job. The seal should not be expected to hide poor panel fit.
Fitting door aperture seals without creating new problems
Remove old seal material completely before fitting the replacement. Hardened rubber and old adhesive often remain in corners and along the sill, stopping the new seal from seating properly. Clean the mounting flange thoroughly, deal with rust before it is hidden, and trial-fit the seal dry to understand how it follows the aperture.
Start at a sensible point away from a highly visible upper corner, then work evenly around the opening without stretching the rubber. Stretching is a common mistake: it may look neat on the day, then retract and leave a gap later. Where the seal has formed corners, let its natural shape do the work.
Use adhesive only where the seal design requires it and apply it sparingly. Excess glue is messy, can attack some materials and makes future replacement unnecessarily difficult. Once fitted, close the door gently and inspect the compression all the way around. A thin strip of paper held between the seal and door can help identify loose areas, although the final test is a careful water check after the adhesive has cured.
Expect a short bedding-in period with new rubbers. The door may need a firmer push at first. If it is dramatically proud of the body or refuses to latch, stop and investigate rather than forcing it shut repeatedly.
Window channels and waist seals need a clean door shell
Before fitting new window seals, remove debris from inside the door. Old felt, broken clips, glass fragments and damp sound deadening collect at the bottom and block the drains. Flush the lower door area, clear each drain hole and apply suitable corrosion protection where access allows. A door that cannot drain will rot regardless of how good the weatherstrips are.
When fitting glass run channels, clean the glass edges and check the regulator or sliding mechanism first. The channel should be seated fully in its frame or retaining clips before the glass is installed. Do not use the glass as a tool to force a channel into place, as it can distort the felt, bend the frame or chip the glass edge.
Fit the waist weatherstrips so they sit evenly along the top edge of the door. Check that the outer strip contacts the glass without excessive pressure and that the inner strip does not snag the glass when it moves. On a wind-up window, operate it slowly through its full travel before refitting the door card. On a sliding-window Mini, test both panes and ensure their catches still engage correctly.
Leak testing and final adjustment
A hose test should be controlled, not a high-pressure attack from an inch away. With the door shut, run a gentle stream of water over the roof edge, A-post and upper door frame, then inspect inside. Work in sections so the source of any water ingress is clear. Water entering through the window slot and draining inside the door is normal; water reaching the trim panel or carpet is not.
If a leak remains, look beyond the newest part. Check door alignment, missing membrane behind the door card, blocked drains, loose quarterlight frames and poor screen or scuttle seals. A plastic moisture barrier behind the door card is particularly important, as water running down inside the door can otherwise soak the card and find its way into the cabin.
For owners tackling a rebuild, Bull Motif Mini Spares can help keep the job straightforward by supplying the model-specific parts needed around the door, glass and trim rather than leaving you to make unsuitable universal rubber fit.
Fresh seals will not turn a Classic Mini into a modern car, nor should they. They should let the doors close cleanly, the windows move freely and the cabin stay dry enough to enjoy the car in proper British weather. Take the time to fit them carefully now, and every quieter, drier mile will remind you why the detail work was worth doing.