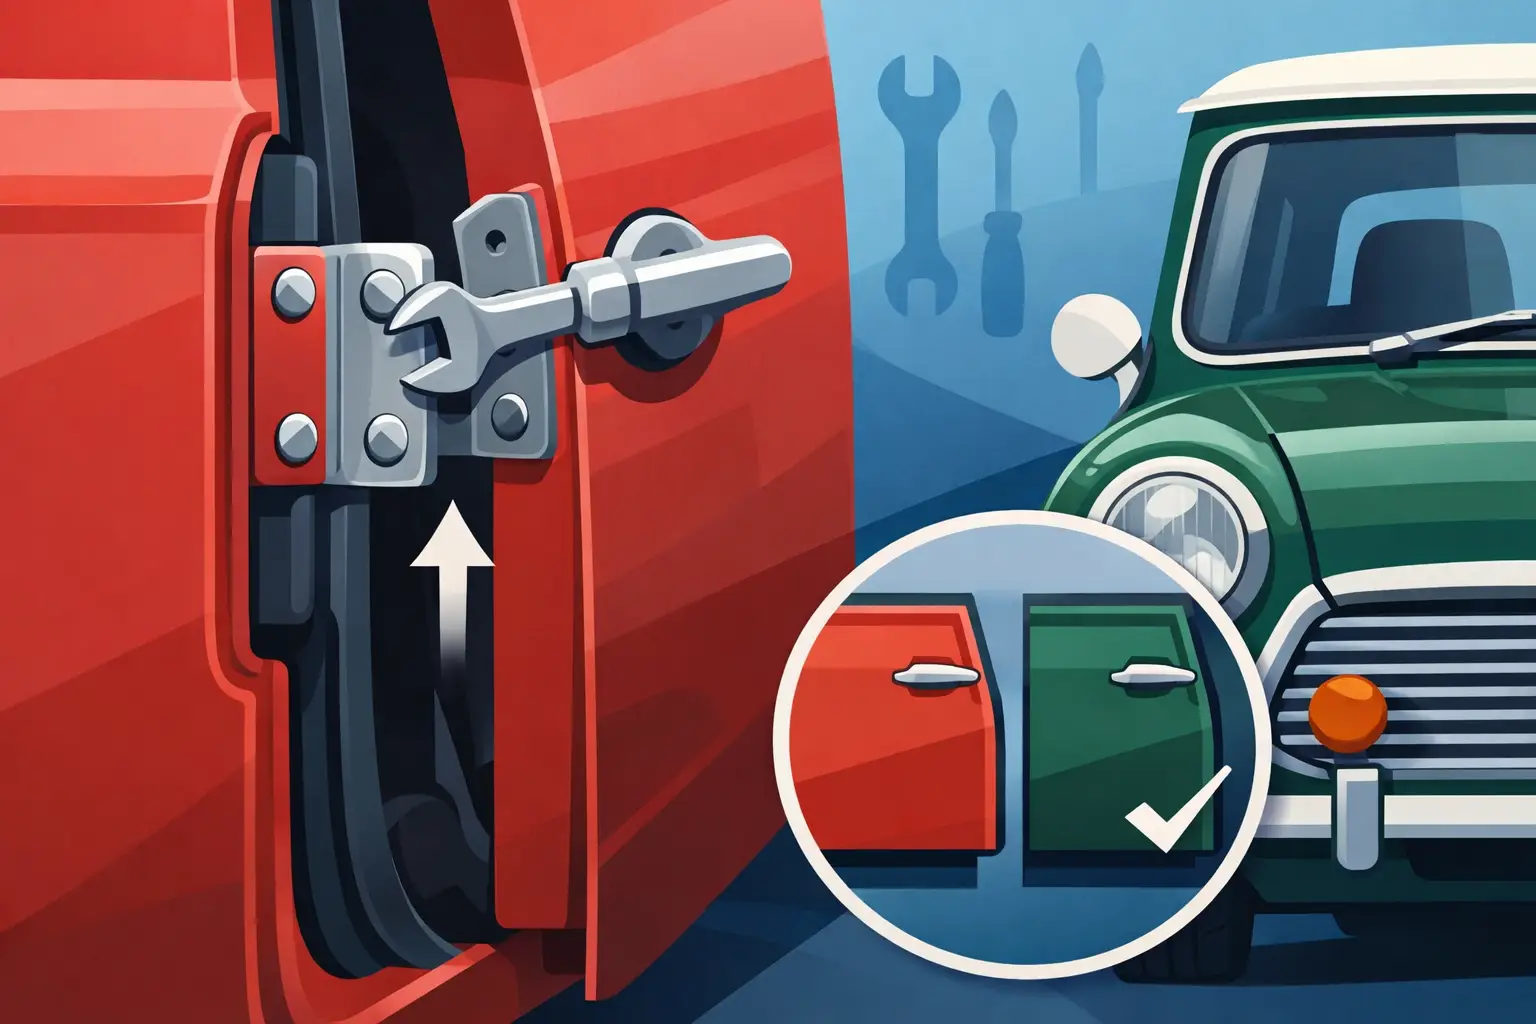
A Classic Mini door that needs lifting before it will shut is not just an irritation at the petrol station. It can wear the striker, chip fresh paint, split a door seal and make a sound shell look poorly fitted. A proper mini door hinge repair starts by finding where the movement really is, rather than adjusting the striker to disguise it.
On Minis, a little sag can have several causes. Worn hinge pins and bushes are common, especially on cars that have had decades of heavy doors, tired check straps and regular use. But loose hinge fixings, corrosion around the A-panel, a distorted door frame or a poor previous repair can produce much the same symptoms. Take time to inspect the assembly before ordering parts or reaching for a spanner.
Diagnosing a sagging Classic Mini door
Open the door far enough to support its outer edge safely. A trolley jack with a block of wood under the bottom edge is useful, but do not lift hard against the door skin. The idea is to take the weight, not to bend the frame. With the door supported, gently raise and lower it while watching both hinges.
If the door moves vertically at the hinge pin while the hinge leaves remain fixed to the door and body, worn pins or bushes are the likely culprit. A visibly oval hinge, rust dust around the pin or a pin that has worked upwards are further clues. Check the top and bottom hinge separately, as the lower hinge commonly carries the worst of the wear.
Next, inspect the mounting points. Look inside the door and around the A-panel for loose bolts, cracked paint, damaged captive nuts or corrosion. A hinge may appear worn when the real issue is a fixing moving behind the panel. On a restoration shell, also check whether the A-panel, door aperture and hinge panel have been positioned correctly. Adjustment can correct minor alignment differences; it cannot put inaccurate panel geometry right.
Finally, close the door slowly and study the gaps. A sagging door often sits tight at the lower rear corner and wide at the upper rear corner. If the gaps are even but the latch does not meet the striker cleanly, the striker may simply need careful adjustment. Do not move it until hinge condition and door position have been checked.
Mini door hinge repair: pins, bushes and complete hinges
The right repair depends on what has worn and on the condition of the hinge body. If the hinge leaves are sound and the pin bore has not become badly elongated, replacing the hinge pin and bushes can be an economical, original-style repair. This is often the sensible choice on a car retaining good factory hinges or a well-restored door.
A complete hinge is usually better where the old hinge is cracked, seized, heavily corroded or has been drilled out badly in the past. It also saves time when both hinges are tired and the door is already off for bodywork or paint. New hinges are not a substitute for sound metal behind them, though. Fitment onto a rotten A-panel will only create more adjustment work later.
Before buying, identify the hinge arrangement fitted to your particular Mini and check the parts are supplied as required. Classic Minis changed across a long production run, and previous owners may have fitted later doors, replacement panels or non-standard hardware. Compare the old component, fixing style and handedness where applicable. It is far easier to confirm this with the door open than after stripping it down.
When refreshing hinges, it is worth inspecting related items at the same time: the door check strap, check-strap mounting, latch, striker, door seal and weather membrane. A stiff or damaged check strap places extra load on a hinge every time the door is opened. Replacing a worn strap while the door is apart is inexpensive insurance against repeating the job.
When the problem is bodywork, not the hinge
Corrosion around the A-panel or hinge reinforcement needs a proper body repair before final door alignment. Adding washers behind a hinge, overtightening fixings or packing a loose mounting point may make the door shut for a while, but it will not restore strength. This matters particularly on cars with new paint: forcing alignment can crack the finish around the hinge and hide movement until it becomes worse.
If the door has dropped because the shell is flexing, assess the whole area. Look for poor sill repairs, weak front floor edges and previous patches around the A-panel. A specialist bodywork repair may be the honest answer. It costs more than a pin kit, but it gives the hinge a solid foundation and protects the value of the car.
Fitting hinge repair parts without losing alignment
Door alignment is easier with two people. One person supports and positions the door while the other handles the fixings. If working alone, use a stable jack and timber packing, protect painted edges with masking tape and take your time. A falling Mini door can damage more than a wing.
Before loosening anything, mark around each hinge with a pencil, masking tape or a light scribe mark on an unpainted restoration project. These reference marks give you a useful starting point when refitting. Photograph the original shims or packing, if fitted, and keep each fixing together. Small differences in position become obvious only when the door is nearly right.
Remove the door or work on one hinge at a time, depending on access and the repair being carried out. For a pin-and-bush repair, support the door correctly and drive the old pin out with care. If it is seized, penetrating fluid, controlled heat and the correct support will prevent damage to the hinge. Avoid striking unsupported hinge leaves, as they can distort.
Clean the hinge thoroughly before installing new bushes and pins. The pin should move freely but without noticeable play. If the bore remains loose after new bushes are fitted, stop there and replace the hinge rather than hoping grease will take up the clearance. Apply appropriate lubrication during assembly, then make sure the hinge moves through its full range without binding.
With the door refitted, tighten the hinge fixings enough to hold position while still allowing controlled adjustment. Start by setting the door height and the front-to-rear gap. Then check that the outer skin sits flush with the wing and rear quarter panel. It is tempting to chase one perfect line, but the best compromise is an even gap, a flush exterior surface and a latch that engages without lifting or slamming the door.
Only once the door is correctly supported by its hinges should you adjust the striker. Move it in very small increments and test the latch each time. The door should close with a firm push, not a shoulder charge. If it catches, drops on the striker or springs back after closing, go back to the hinge alignment rather than forcing the striker to compensate.
Final checks after adjustment
Open and close the door repeatedly, including with the window wound up and down. Check the door seal is not being crushed unevenly, the check strap operates smoothly and the latch holds securely on the first catch and full closure. Examine the panel gaps again after the car has been driven, as a loose fixing can reveal itself once the body has moved over rough roads.
A light smear of suitable lubricant on the hinge pins and latch mechanism during routine servicing helps prevent premature wear. Keep the hinge area clear of trapped moisture and old debris, particularly if the car lives outside or sees regular wet-weather use. Minis reward small maintenance jobs before they become restoration jobs.
Common mistakes that make the job harder
The most common error is adjusting the striker first. This may stop the rattle temporarily, but it leaves the door hanging on worn hinges and accelerates wear in the latch. Another is replacing only the obvious lower hinge while leaving a tired upper hinge in service. If both have play, repair both while access is available.
Do not judge alignment with the door supported on a jack and assume it will remain there once released. Always assess the gaps with the door carrying its own weight. Equally, avoid using the door glass frame as a handle when lifting or pulling the door into place. The frame can be adjusted, but it is not intended to carry the load of hinge alignment.
For a straightforward wear issue, quality hinge repair parts and a careful afternoon can transform how a Classic Mini feels to use. Where corrosion, poor panel fit or previous accident damage is involved, the better route is to fix the structure first, then set the hinges and striker properly. A door that shuts cleanly with a light push is one of those small details that makes every journey in a Mini feel right.