A Classic Mini that will not crank, keeps blowing a fuse or loses its lights halfway through a run rarely needs guesswork. Mini electrical faults are usually traceable when you work methodically, understand the circuit involved and resist the temptation to fit a bigger fuse. The wiring is relatively simple compared with a modern car, but age, previous repairs and corrosion can make a small problem seem far more complicated than it is.
Start with the symptom, then prove each part of the circuit before replacing anything. That approach saves money, protects the loom and gives you a more reliable Mini when the job is finished.
Start safely before testing Mini electrical faults
Disconnect the battery earth lead before removing switches, working behind the dashboard or disturbing unfused live feeds. On most Classic Minis the original electrical system is negative earth, but some earlier cars may have been converted over the years. Check rather than assume, especially where an alternator or electronic ignition has been fitted.
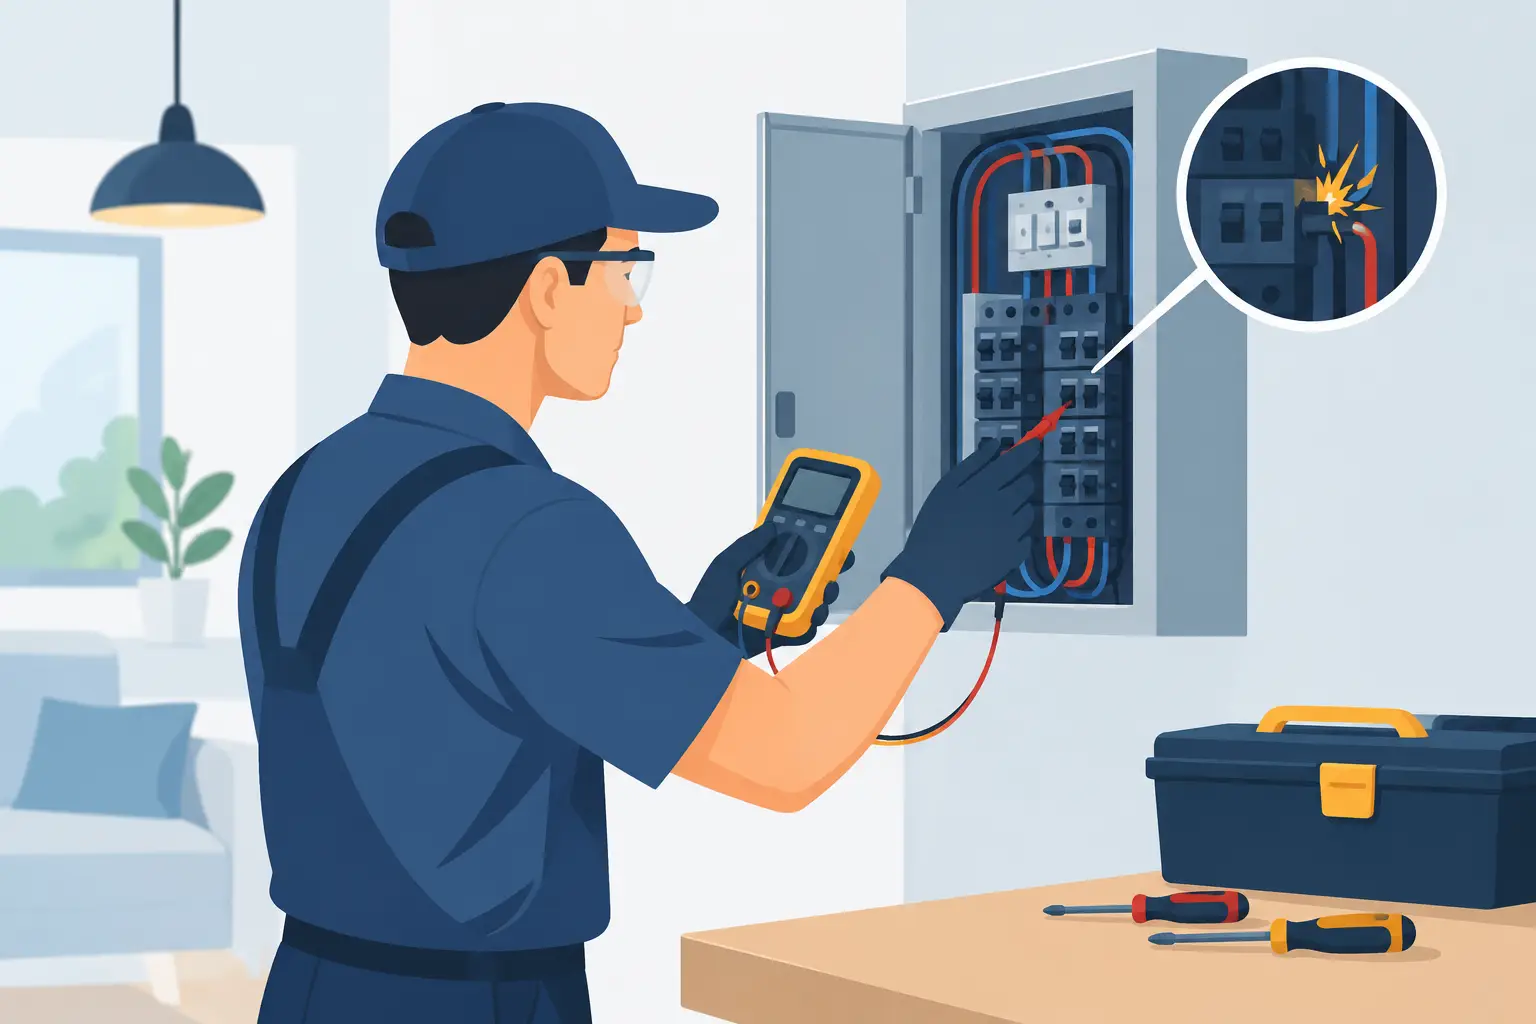
Use a decent multimeter, a 12-volt test lamp and a wiring diagram that matches your Mini as closely as possible. Model year, dynamo or alternator charging system, hazard warning arrangements and aftermarket accessories can all alter the circuit. A test lamp is often the quickest way to see whether power is reaching a component, while a multimeter is better for checking voltage drop, continuity and battery condition.
Never replace a blown fuse with a higher-rated item just to get moving. A fuse is protecting the wiring from excess current. If it blows again, there is a fault to find, commonly a chafed wire, water in a lamp holder or an accessory wired incorrectly. Likewise, do not bridge a fuse with wire or foil. Old Minis are repairable, but melted wiring looms are an expensive and avoidable problem.
Begin with the battery, terminals and earths
Many apparent electrical failures begin at the battery. A battery can show enough voltage to light a dashboard warning lamp yet collapse when the starter is engaged. With the ignition off, a healthy fully charged 12-volt battery should generally read around 12.6 volts. Watch the reading while cranking. A sharp drop points towards a weak battery, poor connection or starter circuit issue.
Clean, tight battery terminals matter. White or green corrosion creates resistance, and a terminal that can be moved by hand is not tight enough. Check the main earth strap between the engine and body as well as the battery earth point. The engine is mounted on rubber, so it needs a sound earth path back to the body for the starter and charging system to work correctly.
Bad earths produce some particularly misleading symptoms. Headlamps may glow dimly, indicators may make other lamps flash, or the engine may crank slowly despite a charged battery. Rather than simply looking at an earth lead, test it under load. Run a temporary heavy jump lead from battery negative to the engine block or cylinder head. If the fault improves, clean or renew the existing earth strap and its mounting points.
Use the symptom to narrow the circuit
A Mini’s electrical system is easier to diagnose when you identify what still works. If the sidelamps work but the headlamps do not, the battery and main feed are unlikely to be the first concern. Look instead at the headlamp switch, dip switch, fuse arrangement, connectors and lamp earths. If nothing electrical works, begin at the battery connections, main cable, fusebox feeds and ignition switch.
For a no-crank fault, listen carefully. A single click may indicate that the solenoid is operating but the starter is not. No click can mean there is no trigger feed from the ignition switch, a poor solenoid connection or a missing earth. Rapid clicking often suggests low battery voltage. Before condemning the starter, inspect the heavy cable connections at the battery, solenoid and starter motor. They must be clean, secure and free from heat damage.
Intermittent faults deserve patience. If a light works when the door is open but fails after a bump, gently move sections of loom and connectors while monitoring the lamp or test meter. A wire broken inside its insulation, a loose Lucar terminal or a connector hidden behind the dash can reveal itself this way. Avoid pulling hard on old wiring, as brittle insulation may turn one fault into several.
Check fuses and fusebox connections properly
Classic Mini fuseboxes are simple, but their exposed terminals are vulnerable to oxidisation and loose connections. Do not judge a fuse only by looking through it. Check for voltage on both ends of the fuse with the relevant circuit switched on. Power at one end but not the other means the fuse or its contact is at fault.
A fuse can be sound yet fail to pass current because the clips are dirty or have lost tension. Remove the fuse, clean the fusebox terminals carefully and inspect for darkened plastic, heat marks or loose spade connectors. Heat is evidence of resistance, and resistance is often the reason a circuit works intermittently before failing altogether.
Bear in mind that traditional British fuse ratings can cause confusion. The marked rating on an older glass fuse may be its blow rating rather than its continuous working rating. Match the specification required by the vehicle wiring information or the fusebox arrangement, rather than choosing by appearance. If in doubt, seek the correct type before fitting it.
Lighting faults are often earth or connector faults
Rear lamp clusters are a frequent source of trouble, particularly on cars used in wet weather or restored over several decades. Water enters a poor lens seal, bulb holders corrode, and paint or corrosion interrupts the earth path. Remove the bulb, inspect the contacts and make sure the bulb is the correct type and seated properly. A twin-filament stop/tail bulb fitted incorrectly can create strange feedback between circuits.
If one indicator flashes quickly, starts by checking the bulb, holder and wiring on that side. If both sides behave oddly, look at the flasher unit, hazard switch and supply connections. The hazard switch is worth particular attention because its internal contacts can affect the indicator circuit even when the hazards are not in use.
Headlamp problems vary with the setup. Sealed beams, halogen conversions and additional relays may all change the fault-finding route. A relay conversion can reduce load through the original switch and improve light output, but it introduces additional connections, fuses and earth points to inspect. Good upgrades are worthwhile when installed neatly and protected from moisture.
Charging faults need voltage tests, not assumptions
The ignition warning lamp gives a useful clue, but it is not a complete charging test. With an alternator-equipped Mini running at a fast idle, battery voltage should normally rise above its engine-off figure, often into the region of 13.8 to 14.5 volts. If it does not, check the alternator belt tension, plug connections, output cable and engine earth before assuming the alternator itself has failed.
A dynamo system behaves differently and typically needs testing with its control box and wiring in mind. Do not fit alternator components or alter wiring without understanding the conversion arrangement. Poorly executed charging conversions can leave unfused cables, incorrect warning-light connections or damaged regulators.
Overcharging also matters. A battery that repeatedly boils, smells strongly of sulphur or requires constant topping up may be receiving too much voltage. Stop using the car until the charging system has been checked, as excessive charge can damage the battery and other electrical components.
Repair the fault without creating the next one
When a wire or terminal is beyond saving, make the repair as close to the original circuit standard as practical. Use the correct cable size, suitable terminals and proper crimping tools. Twisting wires together and wrapping them in tape may get a Mini home, but it is not a lasting repair in an engine bay or behind a vibrating dashboard.
Protect replacement wiring with sleeving or loom tape, keep it clear of sharp panel edges and exhaust heat, and support it so it cannot rub through. If you are fitting driving lamps, a radio, an electric cooling fan or other accessories, use an appropriately fused supply and relay where required. Extra equipment should not be casually added to a circuit that was designed only for sidelamps or ignition feeds.
For owners rebuilding a car, replacing suspect sections of loom before the interior and trim go back in can be sensible. It costs more initially, but it is often preferable to tracing brittle wires behind a finished dashboard later. Bull Motif Mini Spares can help you source the Mini-specific electrical components and consumables needed to make repairs properly.
A Classic Mini rewards careful fault-finding. Take one circuit at a time, clean every connection you disturb and test the repair before refitting trim. The result is not just working lights or a reliable starter – it is confidence that the next drive will be about the road, not the wiring.