A Classic Mini that cranks strongly but will not fire, cuts out after a few miles, or leaves you listening for the familiar pump tick has given you a useful clue. Before condemning the carburettor or ignition, check the fuel supply. To replace a Mini fuel pump properly, you need to identify the pump already fitted, work safely around petrol and make sure the replacement suits your car’s fuel system.
Most Classic Minis use an electric SU-type pump mounted at the rear of the car, close to the fuel tank and rear subframe. However, decades of repairs, restorations and upgrades mean no two Minis should be assumed identical. Check what is on the car before ordering parts.
When does a Mini fuel pump need replacing?
The familiar ticking of an SU pump is not automatically a fault. With the ignition switched on, a pump may tick rapidly while it fills the fuel line and carburettor float chambers, then slow down or stop once pressure has built. A regular tick every so often can be normal.
A pump that does nothing at all is more concerning, but it may still be a wiring, earth or fuse issue rather than a failed unit. Likewise, a pump that ticks continuously can point to a fuel leak, an empty tank, a split hose, a blocked pick-up pipe or a carburettor float valve that is not sealing. Check these basics first.
Replacement is sensible when the pump leaks, has a damaged body or terminal, repeatedly sticks, delivers poor fuel flow despite a sound supply and wiring feed, or has failed internally. Older points-type pumps can sometimes be serviced, while electronic versions are generally replaced as a complete unit. For a reliable road Mini, a new quality pump is often the straightforward answer.
Identify the correct pump before you order
The safe rule is to match the replacement to the unit fitted and the way your Mini is used. A standard carburetted road car normally needs a low-pressure electric pump suitable for SU or similar carburettors. It does not need the high pressure associated with fuel injection systems. Too much pressure can overwhelm needle valves, flood the carburettors and create a fire risk.
Look at the pump’s mounting position, inlet and outlet arrangement, electrical terminals and fuel pipe size. Some pumps have a separate earth connection through the body or mounting, while others use dedicated terminals. Polarity also matters, particularly on a Mini that remains positive earth or has been converted to negative earth. Do not assume an electronic pump is suitable for either arrangement without checking its specification.
Points-type SU pumps have long been popular because they are correct for many Classic Minis and can often be repaired at the roadside. Electronic alternatives remove contact points and are valued for fit-and-forget reliability. Neither is automatically better for every owner. A concours restoration may favour the original-style unit, while a regularly used Mini may benefit from an electronic version. The important thing is correct pressure, correct polarity and sound installation.
If your Mini has been modified with a different engine, twin carburettors, a fuel pressure regulator or a non-standard tank, identify the complete fuel set-up rather than ordering from the registration alone. A quick check now avoids fitting a pump that is wrong for the car.
Tools and parts for replacing a Mini fuel pump
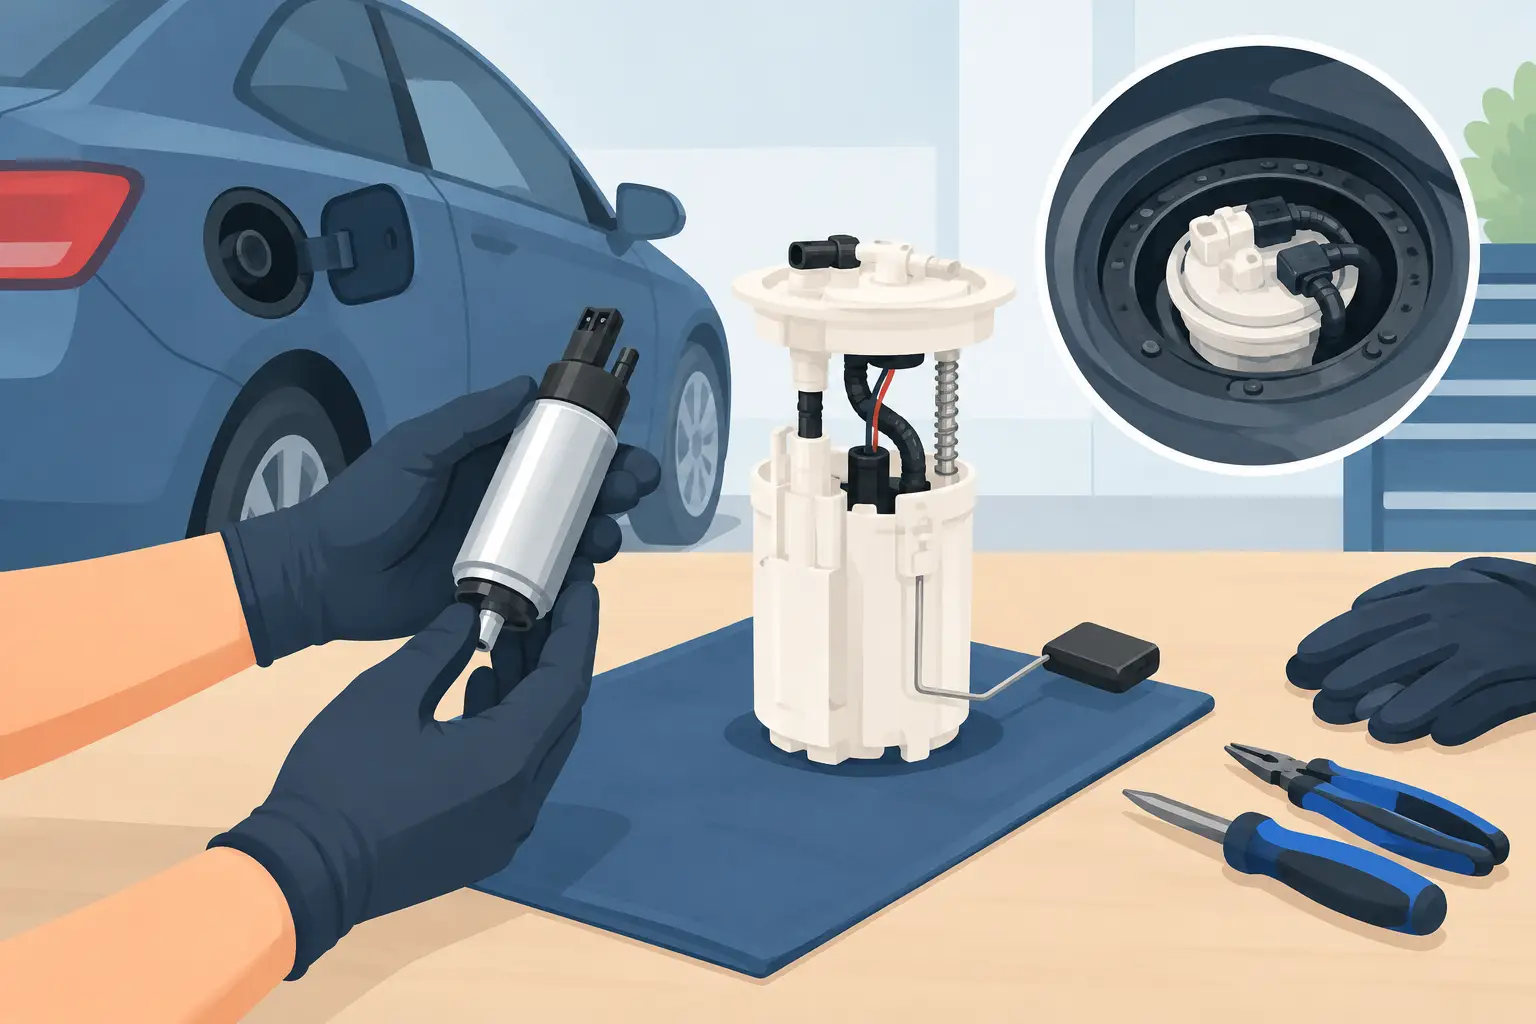
Have the job prepared before you start. You will normally need a suitable replacement fuel pump, new ethanol-resistant fuel hose if the existing hose is hard or cracked, correct hose clips, basic spanners or sockets, screwdrivers, a container for spilled fuel and clean rags. New mounting rubbers, screws or a sealing washer may also be worthwhile if the old fittings are corroded.
Avoid ordinary worm-drive clips on small fuel hose where they pinch or distort the pipe. Proper fuel-line clips give more even clamping. Equally, do not reuse a hose that has gone stiff, swollen or perished simply because it is not currently leaking.
Work outside or in a well-ventilated space, away from heaters, pilot lights, grinders and anything that can create a spark. Keep a suitable fire extinguisher nearby. Petrol vapour travels, so do not treat this as a job for a closed garage.
How to replace a Mini fuel pump safely
Start by parking on level ground and allowing the engine to cool. Disconnect the battery earth lead. This prevents an accidental spark while you are handling fuel lines and terminals. If your car has a battery isolator, use it as well, but disconnecting the battery remains good practice.
Locate the pump and clean the surrounding area before undoing anything. On many Classic Minis it is positioned at the rear, where road dirt can hide the fuel connections and mounting hardware. Put rags and a small container beneath the pump. Even with the ignition off, fuel in the line will drain when a pipe is removed.
Take clear photographs of the electrical connections, hose routing and pump orientation. Mark the inlet and outlet pipes if there is any doubt. The pump body usually has an arrow showing fuel flow, but an incorrectly routed hose is an easy mistake to make when working in a tight space.
Disconnect the wiring first, keeping terminals clear of fuel. Then loosen the hose clips and ease the fuel hoses from the pump. Do not pull aggressively on old hose. If it has bonded to the fitting, carefully slit it for removal and replace it. Damaging a metal pipe or fuel tank pick-up to save a short length of hose is false economy.
Remove the mounting fixings and compare the old unit with the replacement. Check that the ports point in the right direction, the mounting holes align and any rubber isolation mountings are present. Vibration can shorten pump life and fatigue fuel lines, so fit the mountings correctly rather than bolting the pump solidly to the car.
Install the new pump in the same orientation, following the flow arrow from tank to engine. Fit fresh hose where needed, pushing it fully onto each connection before tightening the clips. The hose should sit squarely and should not be stretched, kinked or allowed to rub against sharp metal edges. Reconnect the electrical terminals exactly as required for the pump and your vehicle’s earth polarity.
Testing the new fuel pump
Before reconnecting the battery, wipe away every trace of spilled petrol and check all unions by hand. Reconnect the battery, switch on the ignition and listen. The pump should prime the line and then slow or stop as the carburettor chambers fill.
Do not start the engine immediately. Inspect the pump connections, hose ends, tank-side pipe and fuel line along the visible route for dampness or drips. If you see or smell fresh fuel, switch off, disconnect the battery again and correct the issue. Never try to cure a leak by overtightening a clip until the hose is crushed.
Once the system is dry, start the engine and let it idle while you inspect it again. A short local drive is the final check. Watch for hesitation under acceleration, misfiring after the engine has warmed up, or any fuel smell in the cabin. These can indicate another restriction or leak elsewhere in the system.
Common faults that can look like a failed pump
If a new pump has not cured the problem, do not keep replacing parts. Check for a blocked fuel tank vent, debris in the tank pick-up, a restricted inline filter, collapsed hose or poor electrical connections at the pump. On a points-style SU pump, a poor earth can be just as troublesome as worn contacts.
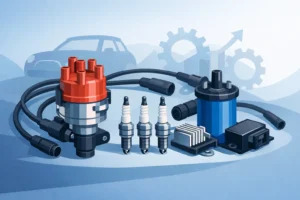
Fuel delivery faults can also be confused with ignition trouble. A weak coil, failing condenser, poor distributor connections or incorrect timing can all produce cutting out that feels like fuel starvation. The useful test is methodical diagnosis: confirm there is fuel at the carburettor, then check whether the ignition is producing a reliable spark.
For owners rebuilding a car or refreshing an ageing fuel system, replacing the pump is a good opportunity to inspect the complete route from tank to carburettor. Bull Motif Mini Spares can help you source the pump, hose, clips and related fuel-system parts together, so the job is not held up by one tired fitting.
A properly fitted pump should be quiet in its work, deliver clean fuel at the right pressure and leave you confident enough to take the Mini beyond the end of the road. Take the extra few minutes to verify the specification and inspect for leaks, and you will have done the job properly.