A Mini that starts on choke, hunts at idle, smells rich, or stumbles when you pick up the throttle is often telling you the carburettor wants attention. If you’re looking up how to rebuild mini carburettor assemblies, the good news is that most SU setups are straightforward to strip, clean and reassemble at home, provided you work methodically and use decent parts.
On a Classic Mini, the carb is not a mystery box. It is a serviceable unit with a handful of wear points, a few adjustment traps, and plenty of places where age, stale fuel and air leaks can make the car feel worse than it should. Rebuilding one properly is less about rushing through a gasket kit and more about knowing what should be reused, what should be replaced, and what needs checking before the carb goes back on the manifold.
Before you rebuild a Mini carburettor
First, identify what you’re working on. Many Minis run SU carburettors such as HS2, HS4 or HIF38/HIF44. The general rebuild approach is similar, but the details differ. Float chamber layout, jet arrangement and adjustment points are not identical, so it pays to have the correct exploded view or workshop reference to hand before you start pulling parts apart.
It is also worth asking whether the carburettor is definitely the problem. Ignition faults, inlet manifold leaks, tired engine mounts affecting throttle linkage, and even poor fuel delivery can mimic carb trouble. If the car has a weak spark or a split vacuum hose, rebuilding the carb alone will not sort it.
A sensible bench setup makes the job easier. Clean rags, a tray for small parts, carb cleaner, compressed air if available, and a proper rebuild kit all help. Take photos as you go. SU carbs are simple, but after half an hour on the bench, it is easy to forget which spring, washer or linkage clip came from where.
How to rebuild Mini carburettor units step by step
Remove the carburettor carefully and avoid forcing old fixings. Before disconnecting anything, note throttle cable routing, choke linkage position, breather hoses and fuel pipe orientation. If the car has been running recently, expect fuel in the float bowl or chamber.
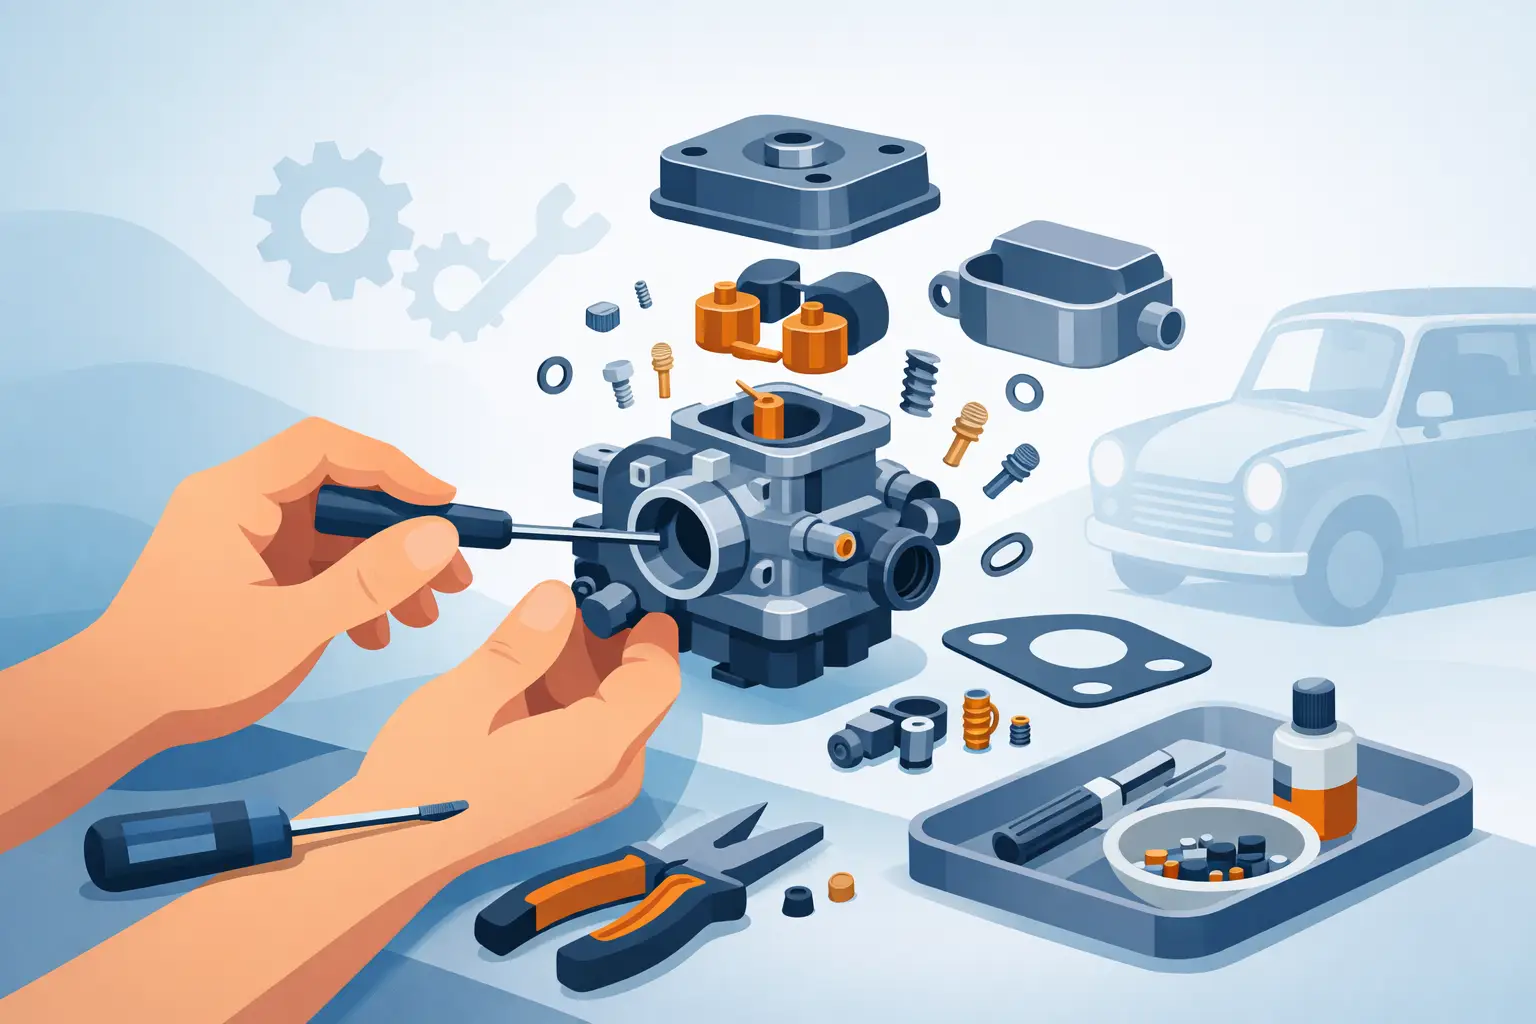
Once the carb is on the bench, strip the externals first. Dashpot, piston, spring, float chamber components where fitted, needle valve, jet parts and spindle linkages should come off in a sensible order. Keep matched components together. On SU carbs, the piston and dashpot are a matched pair and should not be mixed with parts from another unit.
Cleaning is the part people either overdo or ignore. Remove old varnish, sediment and gasket residue thoroughly, but do not attack the body with anything that scores the alloy. Fine passages need to be clear, yet soft metal surfaces need to stay flat and undamaged. If you use compressed air, wear eye protection and make sure cleaner is not trapped in drillings before reassembly.
Now inspect everything rather than assuming the rebuild kit covers it. Gaskets, seals and the needle valve are consumables. The throttle spindle and carb body are a different matter. If the spindle is worn, or the spindle bore in the body has gone oval, air leaks will make the carb impossible to tune properly. That is one of the biggest reasons a quick gasket refresh fails.
Check the piston for scoring and make sure it moves freely in the dashpot with no sticking. Lift it and let it drop – it should fall smoothly with a clean metallic click on most SU setups. If it drags, binds or feels rough, there is either dirt, damage or a mismatch. Do not polish material away aggressively in an effort to make it fit. Light cleaning is one thing; altering tolerances is another.
Inspect the needle and jet carefully. A worn needle, damaged jet or badly centred jet will cause poor mixture control. If you are replacing the needle, make sure the new profile suits the engine specification. Standard 998, mildly modified 1275 and tuned setups may all want different fuelling. There is no point rebuilding the carb perfectly and fitting the wrong needle for the engine.
The float and needle valve deserve proper attention as well. If the valve sticks, floods or shuts off late, the car can run rich, drip fuel or become hard to start when hot. Check float height to the correct spec for your carb model, because being slightly off here can affect the whole mixture range.
The wear points that matter most
Throttle spindle wear is the main one. If the spindle can rock noticeably in the carb body, you will often have a weak idle, inconsistent mixture and tuning that never quite settles down. On some carbs, replacing the spindle alone helps. On others, the body may need re-bushing or replacing. It depends how far the wear has gone.
Warped flanges and damaged mounting faces can also create headaches. If the carb or manifold face is not true, fitting fresh gaskets may not cure an air leak. The same goes for perished mounting blocks and cracked vacuum take-off hoses.
On HIF carbs, pay close attention to the integral float chamber parts and seals. Age and heat can harden seals, and incorrect assembly can create fuel leaks that are annoying at best and dangerous at worst.
Reassembly without creating new faults
Build the carb back up in a clean, logical order and lubricate only where appropriate. Fresh gaskets and seals should sit flat, and screws should be snug rather than over-tightened into soft alloy. This is a common mistake on home rebuilds. Distorted covers and stripped threads turn a simple service job into a more expensive repair.
When refitting the piston and dashpot, make sure they remain as a matched set and are correctly oriented. Fill the damper with the correct oil. Too little and the piston may rise too quickly under acceleration, giving a lean hesitation. Too much and you simply make a mess, but the point is that this small detail affects drivability.
Jet centring matters on HS carbs. If the jet is not centred, the needle can rub and the piston may not drop cleanly. This can make the car feel erratic and leave you chasing mixture settings that never hold. Take your time here. It is one of those jobs that rewards patience.
Setting it up on the car
Refit the carb with good gaskets and check that the throttle and choke operate cleanly from inside the car. A beautifully rebuilt carb will still perform badly if the cable is sticking, the linkage is sloppy or the choke is not returning fully.
Before starting, prime the fuel system and check for leaks. Then set a sensible base adjustment. Exact settings depend on carb type, but the aim is simple – get it running cleanly enough to warm through before making fine changes.
Idle speed and mixture should be set with the engine fully warm. Adjust in small steps. If one tweak makes no sense, stop and check for air leaks, ignition timing or fuel level issues before winding the carb further out of range. Carb tuning is often blamed for faults that are elsewhere on the engine.
A rebuilt carburettor should give a steadier idle, cleaner pick-up and more predictable hot and cold starting. If it still hesitates under load, pops back through the intake, or smells excessively rich, revisit the basics. Needle choice, dashpot oil, float level and vacuum leaks all matter.
When a rebuild kit is not enough
Sometimes the honest answer is that the carb is too worn to be cured by seals and cleaning alone. If the body is badly worn, fixings are butchered, the dashpot is damaged or the spindle area leaks heavily, replacing major components can make more sense than trying to rescue everything.
That is especially true on cars used regularly. A weekend toy can tolerate a bit of fettling. A Mini you rely on for events, commuting or longer runs needs consistent starting and drivability. There is no value in rebuilding the same tired carb twice because the underlying wear was ignored the first time.
For many owners, the best route is a proper rebuild using quality service parts and a realistic eye on wear. That is usually cheaper than chasing faults with random adjustments and far less frustrating than guessing your way through it. As a Classic Mini specialist, Bull Motif Mini Spares sees this all the time – the cars that run best are usually the ones repaired with the right parts and a bit of care rather than shortcuts.
If you take your time, keep everything clean and pay attention to wear rather than just seals, rebuilding an SU carb is a satisfying job. Done properly, it puts back the sort of crisp response and steady idle that makes a Classic Mini feel right the moment you blip the throttle.