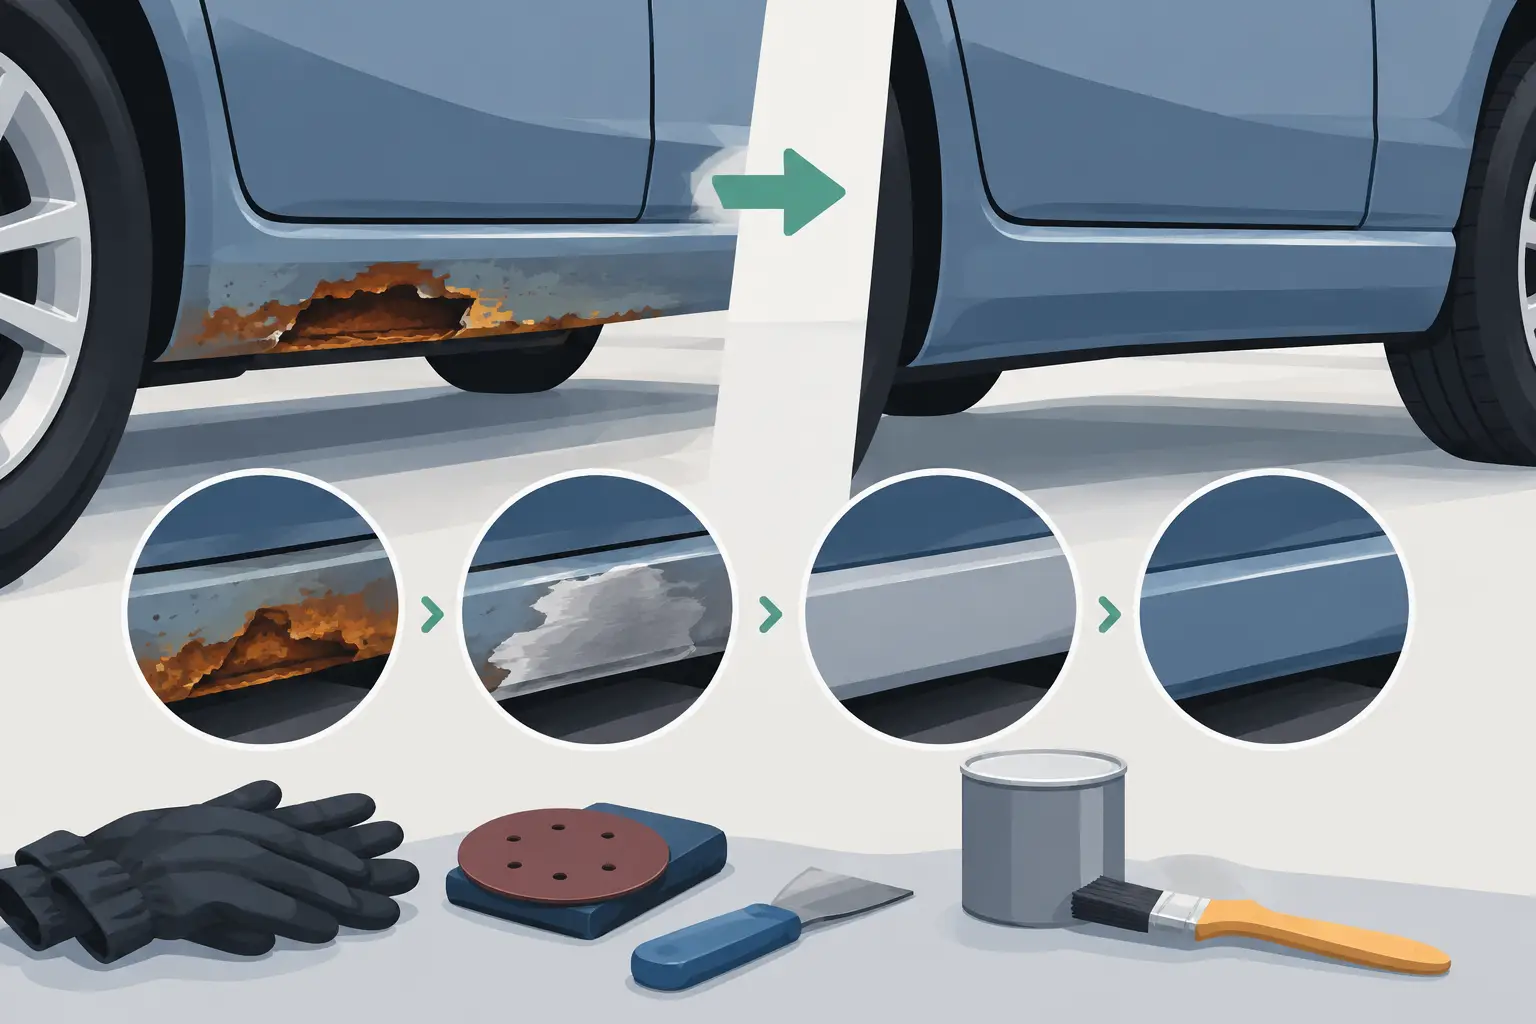
A bubbling paint line below the door can look like a small job on a Classic Mini. This mini rust repair example shows why it pays to investigate properly before ordering a patch panel or reaching for the grinder. On a Mini, visible corrosion around a sill often tells only part of the story: the structure behind it may have been holding moisture for years.
The aim is not to turn every rust spot into a full restoration. It is to make a sound, tidy repair that restores strength, keeps water out and gives the new metal a fighting chance of lasting. For a car used regularly, that means treating the concealed areas as seriously as the painted outer surface.
The repair: corrosion at the outer sill and front floor edge
Our example Mini arrived with a blistered outer sill beneath the driver’s door, mainly towards the front. The paint was split along the lower seam, and pressing the area with a thumb produced a worrying crunch. Inside the car, the carpet felt dry, but the front corner of the floor had a thick layer of old underseal hiding the condition of the metal.
This is a familiar area on a Classic Mini. Water and road dirt collect around the sill, floor return and closing panel. If drain paths are blocked, or previous repairs have been seam-sealed over corrosion, moisture remains trapped between the panels. The outer sill may look like the only issue until it is removed.
Before cutting anything, the car was supported securely on level stands under proper structural points. The doors were left fitted and checked for gaps. This matters because the sill contributes to body strength. If the shell is weak or the repair extends into major structural sections, bracing and professional assessment may be needed before metal is removed.
A Mini rust repair example starts with exposing the truth
The first job was to remove the front wheel, wheel-arch liner where fitted, carpet, sill trim and old underseal around the affected section. A scraper, wire wheel and heat gun can help, but take care around fuel lines, brake pipes and seam sealer. Old underbody coating can conceal thin steel remarkably well.
Once cleaned back, the damage was clearer. The outer sill had rusted through over roughly 300 mm. More significantly, the lower edge of the front floor was thin, and the inner sill showed perforation behind the outer skin. The front closing panel was also weakened where it met the sill.
At this point, fitting an outer sill skin alone would have made the car look better without addressing the reason it had failed. That is the sort of repair which can trap corrosion behind fresh paint and return all too quickly. The sensible parts list became an outer sill, repair sections for the inner sill and floor edge, plus a front closing panel section.
Panel choice matters. Cheap pressings can save money initially but may need excessive reshaping before the lines, flange positions and door clearance are right. Well-made Classic Mini panels generally reduce the amount of cutting, stretching and filler required. British Motor Heritage panels are often the preferred route where originality and fit are priorities, although the right choice depends on the scope and budget of the build.
Measure first, then cut back to sound steel
With replacement panels on hand, the repair area was marked well beyond the visible holes. Steel that is deeply pitted, flexible or thinning around a weld is not a sound edge for a repair. The cutting line was moved back until the remaining metal was clean, firm and capable of taking a weld.
The damaged outer sill was cut away in stages, exposing the inner structure. Spot welds along the seams were drilled out rather than simply cutting through both layers. This takes longer, but it preserves surrounding metal and leaves a cleaner surface for the replacement panel.
The rotten floor edge and inner sill section were then removed. Before each cut, measurements were taken from known points on the body and compared with the opposite side where possible. Photographs are useful here, particularly around overlapping flanges and drain holes. A Mini shell is simple in many ways, but its panel joints still need to go back in the correct order.
Clean all mating faces to bare steel before trial fitting. Any internal surface that will become inaccessible after welding should receive weld-through primer, not ordinary paint. It is also worth checking that the sill drain slots are present and correctly positioned. They are not decorative details – they allow water to escape.
Trial fitting makes the difference
The inner sill repair was fitted first, followed by the floor return and front closing section. Cleco pins, self-tapping screws or panel clamps can hold the panels in place while the fit is checked. The door was closed repeatedly to confirm that the gap remained even and that the sill line sat where it should.
Do not assume a replacement panel will fit straight from the box without adjustment. Small differences between shells, previous accident repairs and earlier restoration work can all affect alignment. Trimming a flange carefully is normal. Forcing a panel into position with clamps until it is under tension is not.
Once the hidden panels were correct, they were tack-welded in several places. The door gap was checked again before completing the joins. This is the point where patience saves a lot of frustration later. A sill welded slightly too high, low or bowed can spoil the appearance of an otherwise good repair.
Welding the repair without warping the body
The repair panels were attached using plug welds where factory spot welds had originally joined flanges, with short stitch welds where a continuous seam was required. Weld-through primer on the overlap faces helps protect the joint, but it does not replace cavity treatment after the work is complete.
Heat control is vital on exterior panels. Long continuous welds put too much heat into thin steel and can distort the body. Instead, weld a short section, move away, allow it to cool and work back gradually. A series of spaced tacks joined in stages is slower than running a bead, but it is far easier to dress and less likely to leave a wavy sill.
After welding, the joins were cleaned and inspected from both sides where access allowed. Any pinholes were rewelded. The goal is a fully sealed repair, not merely a joint that looks acceptable from the outside. Water will find a small opening, especially around a wheel arch and sill.
Grinding should be controlled too. Dress welds only as far as needed for fit and finish. Grinding aggressively can thin the surrounding panel or weaken a sound weld. On hidden seams, a tidy, sealed weld is more useful than a perfectly smooth one.
Protecting the new Mini sill from the inside out
Paint is the visible final stage, but corrosion protection starts before primer. The bare repair was degreased, treated where appropriate and coated with epoxy primer. Seam sealer was applied to the original-style overlaps, including the floor-to-sill joints and the front closing panel seams. Applying seam sealer after primer gives it a stable surface and helps stop moisture tracking into the lap joints.
The underside then received a durable stone-chip coating before colour and suitable underbody protection. Avoid filling every drain route with thick sealant or underseal. The sill needs to shed water rather than store it.
Once the paint had cured, cavity wax was applied through the sill openings and into the repaired box sections. Use a long lance and work slowly so the wax reaches seams, returns and the back of the closing panel. A light mist at the drain holes is normal; blocked drains are not. Recheck the area after a few weeks of use, especially if the car has been driven in wet weather.
When a local repair is enough – and when it is not
A smaller local patch can be suitable where corrosion is genuinely limited and the surrounding structure is solid. It can preserve more original metal and reduce the cost of a job. But if the rust extends into the inner sill, floor edge or closing panel, a cosmetic patch over the top is false economy.
Equally, a complete sill replacement is not automatically the answer to every bubble. Strip the area back, assess the metal honestly and order panels to match what the shell actually needs. For a cherished road car, the best repair is usually the one that removes the rust fully, retains sound original steel and leaves the inside of the structure protected for the miles ahead.
If you are planning this kind of work, gather the correct Mini-specific panels, fixings, coatings and consumables before the first cut. Bull Motif Mini Spares can help keep the parts side of the job straightforward, leaving you to focus on careful preparation and a repair that your Mini deserves.